




 View Count:29
 Date:2026-11-14
Bathroom cabinet mould starts where nobody looks: the board core. Water enters at the edge seam and the back panel cut-outs, and once it is inside the fibre it cannot get out. Soak the cabinet board in iHeir-M5 immersion-type bamboo and wood fungicide at 1:40 until it gains 15%-20% in weight, and put one iHeir-D sheet carrying 0.1-0.2 g inside the cabinet. This article covers the soak test, where to brush the liquor and the drying spec.
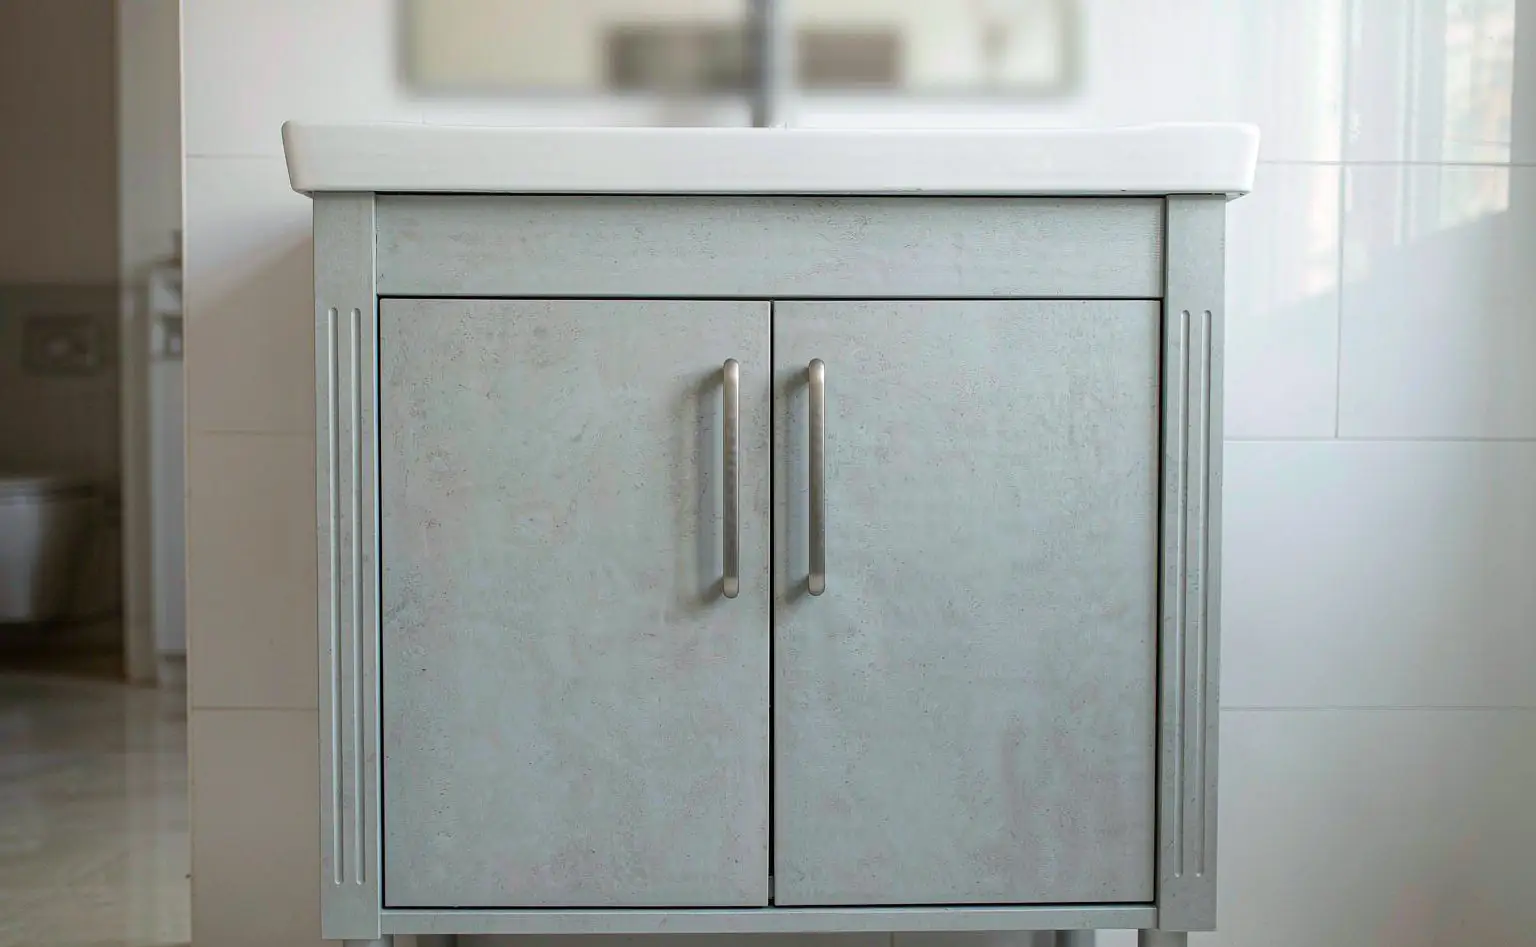
1. Three places the mould hides: core, edge seam, cut-outs
Cabinet boards (plywood, blockboard or MDF), edge banding, back panel, doors, worktop, hardware: what actually fails is usually the core nobody sees.
The core takes water fastest. The ends of plywood and MDF are open fibre and absorb an order of magnitude faster than the face. Splash from the basin, water on the floor, condensate on the drain pipe: once it touches a cut edge, it travels along the fibre.
The edge seam is the door. However tight the banding goes on, a seam is still a seam, and bathrooms cycle hot and cold several times a day until the adhesive line loosens and the seam becomes a capillary. Water goes in through it and stays.
The cut-outs are the ones everyone forgets. Drain, supply and angle valves are all cut on site, and every cut leaves bare core; by the time the back panel goes on nobody can reach it. This is where rework concentrates.
2. The cabinet board: 1:40, and fully submerged
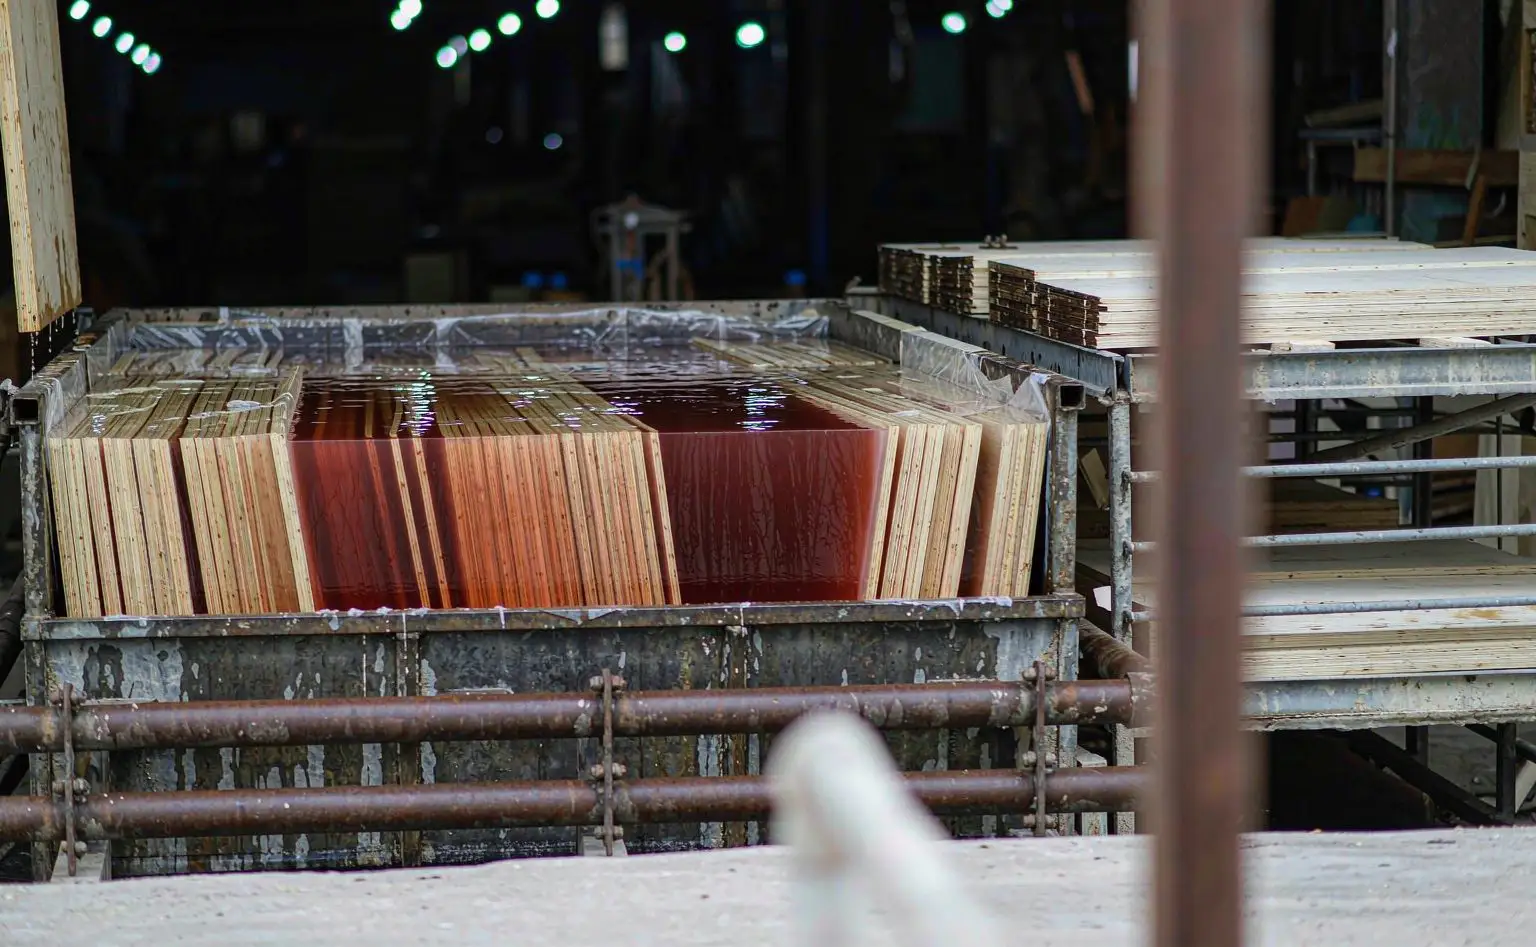
This stage uses iHeir-M5 immersion-type bamboo and wood fungicide, a red-brown liquid with high solids, strong penetration and good adhesion that suits bamboo, wood, rattan and grass; sprayed on the face instead, it sits on the surface and never enters the fibre.
Fix the concentration first. Make the bath at 1:40, that is 5 kg of agent to 100 kg of water; water first, then agent, stirred through. Floating matter in the drum is normal, so shake it before measuring. The dose is set by the bath ratio and the weight gain, never by eye.
Everything goes under. Stand the boards in the tank with the liquor above the top edge, never breaking the surface. A section left out is a section untreated, and that section is usually the end grain.
Soak time is set by weight gain, not by the clock. The datasheet criterion is 15%-20% gain, roughly 5-10 minutes. Thickness, species and starting moisture move that time a long way, so weigh on the line: take a sample of the same spec, weigh before and after, work out the gain and pull the rack when it lands in range.
| Part | Material | Product and level | Stage | Control point |
|---|---|---|---|---|
| Cabinet board, shelf | Plywood, blockboard | iHeir-M5 1:40, to 15%-20% gain | Full-board soak | Fully submerged, gain by weighing |
| Edge seam | Banding plus cut core | Same liquor, two coats | After banding, before assembly | Brushed into the seam |
| Back panel cut-outs | Exposed core | Same liquor, two coats | Immediately after cutting | Core wetted, dry before fitting |
| Cabinet interior | Closed cavity | iHeir-D 0.1-0.2 g per sheet | After assembly or packing | On the side panel, clear of hardware |
One boundary. iHeir-M5 covers mould in the core and stays in the fibre; it does not deal with moisture in the air inside the cabinet, and it does not stop condensation on hardware. Treat the board through, and control cabinet humidity as well.
3. Setting the soak time: weigh, read the end grain, check moisture
Step one: three trial boards. Take boards of the same batch and spec, soak them for 5, 8 and 10 minutes, drip and weigh each, and work out the gain. Whichever setting lands inside 15%-20% with an even end colour goes on the process card.
Step two: read the end grain. Look at the ends and cut faces as the board comes out: darker and wet through means the liquor travelled; a pale end means the time was short or the liquor never covered the top.
Step three: check incoming moisture. Board going into the tank should be at 12% or below. Damp board cannot take more liquor, the gain never arrives, and it looks like a time problem when it is a moisture problem.
Remember the acid. iHeir-M5 is acidic and must not contact or be mixed with metals or alkalis. Use a plastic-lined tank rather than bare steel, rubber-coat the rack hooks, and keep alkali-treated wood out of the same bath. Fit hardware after soaking.
After the tank. Drip, then air or sun dry to spec; never band a wet board, because the water will lift the adhesive line.
4. Edge banding and cut-outs: brush into the seam and the core
Brushing the edge seam. The banding itself is usually PVC or ABS and takes no liquor; what needs treating is the seam between banding and board. With the same 1:40 liquor, run a small brush along the seam, then press it with a finger or a roller so the liquor is forced in. Two coats, the second after the first dries.
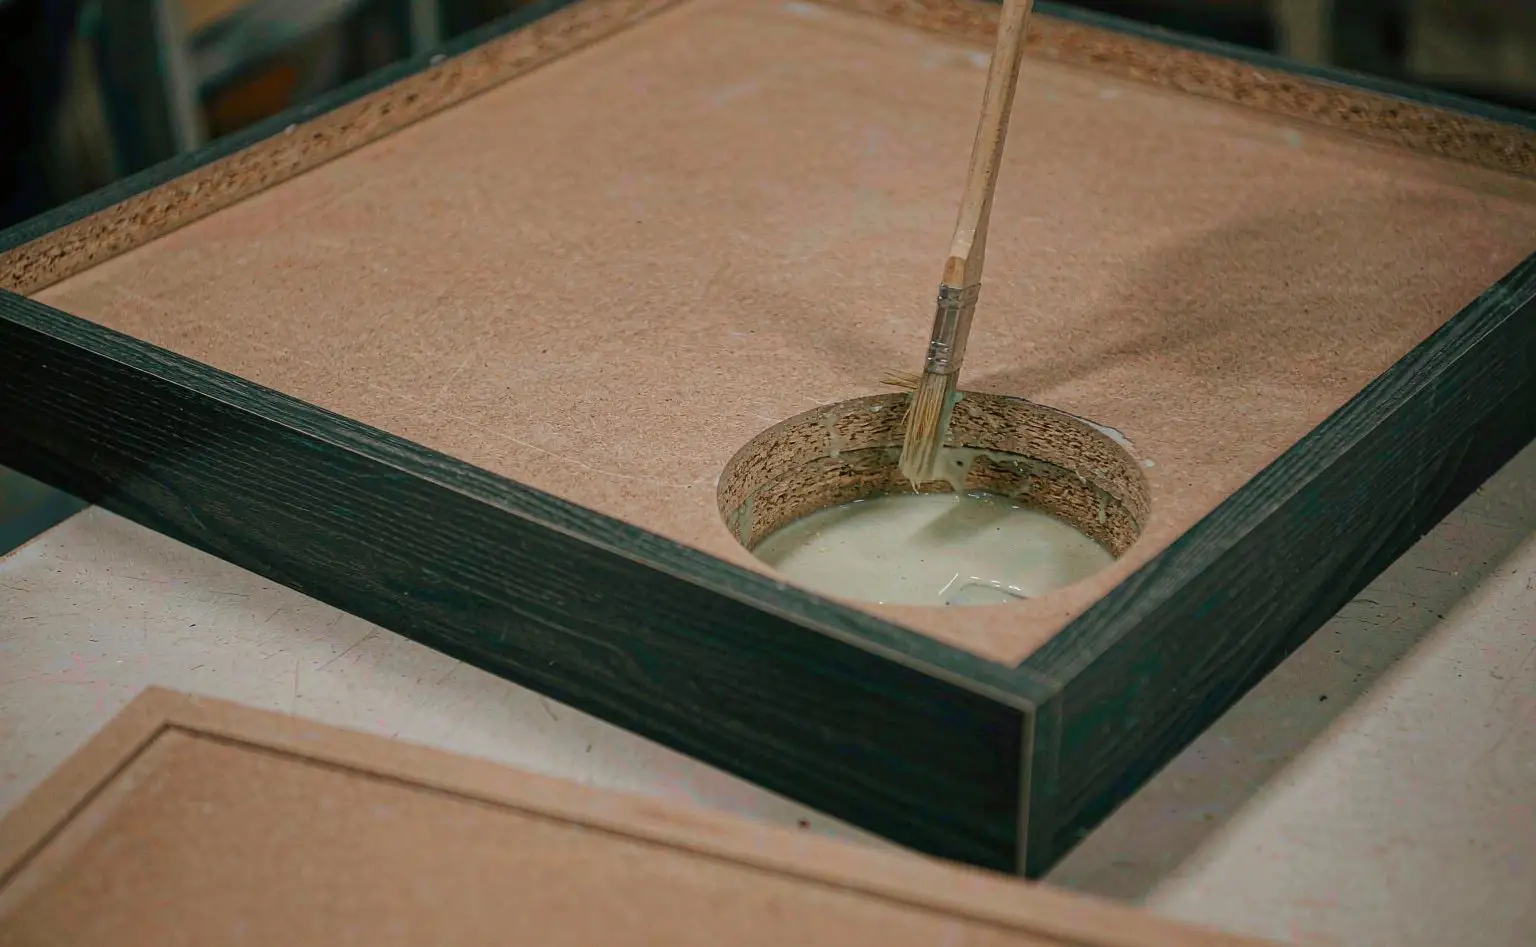
Brushing the cut-outs. Brush immediately after cutting, while the core is fresh. Hold the brush upright and work the liquor into the end grain so the whole rim is wet; on small holes use a swab. Stand the panel to dry and fit the back panel only when dry.
Doors and worktops. Doors follow the cabinet route; a stone or sintered worktop takes no liquor, so the priority is a continuous bead of sealant between worktop and cabinet, with no void behind it.
Protecting hardware. Confirm the board is dry before hinges and runners go on; acidic residue on metal shows up as rust spots, so wipe around the holes before fitting.
5. Drying and the cabinet interior: close the last stretch
Drying spec. Bring the board back to 8%-12% moisture before assembly, checked by batch with a portable meter at the end grain and in the core. Set the kiln temperature to what the adhesive tolerates; on plywood take the time instead.
Sheet inside. Put one iHeir-D sheet at 0.1-0.2 g in each cabinet, on the inside of a side panel towards the back, clear of hardware and off the door. Do not tape it shut: the vapour has to spread.
Packing and storage. Use corner foam and a carton; hold the warehouse below 60%RH, stand cabinets upright, pallets 10 cm off the floor and 30 cm off the wall.
The install stage. Half of all bathroom cabinet problems appear after installation: a sealant bead that is not continuous, a leaking angle valve, standing water on the floor. Write “cabinet off the floor, continuous sealant bead” into the installation sheet. Comparable soak routines are in skylight wooden frame soaking and plastic storage cabinet boards and packing.
6. Questions from the line
Q: The board is soaked, do the edges and cut-outs still need brushing?
A: Yes. The soak covers the faces; the seam and cut faces are what it cannot reach, and where water gets in first.
Q: Can we skip the tank and just spray the surface?
A: No. A spray stays on the face, leaving the end grain and core unprotected, and in a bathroom those ends show spots within two or three months.
Q: Is 1:40 too weak?
A: That is the datasheet ratio; the criterion is 15%-20% gain, not concentration.
Q: How long do soaked boards need to dry?
A: Judge by moisture, not hours. Back to 8%-12% before assembly, measured at the end grain and in the core.
Four closing points: make the bath at 1:40 (5 kg of iHeir-M5 to 100 kg of water), submerge the boards completely with the liquor above the top edge, and soak to 15%-20% gain, roughly 5-10 minutes, judged by weighing and written onto the process card; keep incoming board at 12% moisture or below, keep bare steel out of the tank and rack, and fit hardware after soaking; brush the same liquor into the edge seam and the back panel cut-outs in two coats, pressing each in, and assemble only when dry; dry to 8%-12% moisture, put one iHeir-D sheet at 0.1-0.2 g in each cabinet and hold the warehouse below 60%RH. Mould resistance can be verified to GB/T 18261 or ASTM G21, a one-kilogram sample can be sent ahead, and lead times are on the iHeir-M5 product page.