




 View Count:9
 Date:2026-11-21
How should vacuum flask mould be treated? Start at the lid gasket, then check whether the cup dried through. The gasket groove is a closed ring: screw the lid on wet and black spots form inside, and once in the silicone they do not wash out. Water left in the cup after polishing smells when the carton is opened. The routine is iHeir-IPL at 0.8%-1.0% of compound weight in the gasket, a cup dried to no standing water, and iHeir-D sheets at 0.1-0.2 g in the colour box. This article covers compounding, drying and sheeting.
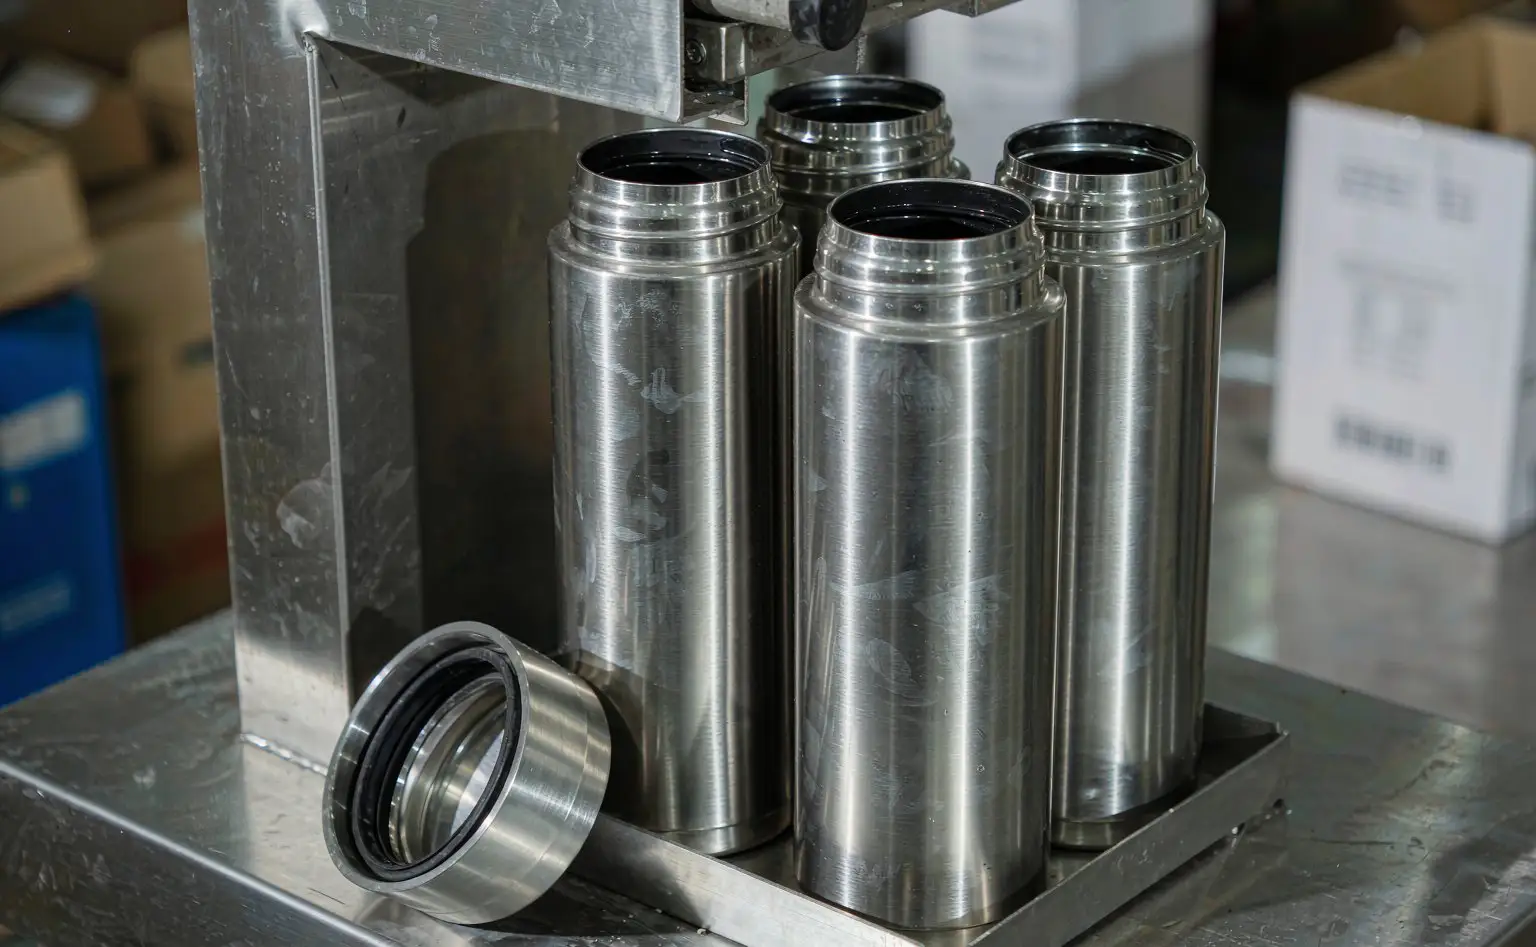
1. Where the growth comes from: groove, residual water, box liner
Groove as a closed ring. The silicone gasket is compressed into a groove in the lid, forming a closed seam. Wash a flask and screw the lid on without drying and water is trapped in that groove; within days black spots appear from the inside out.
Water after polishing. The liner is polished and pickled, then washed, and wash water collects at the bottom of the cup. Box it without drying and the cup becomes a small volume sitting close to saturation.
Damp box liners. Colour boxes use paper trays or EVA inserts, and paper takes up water while EVA foam holds it in open cells. A box with no sheet is a humidity chamber for the flask.
Sea freight adds to it. In a container the air reaches 45-50°C by day and condenses at night, and both the cup and the box take up moisture. The carton opens to water marks around the mouth and a tacky gasket.
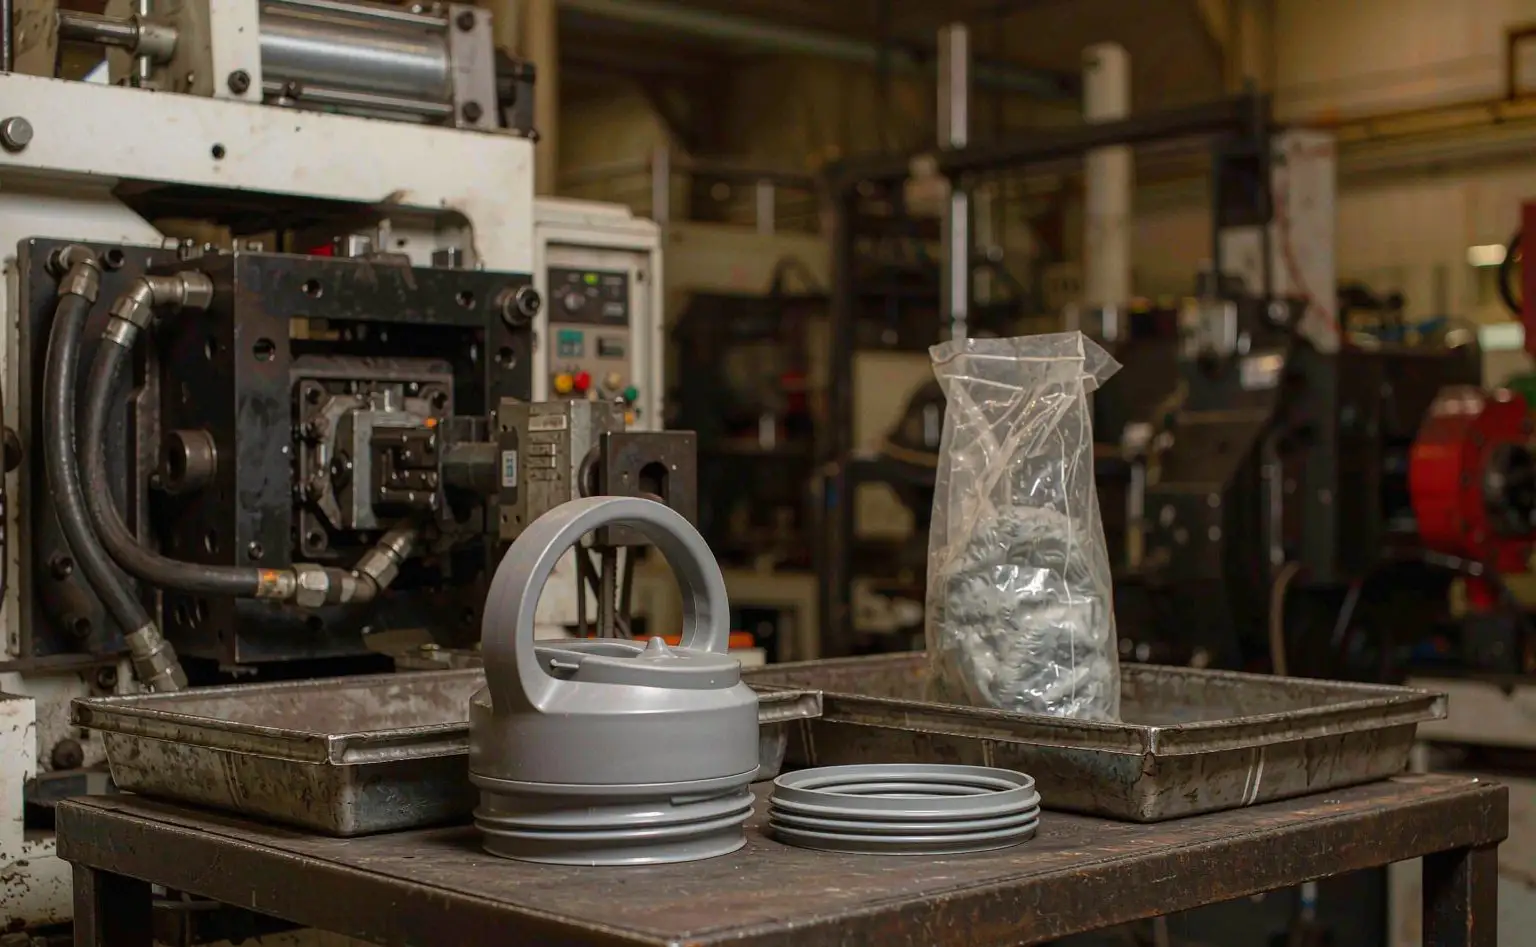
2. Lid gasket: IPL at 0.8%-1.0% in the compound
Dose on compound weight. iHeir-IPL goes in at 0.8%-1.0% of the silicone compound weight, the upper end for clear and pale gaskets and the lower for dark ones. Once a mould’s recipe is fixed, keep it fixed rather than adjusting per batch.
In at mixing, not after moulding. Add it on the mill or in the internal mixer with the fillers, blend it through, then sheet off and vulcanise. A surface treatment after moulding never reaches the inside of the groove.
Dispersion has to be real. IPL is 1-2 μm with whiteness above 90. Add it in two or three portions and band the compound thin each time so the powder does not clump; a clumped batch gives gaskets that are protected in one area and bare in the next.
Heat and appearance. IPL is stable to 300-320°C and does not decompose in the vulcanising window, and it will not yellow a pale or translucent gasket. For food-contact grades clear the recipe with the customer first. Antimicrobial rate is 99.99% or better and can be verified to ISO 22196 and GB/T 20944.3.
| Stage | Material | Product and level | Process | Control point |
|---|---|---|---|---|
| Lid gasket | Food-grade silicone | iHeir-IPL 0.8%-1.0% of compound | Added with fillers at mixing | Banded thin, trial pale gaskets first |
| Cup liner | 304/316 stainless | No additive | Wash and dry after polishing | No water at the base or the rim |
| Colour box | Paper tray, EVA insert | iHeir-D 0.1-0.2 g per sheet, 1 per box | Under the insert when boxing | Sheet off the body, insert moisture checked |
| Export carton | Corrugated | 1-2 sheets per carton | Placed before closing | Moisture film, seams taped |
| Sea container | Container air | Desiccant sticks by container size | Hung after loading | Humidity read before loading |
One boundary. IPL works in the gasket compound, sheets work on the air inside the box, and water inside the cup is a washing and drying job. The step most often skipped is drying the cup: with water still in it, no amount of sheeting in the box is enough.
3. The cup: dry after polishing, check for water marks
Invert and drain. Add a draining rack after polishing and pickling and stand the cups mouth-down for 10-15 minutes; laid flat, water always stays at the bottom.
Temperature and time. Run the drying tunnel at 80-100°C with the time set by cup size, watching the base and the rim. Lids with silicone and plastic parts do not go through with the cups; hold those below 70°C.
Check with a torch. After drying, light the inside of the cup: a ring of water mark where the base meets the wall means it is not dry. Pull 5-10 cups per batch and re-dry whole batches that fail.
Do not screw the lid on hot. Let the body fall below 40°C before the lid goes on. A hot cup sealed up condenses as it cools, which is water locked in the cup, and it shows up worst in the wet season.
4. Colour box and insert: sheet under the insert
Off the body. The box sheet goes between insert and box wall so it works on the air in the box. Left against the flask it marks the finish, most visibly on brushed and coated bodies.
Check insert moisture. Dry paper trays above 12% before use, and replace EVA inserts that hold water and will not dry through. A damp pallet is normal in the wet season, and three to five pulled at random will show it.
Do not seal at once. Leave the packed box in the shop for two hours before closing. A warm flask boxed straight from the tunnel condenses inside a closed box, and the sheet absorbs exactly that water.
Carton and container. Line the carton with a moisture film and add 1-2 sheets; the container takes sticks separately. Comparable drinkware and kitchen work is covered in bamboo coasters and cooler boxes with foam layers.
5. Inspection and rework: where a batch gets rejected
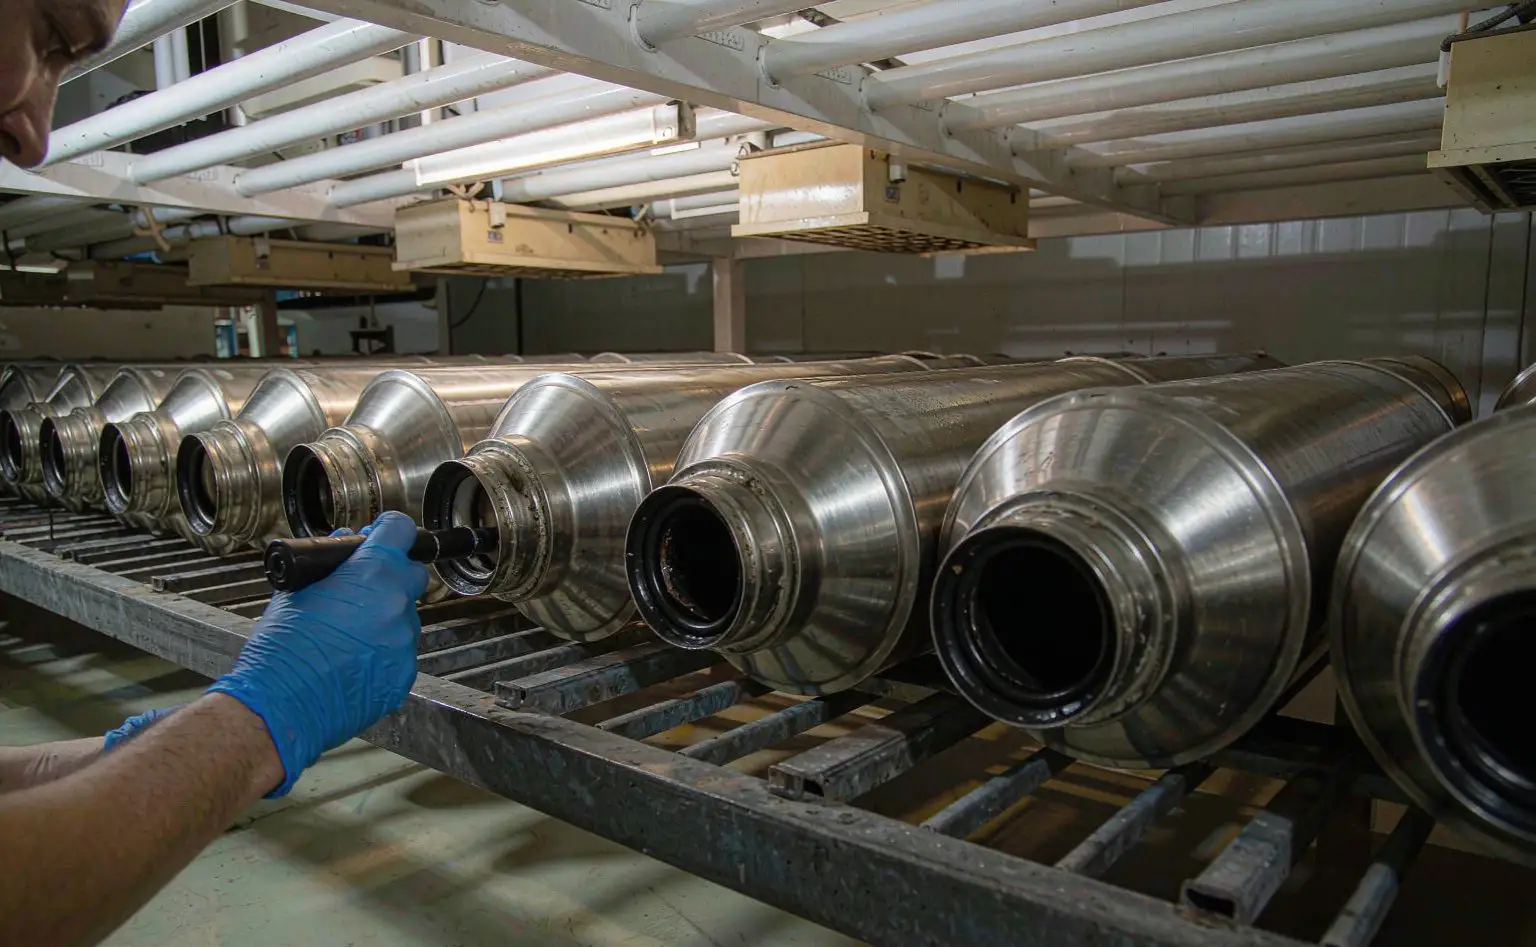
Open the lid and look in the groove. Lift the gasket and check the inside of the groove and the underside of the ring. Black spots, tackiness or smell, any one of them, fails the unit.
Then the cup. Light the base and the shoulder for water marks, pale patches and spots. A musty smell means treatment even without visible spots, because it means activity inside.
Then the insert. Blackened tray corners and a musty EVA insert mean the box has been humid for a long time, so check the warehouse humidity log rather than reworking this batch alone.
How to rework. Light surface growth on a gasket is brushed with a neutral cleaner, dried and the gasket replaced; spots that are into the silicone mean a new gasket. Light growth in the cup is wiped, dried and re-polished, and reworked units are stored separately and boxed the same day.
6. Questions from the buyer
Q: Why does a stainless cup grow mould?
A: The steel does not. Growth sits on polishing compound, cleaner and oil residue, and a half-closed cup at high humidity needs only a film of residue and a film of water.
Q: Will a dosed gasket still spot?
A: Yes. The antimicrobial suppresses growth on the surface but does nothing about standing water or residue. Dosing raises the floor; drying the cup and wiping the groove still have to happen.
Q: Can the lid go through drying with the cup?
A: Not advisable. Silicone and plastic parts have a lower service temperature than the steel body, and drying together deforms the gasket and kills the seal. Dry or air the lid separately and confirm the gasket has recovered before the leak test.
Q: How many sheets does a box of flasks need?
A: One per box and 1-2 per carton, placed under the insert and off the body. The container takes sticks separately, counted by container size.
Dose the lid gasket with iHeir-IPL at 0.8%-1.0% of compound weight when the fillers go in, banded thin in portions for dispersion; drain the washed cups mouth-down for 10-15 minutes and dry at 80-100°C until a torch shows no water mark, then lid them below 40°C; put one iHeir-D sheet at 0.1-0.2 g under the insert in each colour box and off the body, drying inserts above 12% moisture first; add 1-2 sheets and a moisture film per carton. Levels and packing are on the iHeir-IPL product page.