




 View Count:30
 Date:2026-10-26
Can camera mould be prevented at all, or is a lens that has sat in a warehouse for a season already lost? Open the barrel and there is a web of filaments across the coated surface: wipe it and the coating is damaged, leave it and the image goes soft. The barrel and body mouldings take iHeir-IPL at 0.8%-1.0% of part weight, and the assembly room is held below 50% RH. This article covers the moulding stage, the assembly room and the finished store.

1. Mould on photographic equipment starts on the coating
Mould on optical parts is not the material going mouldy; it is a fungus growing on the glass surface. Multilayer coatings are micro-porous, and the pores hold cleaning solvent, finger grease and organic dust from the air; that residue holds water and a spore landing on it germinates. Once the filaments reach into the coating, a solvent wipe takes off the top layer only, the coating has been eaten, and the image shows haze and flare.
The second location is the inside of the lens barrel. Barrels are PC or PC/glass mouldings with a matte internal texture, and the texture holds dust and water; the barrel is a closed cavity, so moisture carried in at assembly has no exit and condenses on the inner wall with every temperature swing. The third is the body shell and the gaps around the controls, where textured surfaces and rubber covers collect sweat and condense water underneath.
There are only three causes: water, residue, no ventilation. So the answer has three parts as well: clean glass plus humidity control, an antimicrobial in the barrel and shell, and a controlled pack and store. Remove any one and the other two cannot cover for it.
2. Barrel and body are separate questions
The table sets out glass, barrel, body shell and the finished store. Optical surfaces take no additive at all; the plastics take an inorganic antimicrobial; the store takes humidity control and desiccant.
| Location | Material and stage | Product and level | Addition point | Basis |
|---|---|---|---|---|
| Lens elements, filters | Optical glass and coating | No additive: cleaning and humidity control | Clean before assembly | Not an additive calculation |
| Barrel, mount ring | PC or PC/glass moulding | iHeir-IPL 0.8%-1.0% | Mixing or masterbatch | On that part’s compound |
| Body shell, controls | PC/ABS, silicone | IPL for the shell; silicone grade for rubber parts | Per material, separately | On that part’s compound |
| Finished store, export | Bodies and lenses | Desiccant plus store humidity below 50% | On boxing and loading | By carton volume and container size |
Two boundaries. First, no additive on an optical surface: a spray, dip or wipe changes coating transmission, so glass is protected by cleaning and humidity alone. Second, the basis is the part: the barrel is dosed on barrel compound, the shell on shell compound, never on the weight of the finished camera, and neither the metal nor the glass takes part in the calculation.
3. Barrel moulding: inorganic grade into the mixing stage
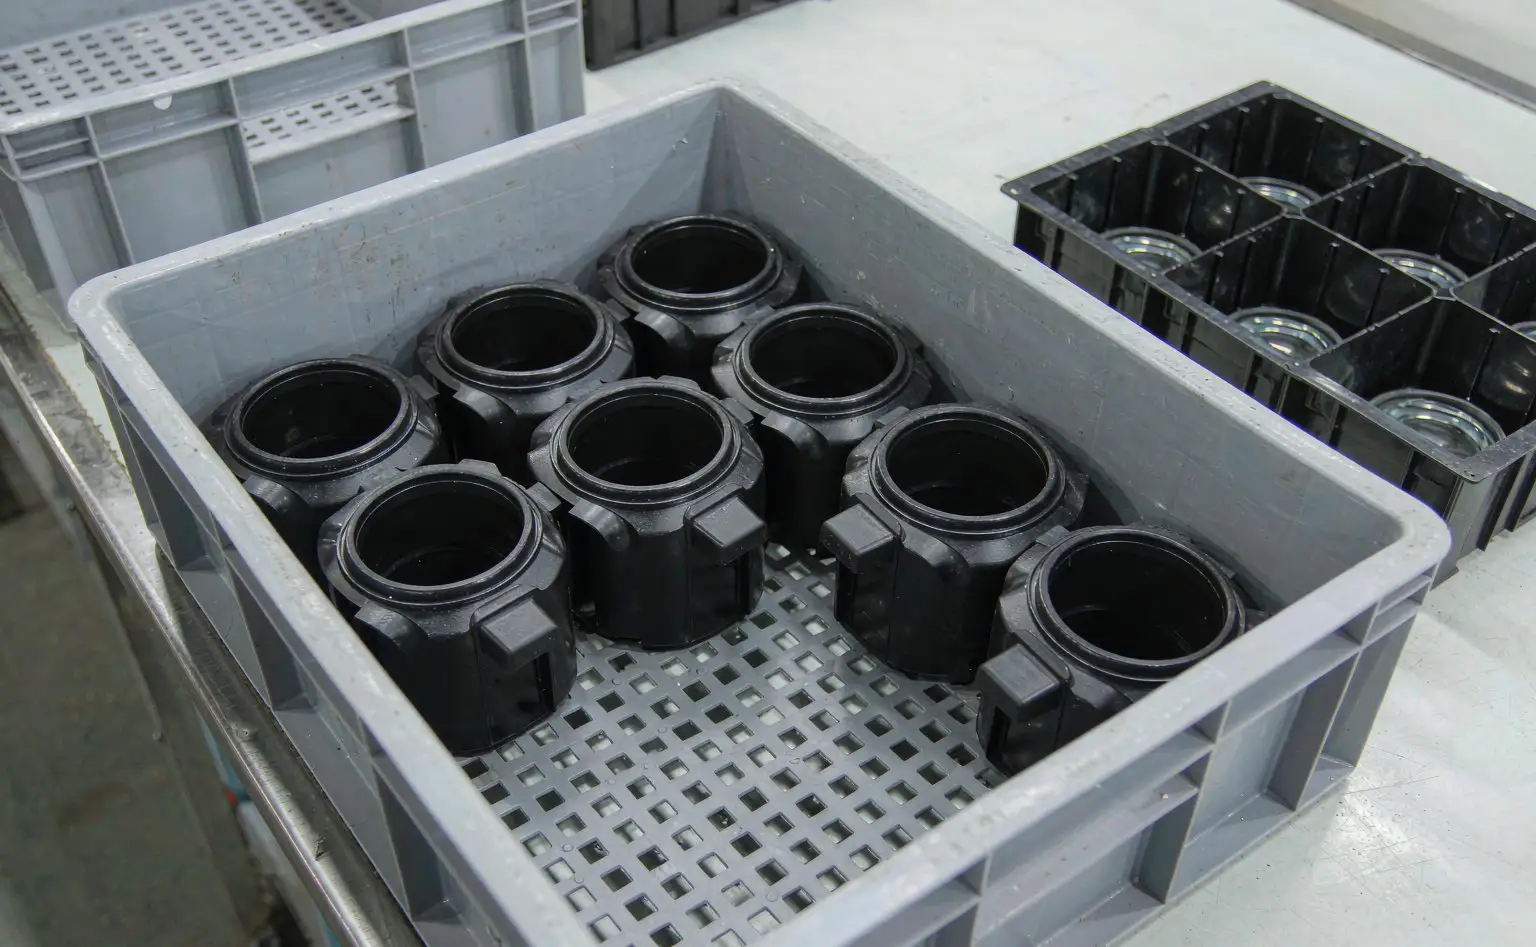
Barrel and mount ring use iHeir-IPL inorganic plastic antimicrobial at 0.8%-1.0%. Whiteness is above 90, particle size 1-2 microns, the carrier is inorganic silver, it takes process temperature well and does not discolour, which suits light and translucent parts; it can be mixed with the resin directly or made into a masterbatch first.
The addition point is mixing or masterbatch let-down. Barrel moulding runs a melt of 260-290C and the inorganic carrier is stable there; at 1-2 microns, well dispersed powder leaves no visible particles on the inner wall. Watch the matte texture: the finer the texture, the more melt flow matters, and an antimicrobial loading reduces flow slightly, so run 0.8% first and go to 1.0% only when texture sharpness and dimensions both pass.
Three mistakes. Treating a translucent part like a black one: light and clear parts show colour shift first, so the inorganic grade and a colour-difference check are not optional. Barrel only, mount ignored: the mount ring and its mating face collect moisture too, and the same compound covers both. Regrind not topped up: sprue returns run 20%-30% on barrel moulding and the antimicrobial is added back in proportion.
4. Assembly room and lens cleaning
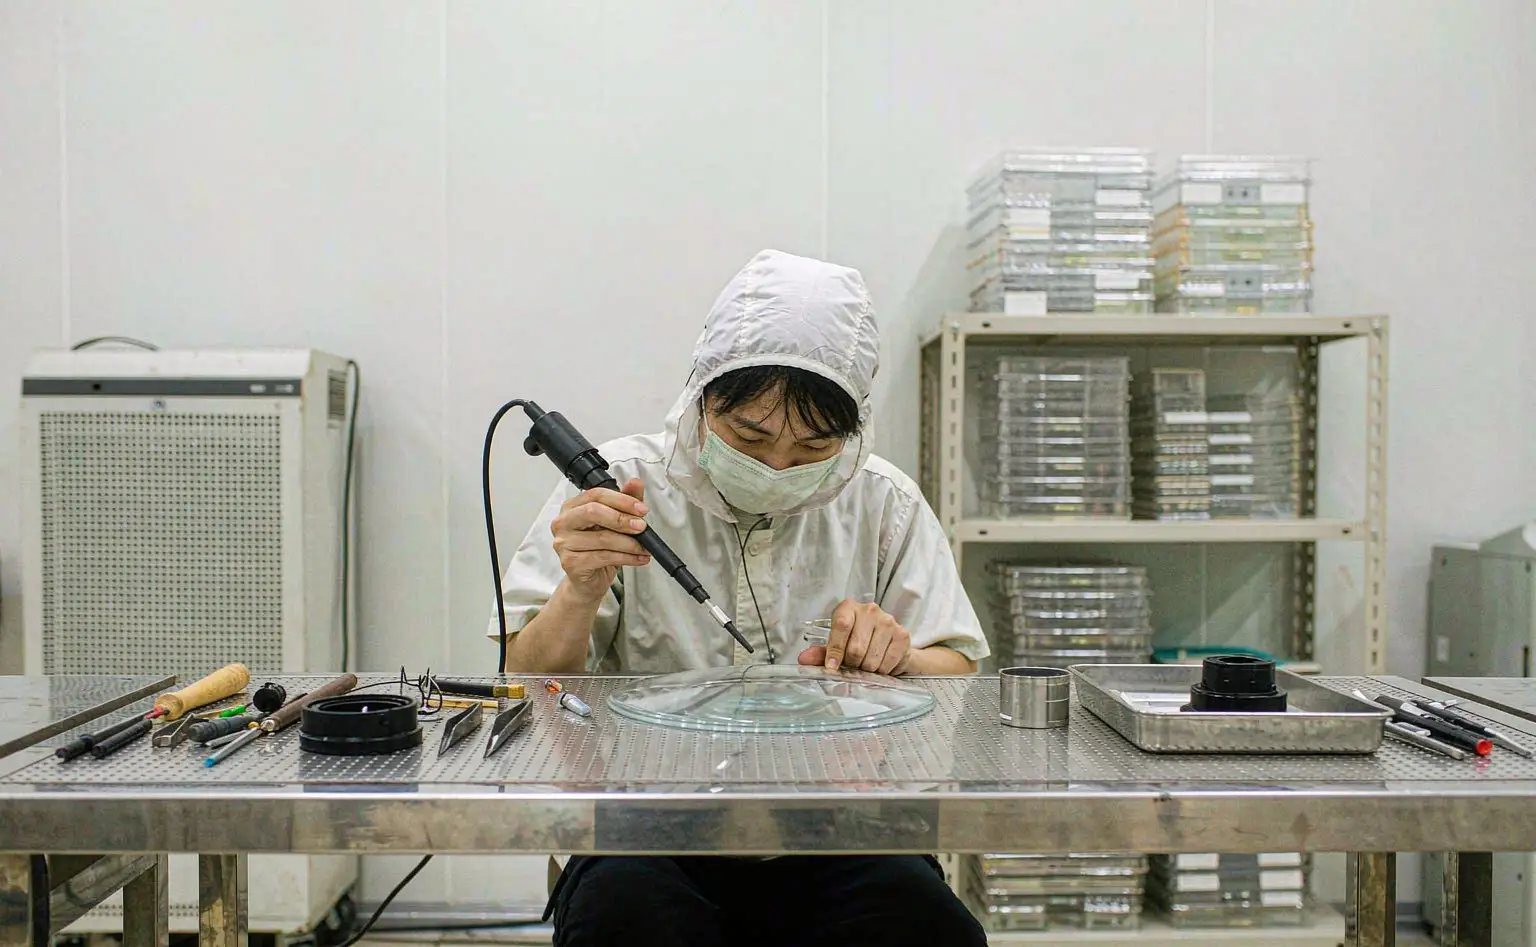
The assembly room decides whether the glass goes mouldy, and the number that matters is below 50% RH. Through the wet season central air is not enough: a desiccant-wheel unit creates a local low-humidity zone, and lens assembly, element cleaning, adhesive dispensing and edge sealing all sit inside it. Log humidity by shift and stop the line to investigate above 55%.
Cleaning runs in three steps: blow off loose dust, wipe one way with a lint-free cloth and anhydrous ethanol, finish with a dry cloth, then leave the element ten minutes in the low-humidity zone before assembly. No bare fingers on the optical surface, gloves changed often, and solvent decanted for the shift rather than left open to absorb water. Adhesives and seals belong in the same low-humidity store, because water in the adhesive layer is the hidden source of mould on the inner barrel wall.
Do not box a finished unit immediately: leave it two hours in the low-humidity zone so the adhesive and seals settle, then bag under vacuum or nitrogen. Regenerate nitrogen and dry cabinets on schedule and calibrate the hygrometer monthly, or the cabinet becomes decoration that reads dry.
5. Finished store and container loading
In the store hold 50%-55% RH, keep lenses and bodies on separate racks away from external walls and the floor, stand cartons 10 cm off the ground and 30 cm from the wall, and open anything over 60 days to check the inner barrel wall and the filter thread. At loading, desiccant sized to the container with an air path to the wall; condensation over thirty days at sea is the main cause of mould on exported optics.
Two details in the pack. A sheet of anti-mould paper between body and lens, set 2-3 cm clear of the body so the vapour can spread. Desiccant kept enclosed in a non-woven sachet rather than taped against a lens, because a burst sachet puts dust on an optical surface.
Verify in three layers. Plastic parts to ISO 22196 for an antimicrobial rate, sampled from the inner barrel wall. The assembled unit through the GB/T 2423 damp-heat series, 48 hours at 40C and 90% RH, then the inner wall and the control gaps checked. A whole-box simulation with desiccant and paper at the same conditions for thirty days, opened to check the coated surface and the filter thread. All three before volume.
6. Questions we get: appearance, test method, mouldy lenses
Does 1% change the appearance or the dimensions of the barrel? The inorganic grade at above 90 whiteness and 1-2 microns is invisible on dark parts, while light and translucent parts need a colour-difference check. Dimensional effect comes through flow, and 0.8%-1.0% sits inside the normal process window; check texture sharpness and mount fit at the trial.
How is the antimicrobial rate tested and what counts as a pass? By ISO 22196, with samples cut from the inner barrel wall and tested against E. coli and S. aureus; optical parts are not tested this way. 99% is the usual reference line in the trade, and the contract specification governs.
What about a lens that has already gone mouldy? Grade it first: filaments sitting on the coating without etching can go through a professional clean, while haze and etched marks mean a new element. The environment has to be fixed either way, or it comes back inside three months.
Four points: barrel and mount at 0.8%-1.0% of part weight with iHeir-IPL, added at mixing or let-down, colour check first on light parts; no additive on glass, cleaning in three steps with ethanol and a dry finish; assembly room below 50% RH and a settling period before bagging; store at 50%-55%, anti-mould paper in the carton and desiccant in the container.