




 View Count:11
 Date:2026-11-09
How is desk mould handled? On a desk the first spots usually show in the seam between the edge band and the board, not on the top. The routine is a 1:40 bath, the board soaked to 15%-20% weight gain in about 5-10 minutes and drip-dried, then the inner face of the edge band and every fresh cut roller-brushed twice with the same liquor, using iHeir-M5 immersion type bamboo and wood fungicide. This article covers the soak, the brushing and the packing.
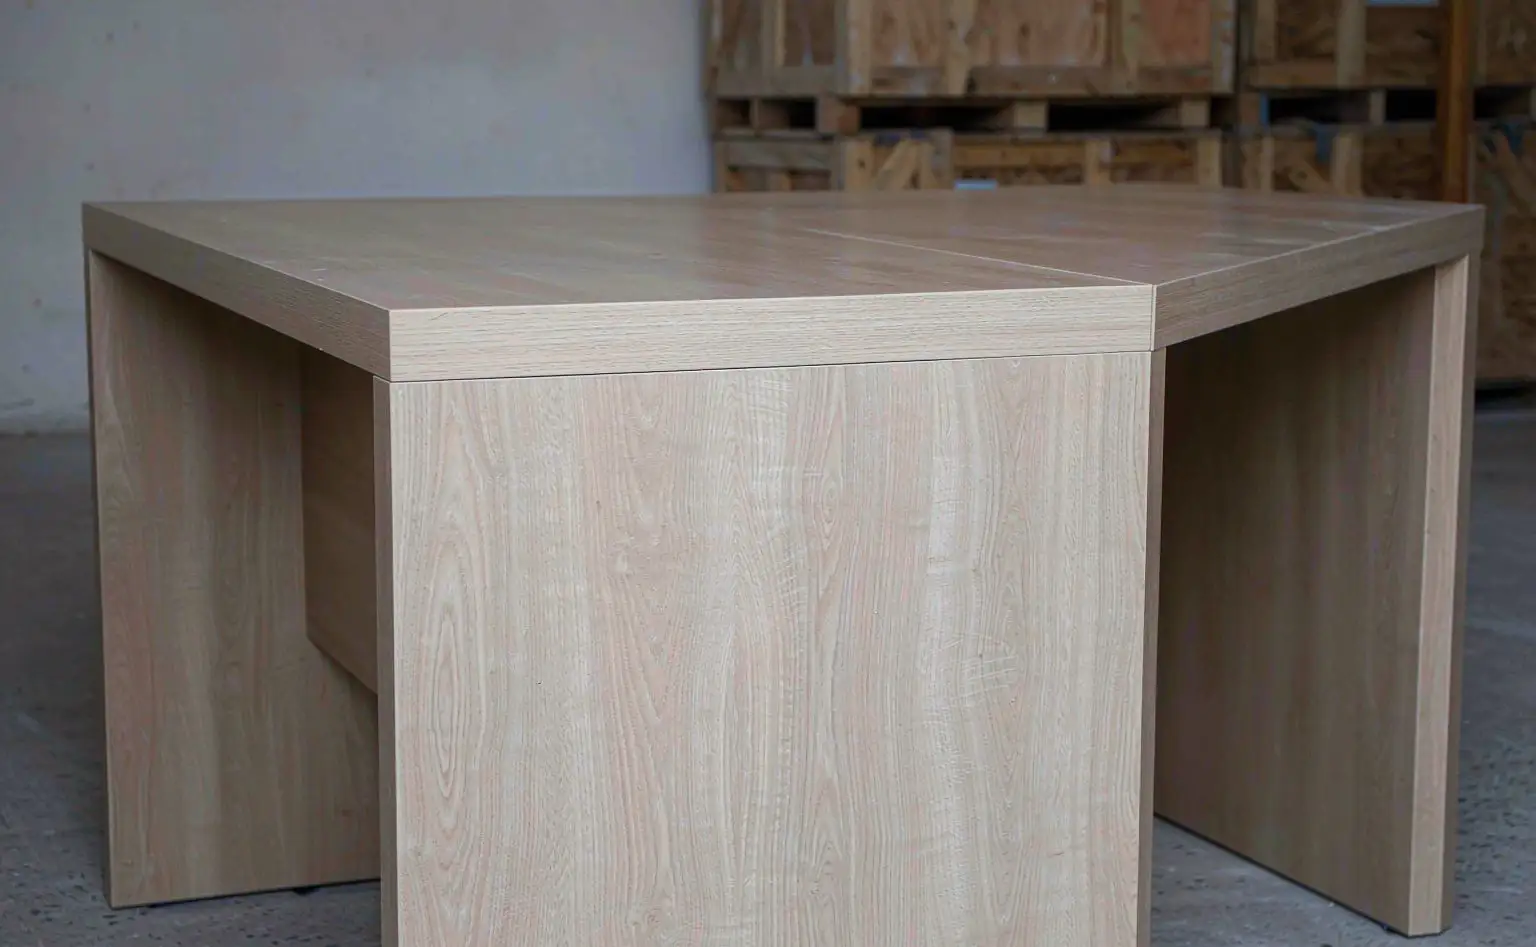
1. The seam between band and board is where mould starts
Take a desk apart: top, edge band, sides, shelf, back panel and hardware. The face has its laminate, so what takes water is the band seam, the cut edge and the back panel.
The band seam is a capillary gap. The band is bonded with hot-melt adhesive, and there can be spots where it never fully pressed down, between adhesive and board or between adhesive and band. The gap is thin but it draws water, and once in, the water is sealed behind the adhesive, so mould works out of the seam in a line.
The cut edge is open. The cut edge of chipboard or plywood is bare fibre and glue, and it takes water fastest. Band it straight off the saw and the edge is unprotected, because the laminate only covers the faces.
The top is the least of it. The top has a wear layer and a laminate, and water on it can be wiped off. On panel furniture, the budget belongs on the edges and cut faces.
2. Top, band and back panel take different steps
The table lines up the top, the band, the cut edge and the packing. Boards that can be soaked go to weight gain, boards that cannot, plus the band’s inner face, go to brushing, with the same product and the same mix applied two ways.
| Part | Material | Treatment | Stage | Control point |
|---|---|---|---|---|
| Solid wood or ply top | Glued solid wood, plywood | iHeir-M5 1:40 soak, 15%-20% gain | Whole board before cutting | Fully submerged, 5-10 minutes |
| Chipboard, MDF | Particle board, medium-density fibreboard | Same liquor, two brush coats on the cut edge | After cutting, before banding | No long soak, avoid swelling |
| Inner face of the band | PVC, ABS banding | Same liquor, one brush coat | Before banding | Cover the adhesive face too |
| Back panel | Thin MDF | Brush both faces, dry before fitting | Before assembly | Moisture content on spec |
One boundary. The soak handles the inside of the timber and the brushing handles machined faces and the band’s inner face. Soak without brushing and the band seam still draws water; brush without soaking and the moisture inside a solid top is untouched. Both are needed.
3. Soaking the top at 1:40: how much weight gain is enough
Mix at 1:40, five kilos of concentrate to a hundred kilos of water, and stir. The dosage is not set by how long the board sat in the tank but by 15%-20% weight gain: that usually takes 5-10 minutes, longer for hard species.
How to weigh it. Pick three boards, weigh them dry, drip-dry after the soak and weigh again. The batch passes when all three land between 15% and 20%; if one falls short, extend the soak or check whether it was floating.
Everything has to go under. A board at the surface has an untreated band. Hold the load down with a grille or weight bar and leave gaps between boards so the liquor reaches every face.
What cannot be soaked. Chipboard and MDF swell and never come back to size, so those substrates get the cut edge and the groove brushed instead. What can be soaked is glued solid wood, plywood and blockboard.
Tank and protection. iHeir-M5 is acidic and must not contact metal or be mixed with alkaline materials, so use a plastic tank and avoid bare steel weights. The concentrate is high in solids and sensitises some skin, so wear rubber gloves and shake the drum before use.
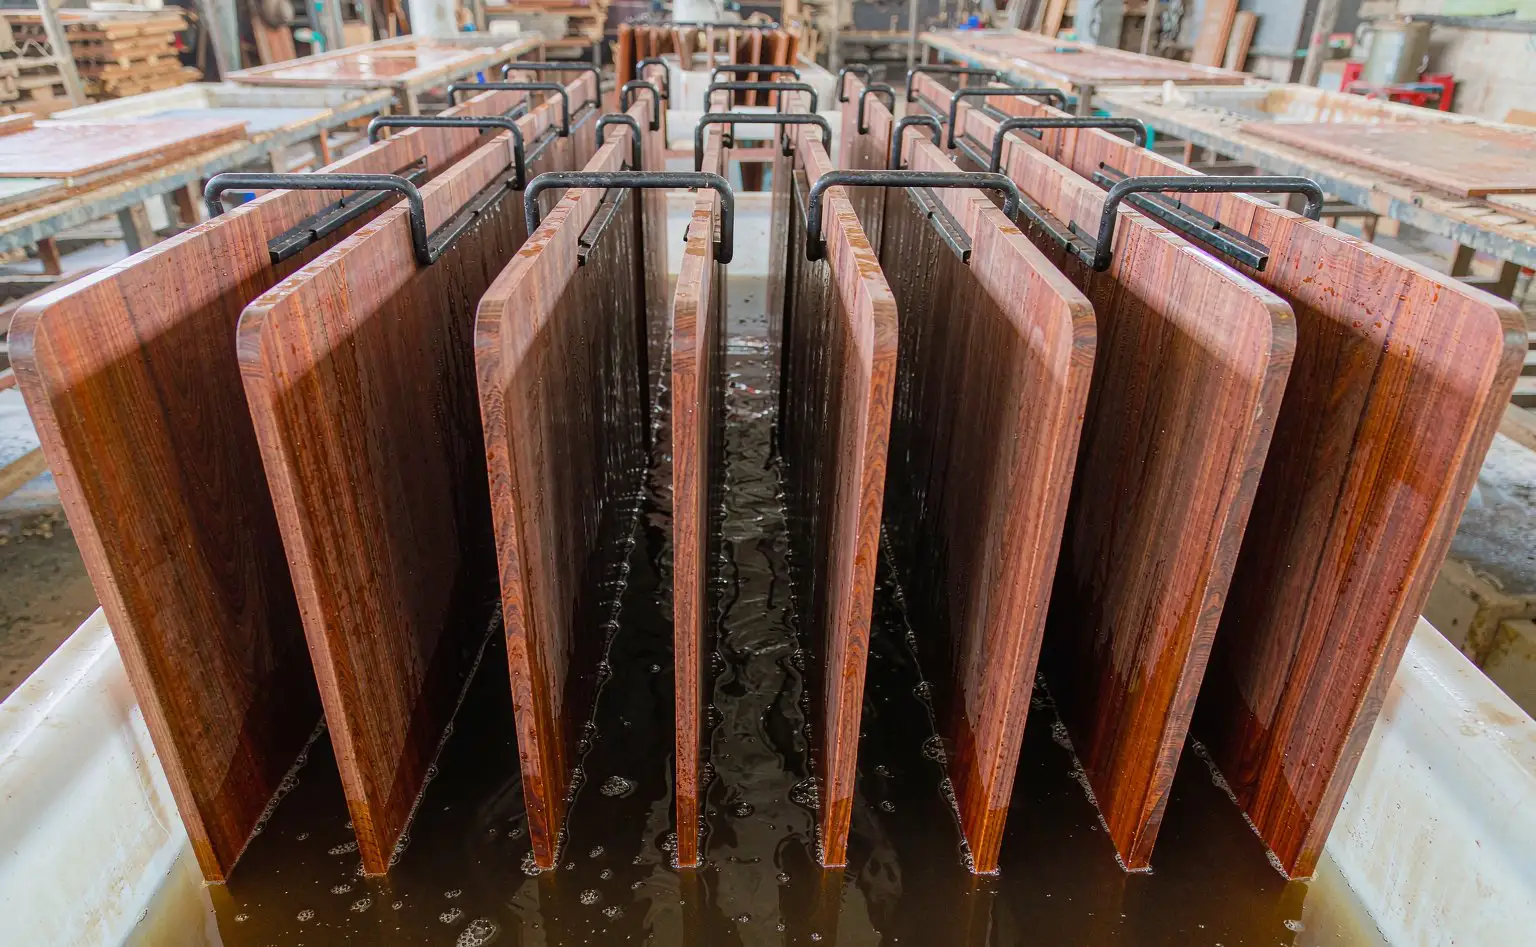
4. Soak first, then brush the band’s inner face
The order is: soak the whole board, cut, brush, then band. Reverse it and the soak is wasted.
Why soak first. A whole board soaks through and the timber is continuous inside; after cutting only the new perimeter is bare, and one brushed coat covers it. Cut first and thin boards distort in the bath while thick ones do not soak through, and the dimensions move.
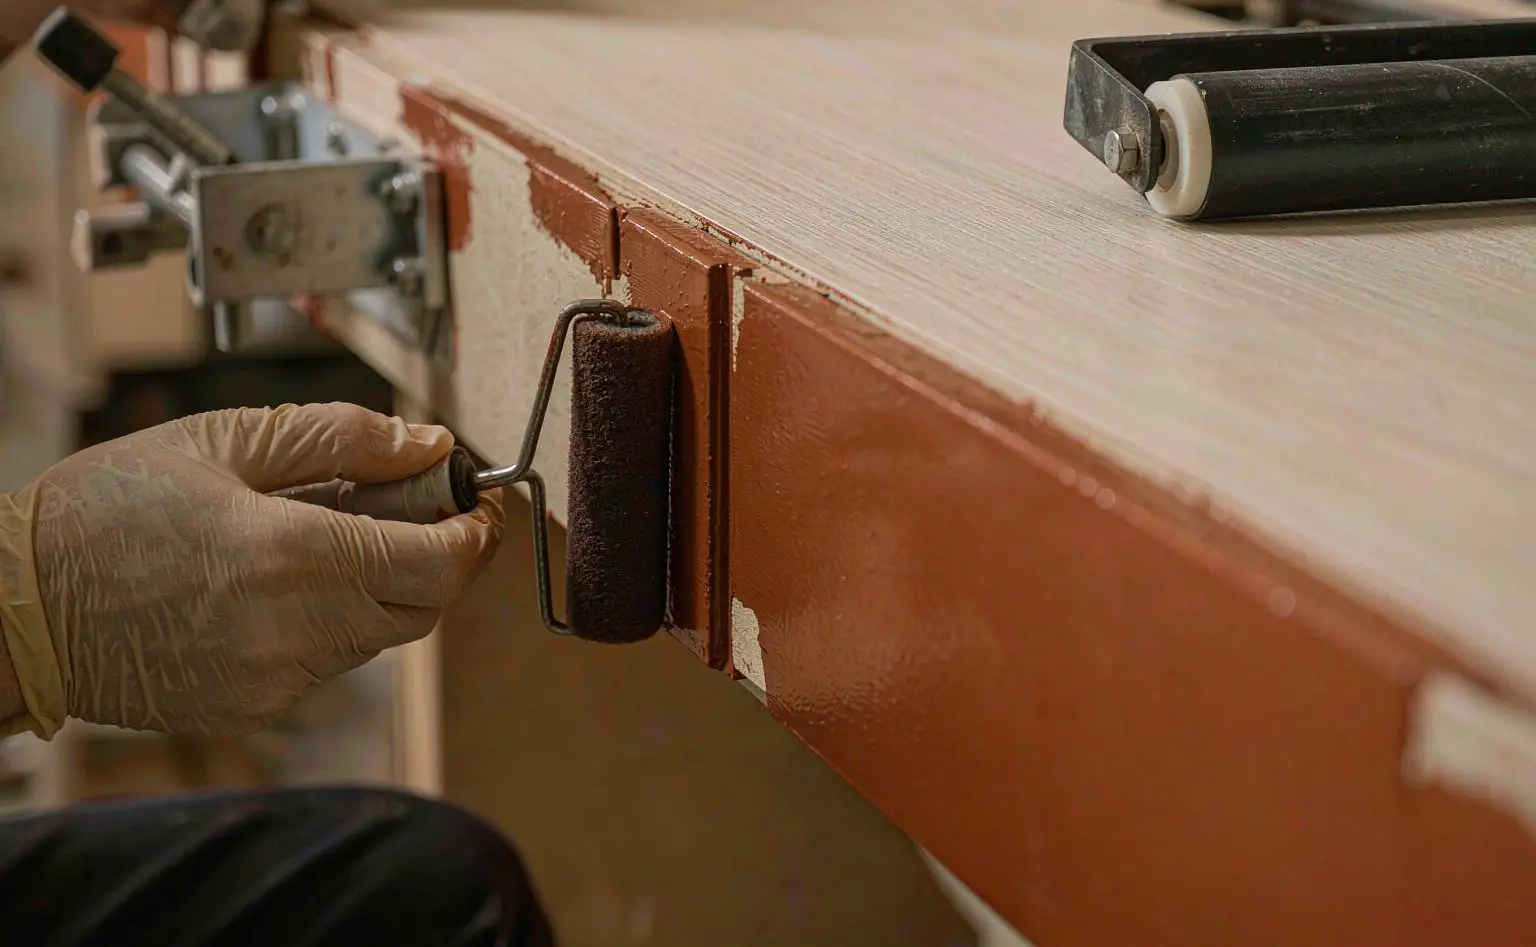
How to brush. With a small roller or a brush, apply the liquor thin and even to the inner face of the band, the groove and the cut edges, two coats with the first dry before the second. Let it dry before banding, because banding while wet seals the water behind the adhesive and does the opposite of the job.
Fill the adhesive bead. Set hot-melt temperature, roller pressure and feed speed to the band thickness, and keep the glue line continuous. Run a hand around the finished edge: wherever you feel a gap, that is a water entry, and re-banding is cheaper than a claim.
Do not forget the back panel. A thin MDF back panel is the most overlooked part, because it sits against the back of the carcass with no airflow. Brush both faces and fit it only when the moisture content is on spec.
5. Drying, stacking and export packing
Once the boards are soaked and brushed, drying and stacking decide the result. Stack them tight in a damp corner and the work is lost.
Dry right through. Drip-dry, then air-dry or sun-dry, and hold the moisture content to the equilibrium value of the destination market. In a humid season natural drying is slow, so use a drying room or a dehumidified room. Band or laminate a board that is still wet and the water is sealed in, and mould comes out of the seam.
Stack with air channels. Stickers between boards, aligned vertically, stack at least 10cm off the floor and 10cm off the wall, store below 60% RH.
Export packing. Desks usually ship knocked down with hardware bagged separately. Before packing, check the whole band line on every piece for darkening or cracks, use dry inserts in the carton, line the container and hang desiccant sticks. For the claim side see mouldy furniture and a buyer claim, for panel furniture overall see custom furniture panels, and for the three application routes see wood anti-mould agents in practice.
6. Questions on substrates, gain and rework
Q: The top is particle board, so it cannot be soaked. Now what?
Brush it instead. After cutting, roller-brush the cut edge, the groove and the band’s inner face twice with the same liquor, dry, then band. Not being soakable only changes the application.
Q: How much difference is there between 15% and 20%?
The difference is penetration depth and service life. Thin boards, humid climates and long sea routes take 20%; thick boards and domestic work take 15%. Test three boards and require all of them inside the band.
Q: Can I brush only and skip the soak?
For solid wood and plywood tops, soak, because brushing does not reach moisture inside the board. Chipboard and MDF can only be brushed. Decide by substrate, not with one rule for everything.
Q: The seam has already gone dark after banding. What now?
Strip the band, clean the mould off, re-brush the cut edge, dry and re-band. If several pieces in a batch show it, sample the whole batch’s banding rather than fixing only the pieces you can see.
Four points to take away: mix at 1:40 and soak solid wood and plywood tops to 15%-20% weight gain in about 5-10 minutes, fully submerged, in a plastic tank away from metal and alkaline auxiliaries; brush chipboard and MDF cut edges, the band’s inner face and every fresh cut twice with the same liquor, dry, then band with a continuous glue line; dry to the equilibrium moisture content of the destination market, sticker stacks 10cm off floor and wall and hold the store below 60% RH; grade mould resistance to GB/T 24346-2009 and check furniture to GB/T 3324 at the band and the appearance. A kilogram of concentrate goes out for a trial, with MOQ on the iHeir-M5 product page.