




 View Count:50
 Date:2026-09-07
“How do I stop stone efflorescence?” “Why does white haze keep coming back after I wipe my marble floor?” “Why does my basement wall get both white haze and mold spots at the same time?” — these are the three most common questions we hear from stone factories, tile factories, interior contractors and project companies in 2025. Stone and tile do not get “sick” on their own. Efflorescence and mold are both downstream effects of moisture intrusion: moisture brings alkaline salts to the surface, and at the same time carries mold spores into the gaps. The result is white haze plus mold spots, side by side, hurting both appearance and acceptance. This article is for stone factories, tile factories, contractors and project companies: what is the difference between efflorescence and mold, how to pick the right waterproofing agent, how to do the construction right, and which acceptance standards to use.
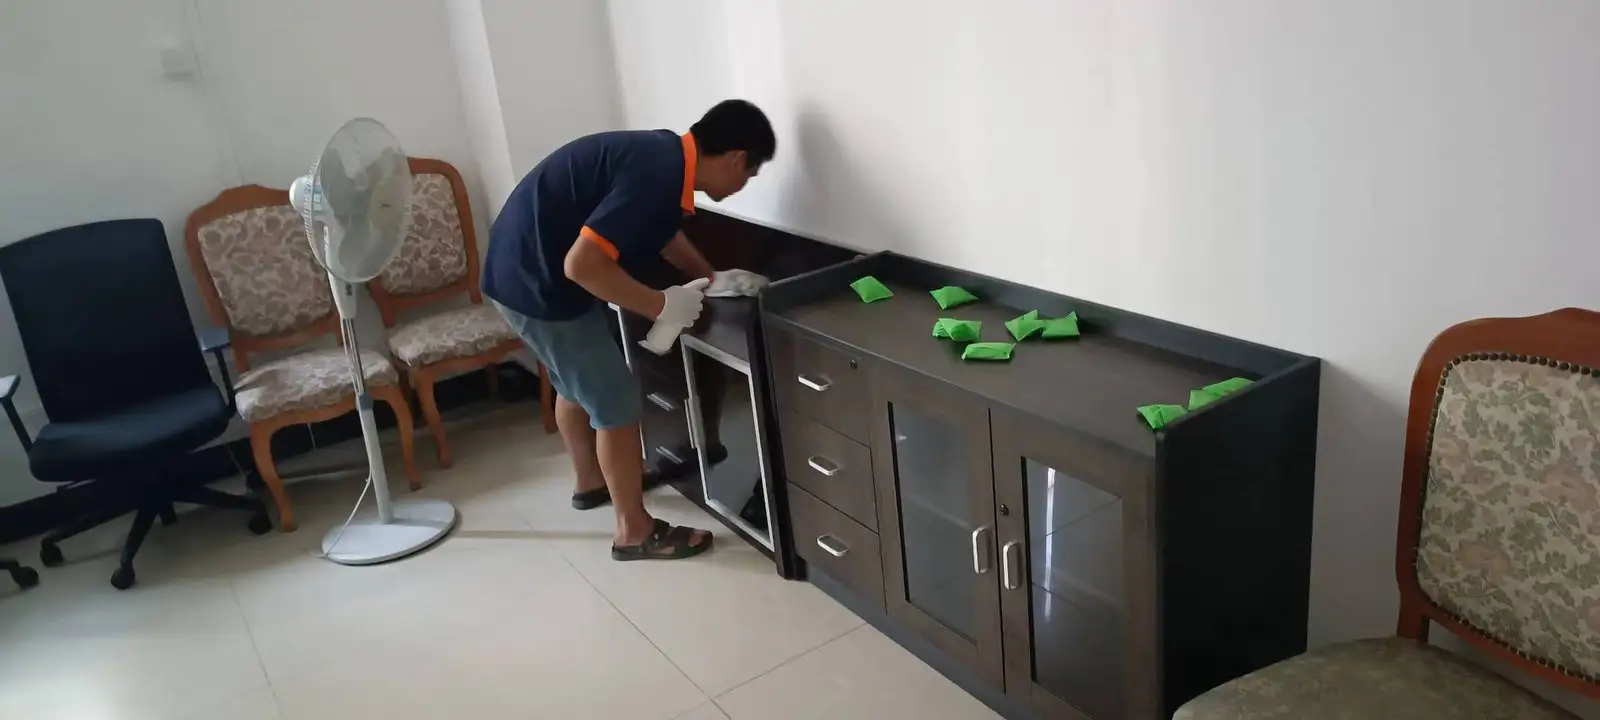
1 Efflorescence vs mold: same root cause — water intrusion
Many people treat efflorescence and mold as two separate problems, but they are in fact two symptoms of the same root cause: moisture intrusion:
- Efflorescence (white haze): moisture penetrates stone, tile or cement substrate, dissolves alkaline salts (mainly calcium hydroxide, calcium carbonate, sodium sulfate) inside the material and carries them to the surface; as the water evaporates, the salts crystallize as a white layer — that is the “white haze”. It keeps coming back after wiping because moisture is still migrating inward.
- Mold: the same moisture migration carries airborne mold spores into the micro-pores of stone / tile / cement; at 20–35°C and >65% RH with organic dirt as nutrient, mold begins to grow, forming grey-green spots, black spots and white fuzz with a musty smell.
- The two usually appear together: a bathroom wall often has white haze on the lower part and mold on the upper part; a basement wall is the classic return damp + efflorescence + mold trio — same cause, different symptoms by location.
So the solution logic is the same: cleaning is symptomatic, blocking moisture is the cure. Cleaning only removes the visible white haze and mold, but if moisture is not blocked, it returns within months. To block moisture, the core is a correct waterproofing layer + the right waterproofing agent + correct drainage slope. Wall mold problems are covered in How to Deal with Mold on Walls.
2 How to pick the waterproofing agent? M300 oil-based vs water-based vs penetrating
Stone and tile waterproofing agents are the key to solving efflorescence. The three common types on the market:
- ① Oil-based waterproofing (solvent type): silane / siloxane in a solvent carrier, strong penetration, good weatherability, long-lasting waterproof, ideal for porous substrates: stone (marble, granite), tile, paper goods, wood. A typical product is iHeir-M300 odorless oil-based waterproofing agent, see iHeir-M300 Odorless Oily Waterproofing Agent. Strengths: odorless (indoor use), single coat, can be applied on slightly damp substrate. Weaknesses: higher price, requires ventilation.
- ② Water-based waterproofing (emulsion type): water carrier with fluorine / silicone emulsion, safe, easy to apply, ideal for large area paving, exterior walls, floors. A typical product is iHeir-666 water-based DWR agent, see How to Choose a Waterproofing Agent. Strengths: no solvent odor, can be applied in closed space. Weaknesses: weaker penetration than oil-based, needs more coats.
- ③ Penetrating waterproofing (silane / siloxane): small silane molecules penetrate the micro-pores of the stone and chemically react with the substrate to form a waterproof layer; no visible film on the surface, does not change the stone’s appearance. Ideal for premium marble, polished surfaces, cultural stone. Most expensive, but the most invisible finish.
For stone factories, tile factories and contractors, the most cost-effective combination is: one oil-based pre-treatment at the factory (M300 recommended) + one water-based or penetrating coat after tile installation. M300’s edge is odorless, no change to stone gloss, can be applied on slightly damp substrate, and is now the default choice for many stone factories and export pre-shipment protection. Paint and waterproofing coordination is covered in Paint Anti-Mold Agent Selection.
3 Construction process: bathroom, basement and exterior wall
Different scenarios need different processes, and using the wrong process is the main reason for rework today. Key points for three typical scenarios:
- Bathroom wall / floor: substrate prep (no dust, no oil) → repair hollows and cracks → 2 coats penetrating waterproofing (cross-direction) → 24h dry → interface agent before tiling. Key points: wall waterproofing height ≥1.8 m (full height in shower area), floor slope to drain ≥2%. Bathroom plastic part mold control is covered in Toilet & Bathroom Antibacterial Solutions.
- Basement wall / floor: substrate prep → leak sealing (crack grouting or epoxy mortar) → 2–3 coats oil-based waterproofing (M300) → 48h dry → add drainage board and moisture barrier if needed. Key point: basement exterior-side waterproofing must combine “rigid + flexible” — rigid leak-seal first, then flexible membrane on top.
- Stone curtain wall / exterior wall: factory pre-treat stone with M300 dip (5–10 min immersion) → 24h air-dry → install on site → seal joints with silicone or polyurethane sealant. Key point: leave 5–8 mm joints during installation, fill with elastic sealant to avoid thermal-expansion cracking and water ingress.
Two details often missed on site: ① substrate moisture — if the substrate is too wet the agent cannot bond, if too dry it penetrates too fast; apply when substrate moisture is 8%–15%, measured with a moisture meter; ② curing time — covering the waterproofing layer before it fully cures is the same as not doing it, wait 24–48h before the next process.
4 Acceptance and test: JC/T 1043, GB/T 23457, water absorption
How do you check if the waterproofing is OK? Three common test dimensions:
- Water absorption test (fastest): pour water on the treated surface, if water beads stay on the surface for 5+ minutes without penetration, it passes; if water is immediately absorbed, the waterproofing layer has failed or is not fully cured. Simple but effective.
- JC/T 1043 Ceramic Tile Adhesive (installation acceptance): tensile bond strength ≥0.5 MPa (standard) / ≥1.0 MPa (enhanced). Passing means the waterproofing layer is reliably bonded to the tile.
- GB/T 23457 Pre-applied Waterproof Membrane or Polymer Cement Waterproof Mortar (waterproofing layer acceptance): impermeability 0.3 MPa × 30 min no leakage, tensile strength ≥1.2 MPa, elongation at break ≥200%. Passing means the waterproofing layer itself meets the spec.
For export stone orders, also run the destination-market test: EU EN 16511 / EN 13892, US ASTM C627, Japan JIS A 6909. We suggest stone factories include JC/T 1043 test result + waterproofing agent brand + number of coats in the factory report, as the export performance warranty.
5 Common mistakes and a customer case
In one customer case, a Nan’an (Fujian) stone factory exporting marble to the US in 2024 did not apply any pre-shipment waterproofing dip; on arrival, the customer’s warehouse found 35% of the slabs had efflorescence on the back side, and the claim was over RMB 800,000. In 2025 they switched to a 5-minute M300 dip + 24h air-dry at the factory, and across 8 export batches to year-end there were zero white-haze complaints, winning the customer’s annual-exemption QC audit. The opposite case: a Zhejiang interior contractor doing a basement wall only applied one coat of water-based waterproofing; within 3 months the wall showed massive efflorescence and mold, and the rework cost more than the original installation; they finally had to remove the wall, redo oil-based waterproofing plus drainage board, and only then solved it.
Three common takeaways: ① “only one coat” — oil-based needs at least 2 coats, water-based at least 3 coats; ② “wrong agent” — stone needs stone-specific agent (M300 class), do not substitute generic “waterproof paint”; ③ “ignore drainage slope” — if water does not drain, even the best waterproofing cannot survive long-term soaking. Bathroom floor moisture logic is the same as stone — see Toilet & Bathroom Antibacterial Solutions for the dry/wet separation and slope principle.
6 FAQ
Q1: The stone already has efflorescence — how do I treat it?
First clean with a stone-specific alkaline remover (weakly acidic), rinse with clean water, dry 24–48h, then apply the waterproofing layer (M300 oil-based). If the efflorescence is severe and the surface is already powdery, lightly grind and re-protect — do not coat directly on the powdery layer, it will delaminate.
Q2: Is M300 oil-based waterproofing safe for indoor use?
M300 is odorless, low-VOC oil-based waterproofing, can be applied in closed or semi-closed spaces, but keep windows open for 24h during and after application. For pregnant-women and infant rooms, ventilate 48h before move-in for safety.
Q3: How long does the waterproofing layer last?
M300 oil-based lasts 5–8 years in normal conditions, 3–5 years in high-humidity or frequent water contact. At end of life, do not remove the old layer — apply 1 fresh coat of M300 directly on top to renovate.
Q4: Tile grout is getting moldy — what to do?
Remove the old grout, clean the gap, dry it, then re-grout with anti-mold epoxy colored sand grout. Standard silicone grout is mold-prone; epoxy colored sand has better anti-mold performance. Keep the tile surface dry and well-ventilated after the work, that significantly extends grout life.