




 View Count:21
 Date:2026-10-27
Straw hat mould: how do you dip the hat body so it holds, and why redry it after shaping? A batch sat in a warehouse through three wet weeks; a ring of grey-green spots came up on the sweatband inside the brim, mould followed the braid seams, and wiping left yellow stains that sent the lot to seconds. The body is dipped in iHeir-M5 mixed 1:40 to a pick-up of 15%-20%, and the carton carries iHeir-D paper. This article covers the dip, the redrying after shaping and the packing.
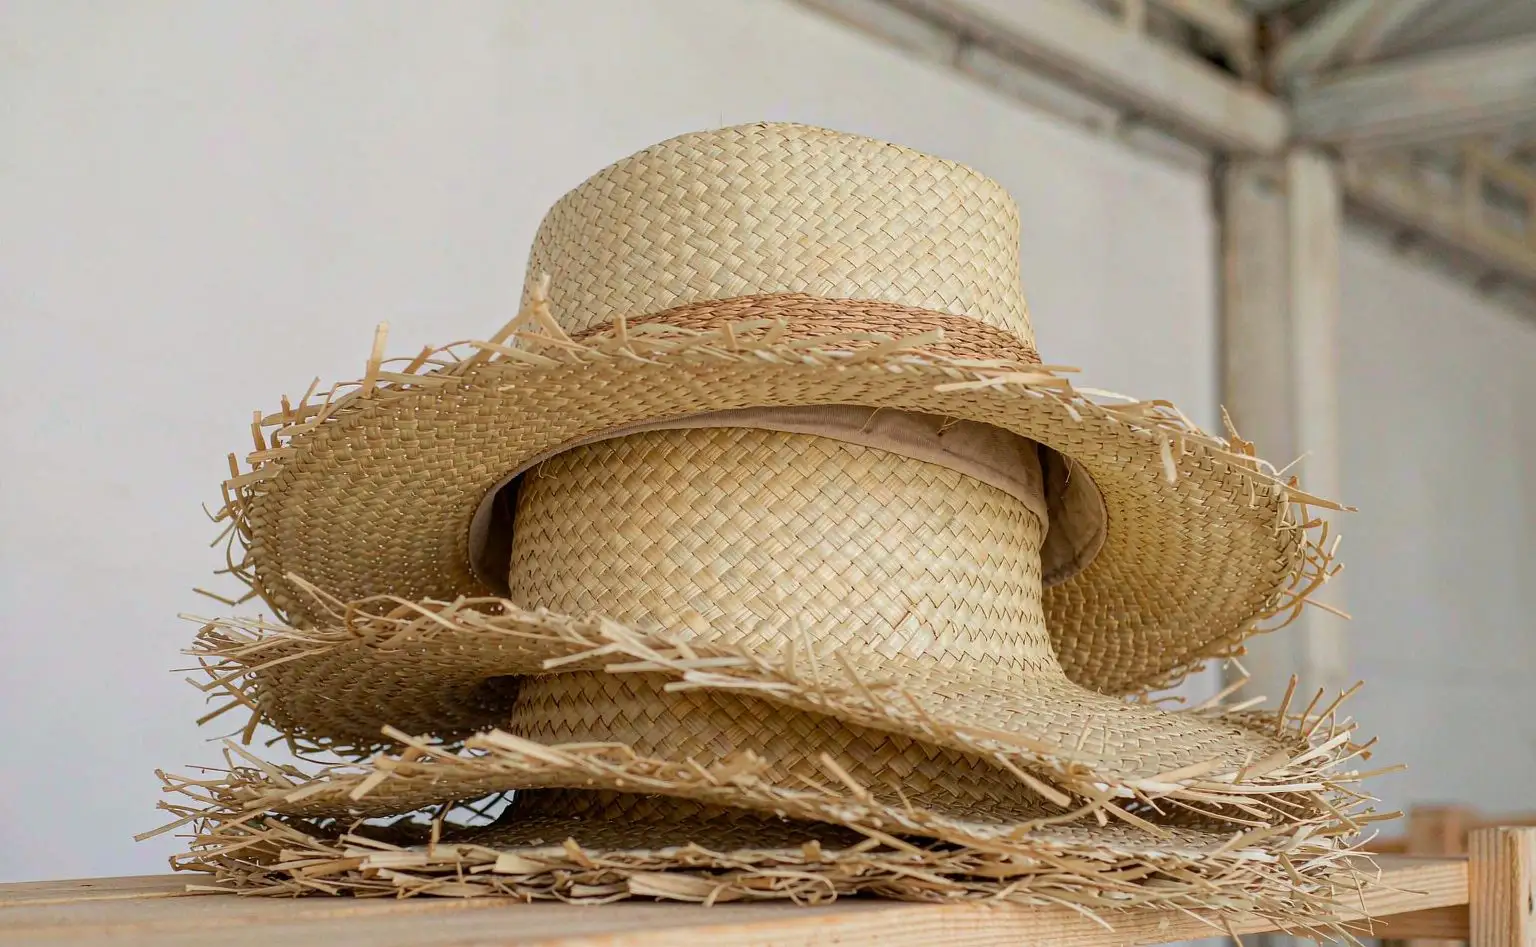
1. Mould starts at the sweatband and in the braid seams
A straw hat is braid stitched into a body, and the braid is full of gaps. Those gaps hold dust and water, and pressing the crown means steam: moisture enters through the seams while the only way out is a small area at the crown. So the problem is rarely the straw rotting; it is water that never dried out of the seams.
The first place to fail is the sweatband inside the brim. It is cloth sitting against the forehead, so sweat, sebum and cosmetics all end up in it, and it is the warmest, dampest part of the hat. The second is the seam between body and brim, where two layers of braid and a row of stitching make a thick section that dries slowly. The third is the grooves pressed in by the mould, where the braid is compacted and water is locked into the fibre.
All three point to one action: give the straw itself protection, then drive the water out. A spray only coats the outside of the braid and the water inside the seams still feeds mould; drying alone leaves the hat defenceless against the next rain or the next container’s condensation.
2. Body, sweatband and packing are separate questions
The table sets out body, sweatband, pressing and packing. The body is dipped, the sweatband goes through the bath with it, and packing uses gas-phase paper.
| Location | Material and stage | Product and level | Method | Basis |
|---|---|---|---|---|
| Body and brim | Stitched straw braid | iHeir-M5 at 1:40 | Whole hat immersed 5-10 minutes | Pick-up of 15%-20% |
| Sweatband | Cotton or poly-cotton cloth | Carried in with the body | Same bath as the body | Not calculated separately |
| Pressing and shaping | Steam-heated mould | No further additive, redry only | Redry after shaping | Controlled by moisture content |
| Packing and export | Bagging, carton, container | iHeir-D at 0.1-0.2 g per sheet | One sheet laid flat in the carton | Sheets per carton volume |
Two boundaries. First, the basis for M5 is pick-up, not a percentage of bath: an immersion product is judged by how much the straw takes in, and a 15%-20% weight gain says more than a bath concentration ever will. Second, nothing is added at the pressing stage: pressing is heat and water, and more additive there only sits on the surface and spoils the hand and the colour.
3. The dip: a 1:40 bath, 5-10 minutes, a fifth of the weight
The body uses iHeir-M5 immersion fungicide, a grade made for bamboo, wood, rattan, miscanthus, palm and straw. It resists acid and alkali, does not wash out easily, penetrates well, adheres well and stands up to high humidity — which is what a straw hat needs, since it is a product that gets damp again.
Mix the bath 1:40, one part M5 to forty parts water, at ambient temperature. Immerse the whole hat, soak 5-10 minutes, lift and drain. Whether the soak is long enough is read off the pick-up of 15%-20%: weigh before the dip and again after draining, and if the gain falls in that window the braid core has taken up the bath. Too short and the core stays dry; too long and the straw holds so much water that drying becomes hard and the shape tends to collapse.
Three common mistakes. First, spraying instead of dipping: a spray wets the outside of the braid, the seams stay dry, and the mould starts in the seams the moment humidity returns. Second, running the bath until it turns cloudy: straw dust and grit carry in, and a cloudy bath adheres poorly — change it per batch and fit a strainer. Third, stacking the hats to drain: water is trapped where the hats touch, so hang each hat on its own drain rack and let the water run off the brim.
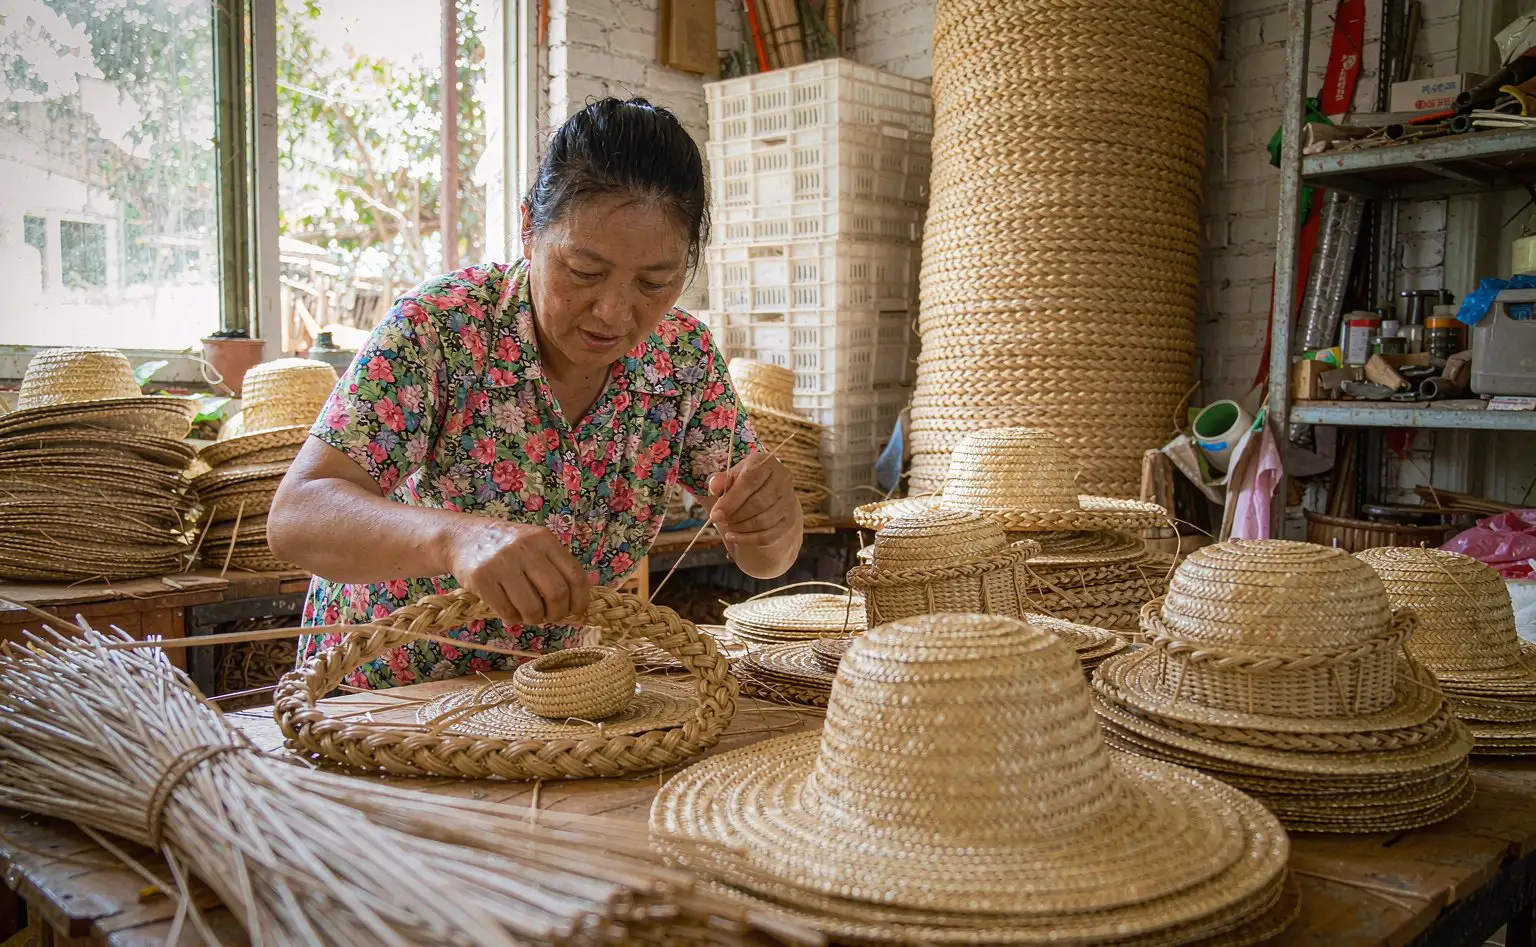
4. Redry after the pressing stage
The shape comes from pressing: the dipped, part-dried body goes onto a heated mould with steam and pressure so the braid softens and takes the form. As the press finishes, the body is back above 20% moisture — the steam went in, the water in the seams has not come out — and going straight to the warehouse at that point is packing a wet hat.
So it is dried a second time. Hold the redrying oven at 60-70℃ and run it to the thickness of the hat, bringing the moisture below 10% before the hat leaves the oven; then let it stand in the shop for two hours to even out before bagging. Keep the shop below 60% RH with dehumidifiers in the wet season, and hang the hats rather than stacking them.
This step gets skipped because the hat already feels dry, and touch is not reliable: the braid surface dries quickly while the seams lag behind, so a hat that feels dry is often still losing weight. Three readings with a moisture meter at the body-brim seam are worth more than any amount of handling.
5. Packing and export
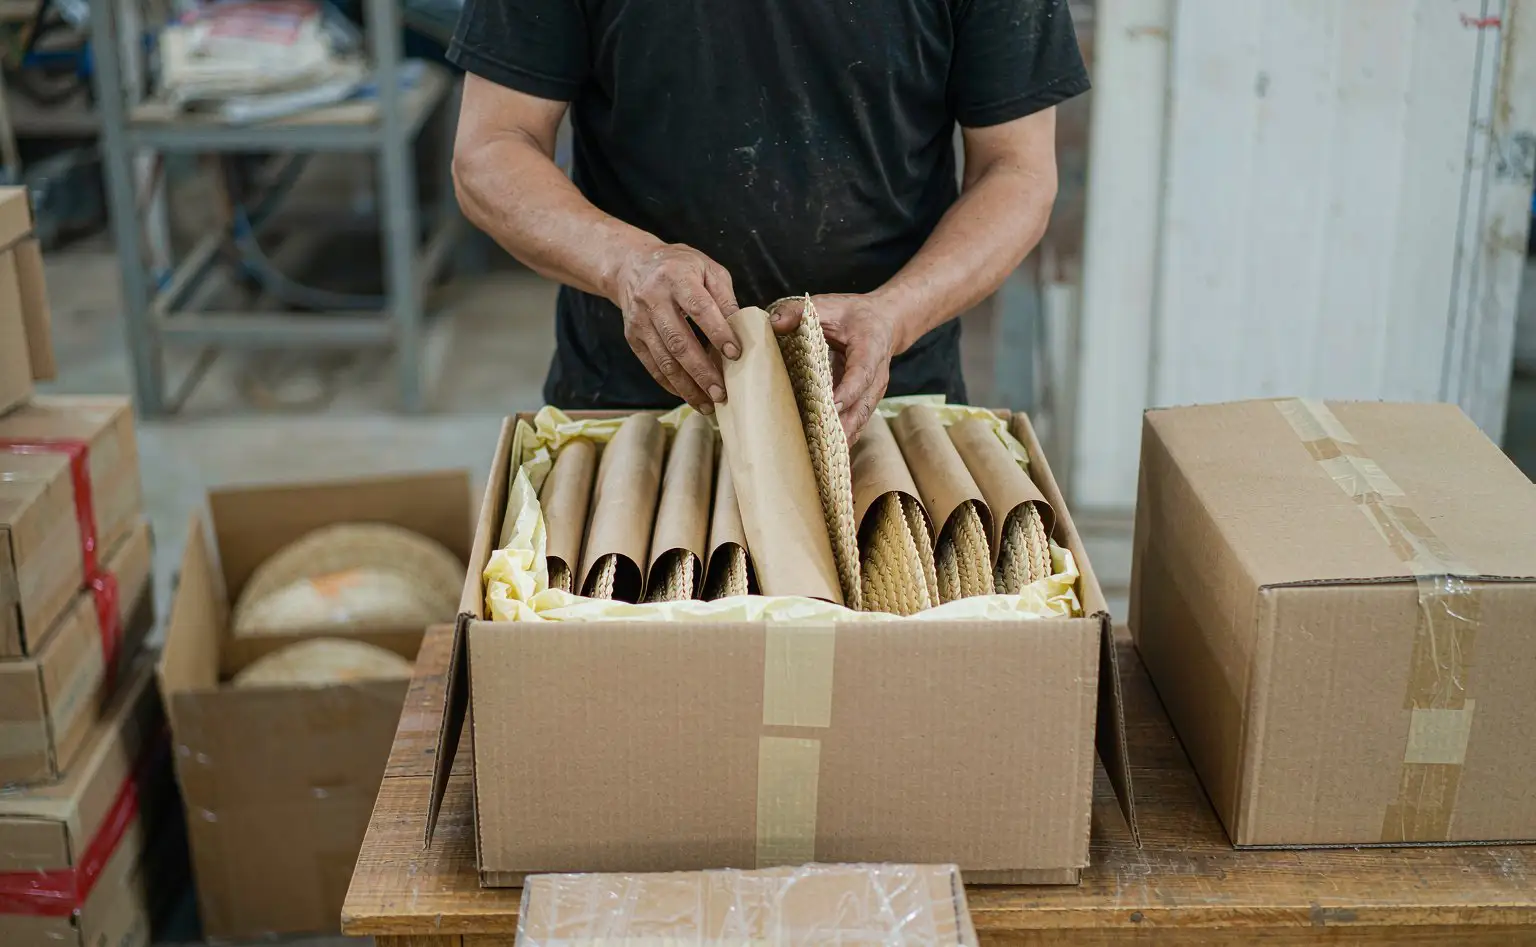
Two things at packing. First, gas-phase paper in the carton: 0.1-0.2 g of active content per sheet, sized to the carton, laid flat between hats or against the lid with 2-3 cm of clearance so the vapour can circulate; pressing it onto the crown leaves a mark where it touches. Second, bag each hat in breathable paper or perforated film and then bag the carton — a fully sealed bag looks clean but locks the moisture inside.
Leave an air path in the container: no carton against the wall or ceiling. A thirty-day sea leg condenses water on the container ceiling overnight, it runs down the wall, and the cartons against that wall come back damp first, with the sweatband going mouldy before anything else. The mechanism is the same as in our note on condensation in sea freight containers.
Verify at three levels. Material: pick-up and bath concentration records. Hat: a mould resistance grade to GB/T 24346 on samples cut from the body-brim seam. Carton: 30 days at 30℃/85% RH in a damp heat chamber, then inspect the sweatband and the braid seams.
6. Questions on shape, colour and hats that already have mould
Q: The hat lost its shape and the brim went soft after dipping. What now? Usually an over-long soak or hats stacked while draining. Bring the soak back to 5-8 minutes, hang each hat to drain, and press with the original mould at its original temperature and time; a crown that has gone out of shape recovers with one more pressing.
Q: The light-coloured hat went darker after dipping. Is that normal? Wet straw always reads a shade darker and comes back once dry. If it stays dark after drying, check whether the bath is too strong or simply due for a change; dyed braid needs a sample first to confirm it does not bleed before a full batch goes in.
Q: Can a hat that already has mould be saved? Where the spots sit on the surface and have not reached the braid core, brush them off, redry and give the hat one more dip. Where the filaments have gone into the fibre and left yellow staining or brittle patches, the hat is a downgrade. Any rescued batch needs a fresh dip, or one wet season brings the mould back.
Four points to take away: body dipped in iHeir-M5 at 1:40 for 5-10 minutes, dosing to a 15%-20% pick-up and hung singly to drain; redry below 10% moisture after pressing, shop below 60% RH; iHeir-D gas-phase paper sized to the carton and kept clear of the crown; bag each hat in a breathable bag and leave an air path in the container.