




 View Count:38
 Date:2026-11-02
How should mould on wooden knife handles be dealt with, and why does a bright blade ship with a spotted handle and sheath? The end of a wooden handle is end grain, with every fibre end open, so it takes water fastest; sheaths, boxes and linings are paper and cloth, which mould first. Handles are dipped before assembly in iHeir-M5 immersion fungicide at 1:40, soaked to 15%-20% weight gain and dried; the sheath and box take an iHeir-D sheet at 0.1-0.2g of active matter. This article covers the bath, the end point and the packing.
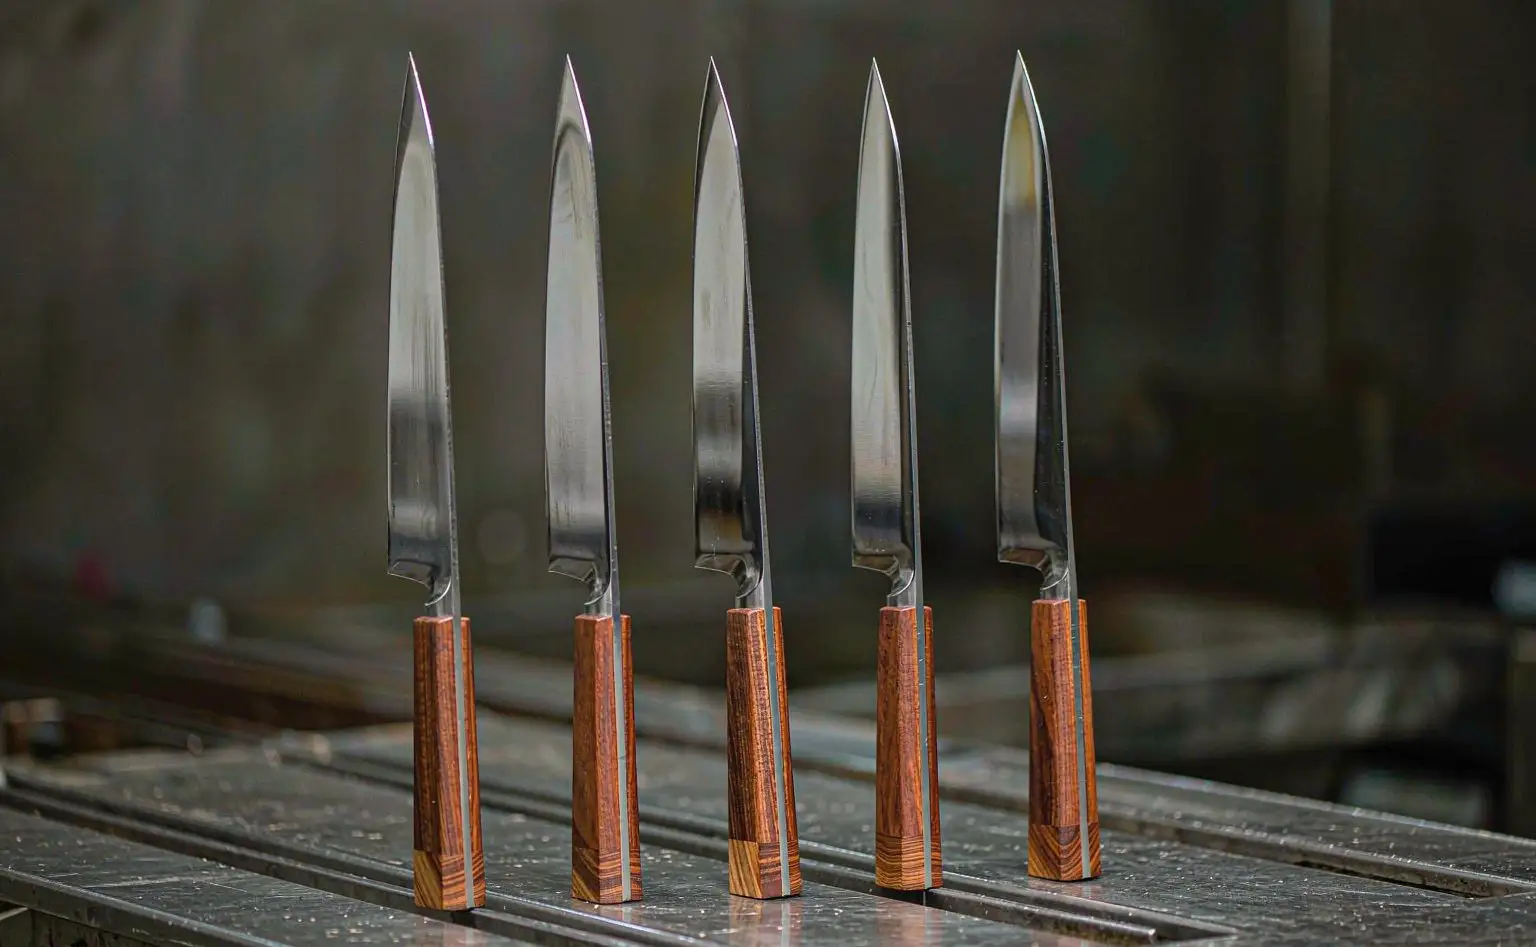
1. Mould starts at the end grain, and the sheath goes before the blade
A kitchen knife splits into three materials: a martensitic stainless blade that absorbs nothing; a beech, rubberwood or walnut handle with open fibre at the ends and rivet holes; and a sheath, box and lining of paper, EVA or cloth. Stainless fails by rust, wood and paper by mould.
Why the end grain goes first. A handle is a turned part with lacquer or oil on the side, and the end is a cross-section that cuts every vessel open. Wash water enters at the handle mouth, and inside there is no light and no airflow, so the water stays; by the time the end darkens and white bloom shows at the mouth, the fibre is saturated and the handle has to be replaced.
The sheath and box are the second site. A sheath is usually EVA or board with a cloth lining, and the box is grey board or corrugated. A knife washed and put away damp seals water inside the sheath; an export order held thirty to forty days at sea opens with a sound blade and mould across the sheath mouth and the box wall, which then transfers to the blade and the handle.
2. Handles are dipped, sheaths take a sheet
The table lines up the handle, the rivets, the sheath and the box. A handle is judged on weight gain, paper on active matter per sheet, and the two criteria are not interchangeable.
| Part | Material | Product and level | Stage | Control point |
|---|---|---|---|---|
| Handle | Beech, rubberwood, walnut | iHeir-M5 at 1:40, soaked to 15%-20% gain | Before assembly | No metal tank, no alkali |
| Rivets and blade | Stainless steel | Outside this article: rust protection per part | Before assembly | Degreased and dry |
| Sheath and box | EVA, grey board, cloth lining | iHeir-D sheet at 0.1-0.2g each | Sheathing, boxing | Compatibility trial first |
| Carton and export | Carton, pallet | Paper per carton, humidity control | Packing, storage | Store below 60% RH |
One boundary. A handle soaked through does not excuse the sheath, because water vapour inside a sheath is a closed space the handle’s fungicide never reaches. Nor does a good sheath save a handle mouth full of water. Both stages have to run before a knife can leave without being downgraded at the destination port.
3. Handle soak: 1:40 bath, 15%-20% weight gain is the end point
Handles take iHeir-M5 immersion fungicide. Make the bath at one part fungicide to forty parts water, for example 5kg in 200kg of water; immerse the handles completely with nothing above the surface, soak 5-10 minutes until the parts gain 15%-20% in weight, then lift, drain and air or sun dry before packing. It comes in 25kg drums with a one-year shelf life and needs shaking before use, since a surface layer is normal.
Weight gain is the end point. With one timber and one batch, weigh three handles each at 5, 8 and 10 minutes, then fix the process at whichever window lands in 15%-20%. Under 15% means the fibre is not soaked through; over 20% means the handle has taken too much water, which lengthens drying and raises the risk of checking, so more is not better.
Three hard rules. First, the tank: M5 is acidic and must not contact or be mixed with metal, so use plastic or a concrete pit rather than a steel tank or aluminium baskets. Second, no alkaline contact, so do not make the bath with hard alkaline water and rinse off any alkaline wash from the previous step. Third, drying: bring the handle back to the shop equilibrium moisture content before assembly, because a wet handle grows mould out of the rivet holes.
Handles before assembly, or the whole knife. Most plants dip the handle before assembly, then dry, polish and fit. Dipping the whole knife needs a passivated blade that tolerates an acidic bath, then thorough drying and a rust top-up, so trial it before a run. The wider wood route is in using wood anti-mould agents.
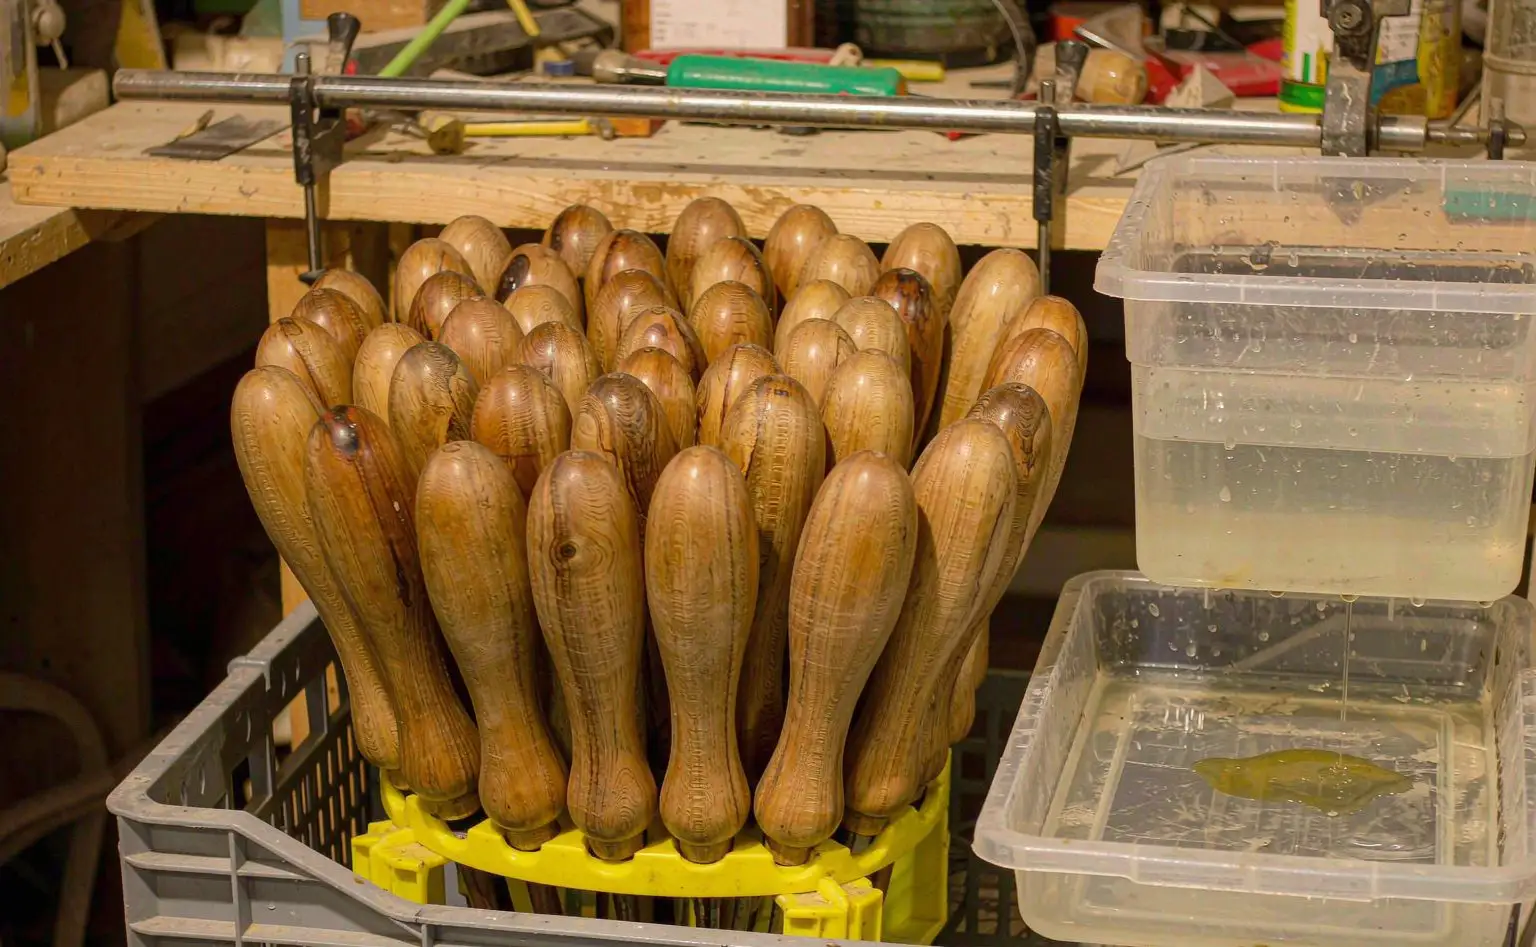
4. Sheath and box: where the sheet sits
The sheath and box stage uses iHeir-D gas-phase anti-mould paper, a speciality ink carrying anti-mould particles coated onto paper and sealed with the knife, so the vapour reaches the sheath mouth, the box wall and the handle end. The dose basis is 0.1-0.2g of active matter per sheet: one sheet for a single-knife box, more for gift or set boxes by void and knife count, and a strip at the sheath mouth where a thin sheet will fit.
Placement. Lay the sheet on the box floor, over the knife, or between sheath and box wall; never press it against the blade face, because a paper edge marks polished steel. A loose-fitting box gets a film wrap before cartoning.
Compatibility trial. Blades are polished, etched and waxed. Put three times the normal dose into the box under test, mist a little water, separate the sheet from the blade with paper, close it and inspect after a few days for dulling, loss of gloss or a tacky wax layer. Poor polished finishes really are affected, so trial before a run. Sheet selection is covered in choosing anti-mould packaging paper.
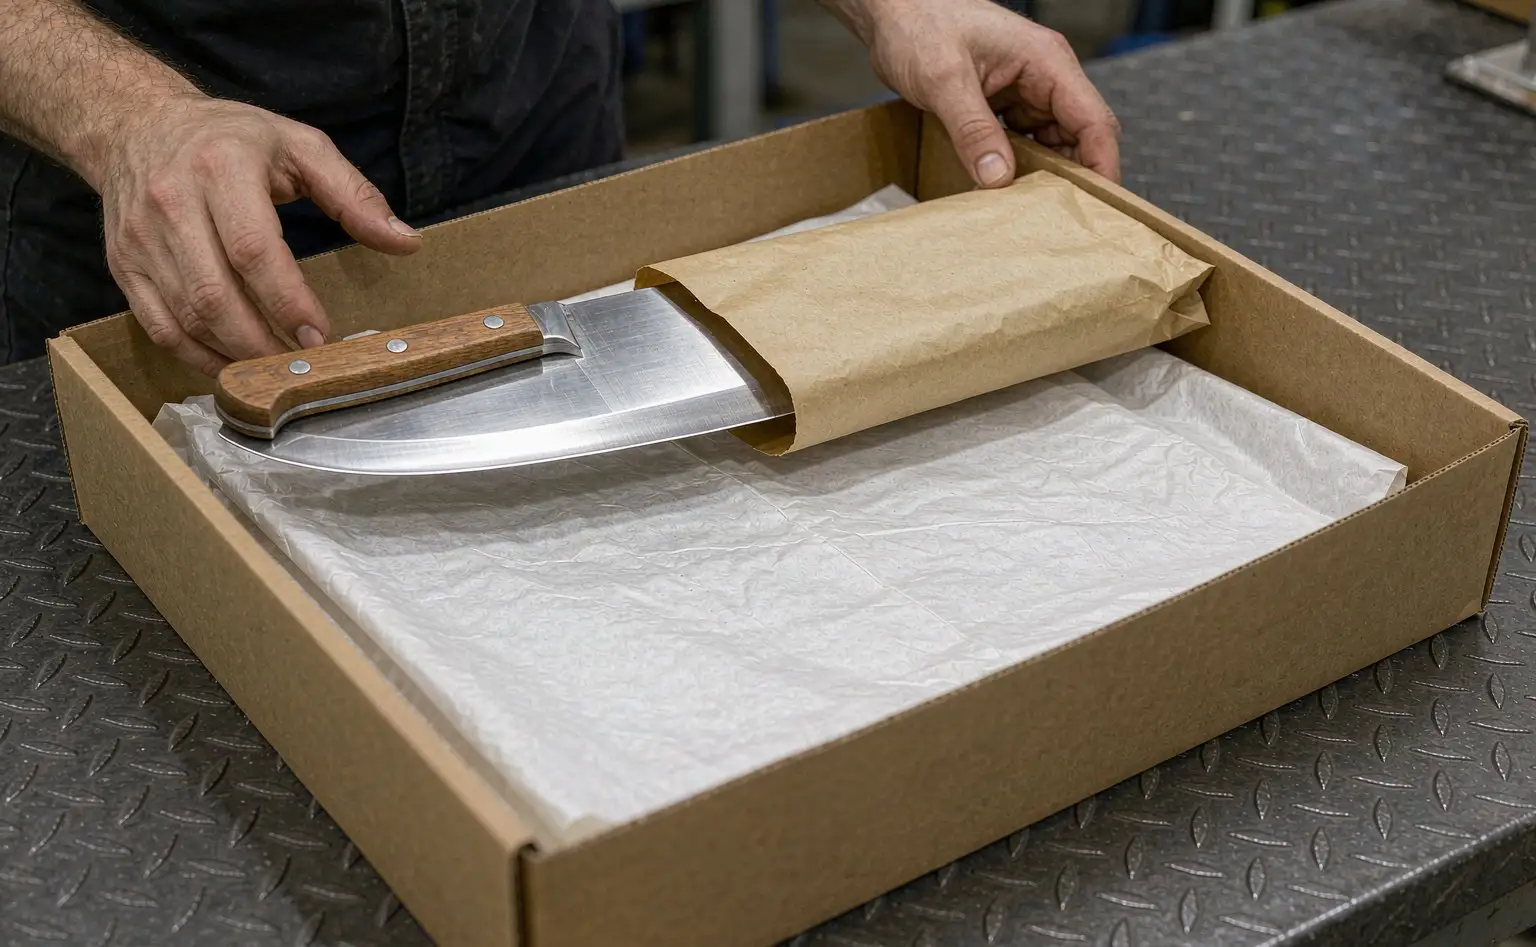
5. Assembly, packing and export
Risk at assembly sits in cleaning and wiping: blow the handle clean before fitting, because swarf and oil in the bore feed mould, and blow the handle mouth and rivet holes dry after washing. Change the wiping cloth per shift.
At packing, sheath only a dry knife, add a sheet inside the box, and put cartons on pallets 10cm off the floor and 10cm off the wall below 60% RH. For sea freight, container condensation does more damage than shop humidity, so leave an air path and keep cartons off the wall; see preventing container rain, and for the whole cutlery line soaking the handle before packing the blade.
Release at three levels: handles to ASTM G21 or GB/T 18261 for 28 days with moisture content checked after the soak; sheath and box to GB/T 24346-2009; complete boxes for 30 days at 30℃/85% RH.
6. Questions on drying, whole-knife dipping and spotted handles
Q: Does the handle have to be dried after the soak, or can it air dry and be fitted?
It has to be dried. Air drying only dries the surface, and a wet core seals water into the bore and rivet holes, so mould grows from the inside out.
Q: If we dip the whole knife, does the blade suffer?
M5 is acidic, so a whole-knife dip needs a properly passivated blade, immediate drying and a rust-protection top-up. Where that is uncertain, dip the handle only, before assembly, which carries the least risk.
Q: The handle has already spotted. Can we sand it out?
Shallow bloom can be sanded, cleaned, re-dipped and dried. Where mould has reached the bore and rivet seams and dark lines remain, replace the handle.
Four points to take away: dip handles before assembly in iHeir-M5 at 1:40 for 5-10 minutes to 15%-20% weight gain, drain and dry back to shop equilibrium, with plastic tanks and no alkaline contact; put iHeir-D paper in sheath and box at 0.1-0.2g of active matter per sheet, one per single box and more by void for sets, after a trial at three times the dose; blow the handle mouth and rivet holes dry and change wiping cloth per shift; store below 60% RH and leave an air path in the container. A 1kg sample of the fungicide and a pack of sheets can go out for a trial first; MOQ and lead time are on the iHeir-M5 product page.