




 View Count:26
 Date:2026-11-18
Can window frame mould be kept out? Yes, but only if two places are handled: the profile goes fully under a 1:40 bath of iHeir-M5 until it gains 15%-20%, and every mitre and cut end is brushed twice with the same liquor. Window frame mould usually starts in the 45° joints and along the bottom rail, where water sits and nothing carries the agent in. This article covers the tank, the brushing points and the inspection.
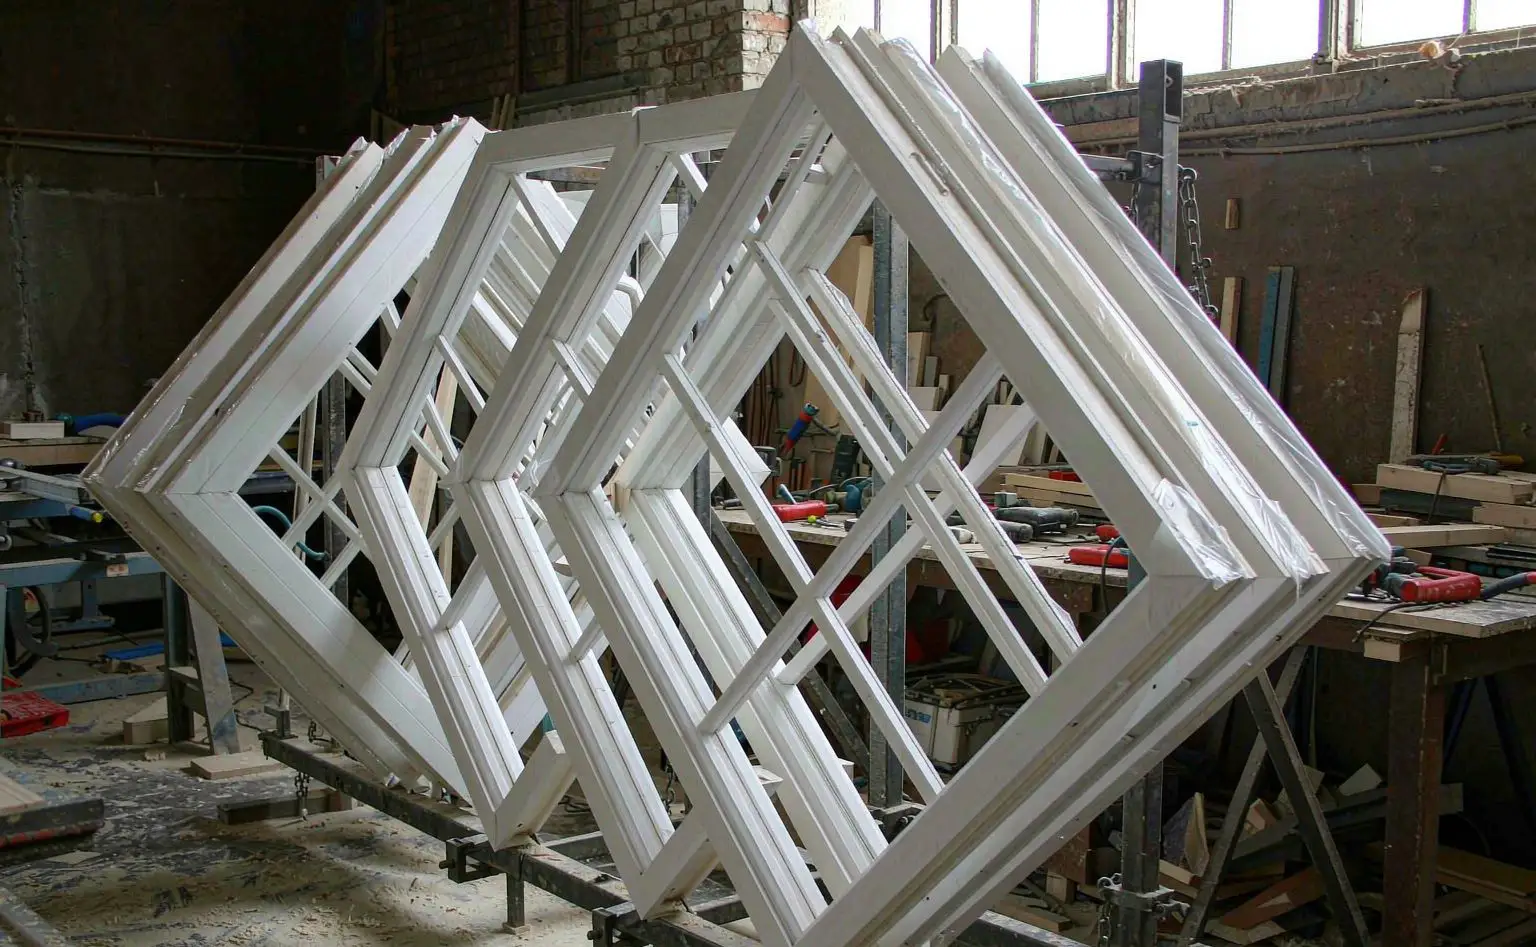
1. Where the mould starts: profile, mitre, condensate on the bottom rail
A window frame is cut, tenoned, mitred and assembled. Mould does not care about the paint film; it goes for the fibre the coating never reached and for the places that stay wet.
The profile itself. Finger-jointed and laminated stock has end grain and joint faces that take up several times the water of a face side. A coated profile is protected on the surface only, so moisture entering the joint starts the growth.
The mitre. Two 45° cuts pressed together give a thin glue line and a fine gap that takes water in and does not let it out. The mitre also carries the highest stress in the frame, so once it swells the gap opens and the spots travel inwards.
The bottom rail. Condensate off the glass runs down to the sill and sits in the seam under the bottom rail. That face points down and gets no light, so the first spots are missed until the rail goes black.
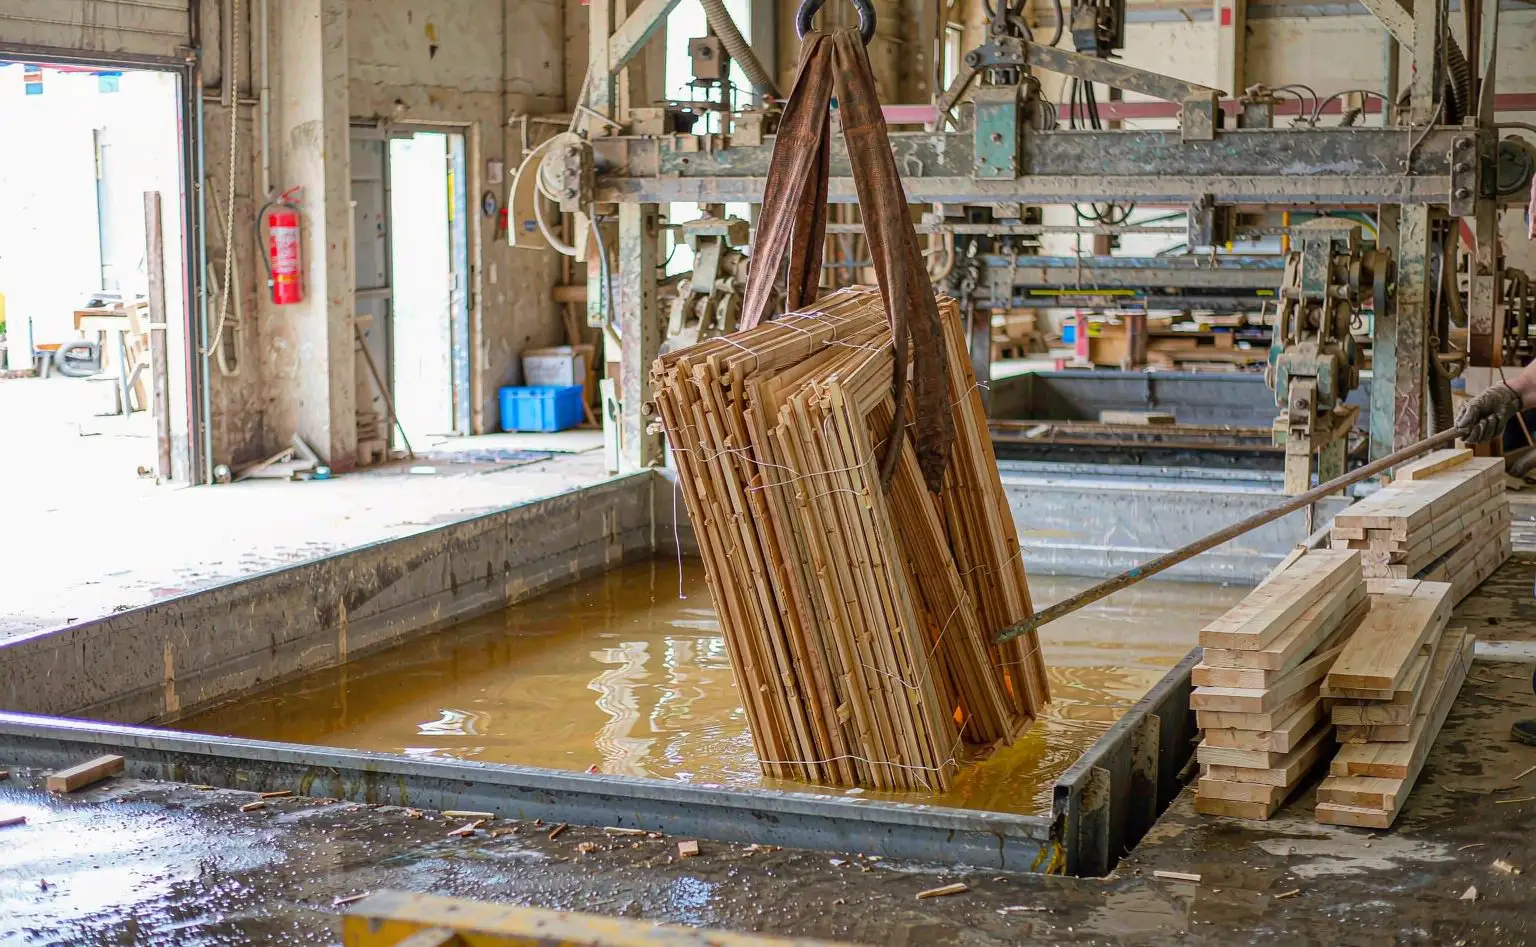
2. Soaking the profile: 1:40, fully submerged, 15%-20% gain
Mix at 1:40. Five kilos of M5 concentrate to 100 kilos of water, stirred and checked once. Use a plastic or GRP tank; an iron tank is out, and so is any alkaline additive in the same bath, because M5 is an acidic system and alkali kills it.
Get every face under the surface. Break the bundle or fit spacer sticks so each profile sees liquor on all four sides, and weigh down anything that floats. A piece above the surface is untreated, and that piece is often the bottom rail.
Dose by gain, not by the clock. Soak to a 15%-20% gain, five to ten minutes at room temperature, and judge it by the gain. Weigh three dry profiles, soak, drain, weigh again and work out the gain; finger-jointed stock takes up faster than laminated stock, so soak by species and construction rather than one fixed time for the lot.
Drain before the next step. Stand the profiles for 10-15 minutes until they stop dripping, then go to the dryer. Stacked flat, liquor pools between pieces and dries into streaks the topcoat will not cover.
Dry to equilibrium moisture. Dry soaked profiles to the plant’s equilibrium moisture before cutting, usually 12%-14% in southern China. Read both ends with a meter; a spread above two points means another pass through the dryer.
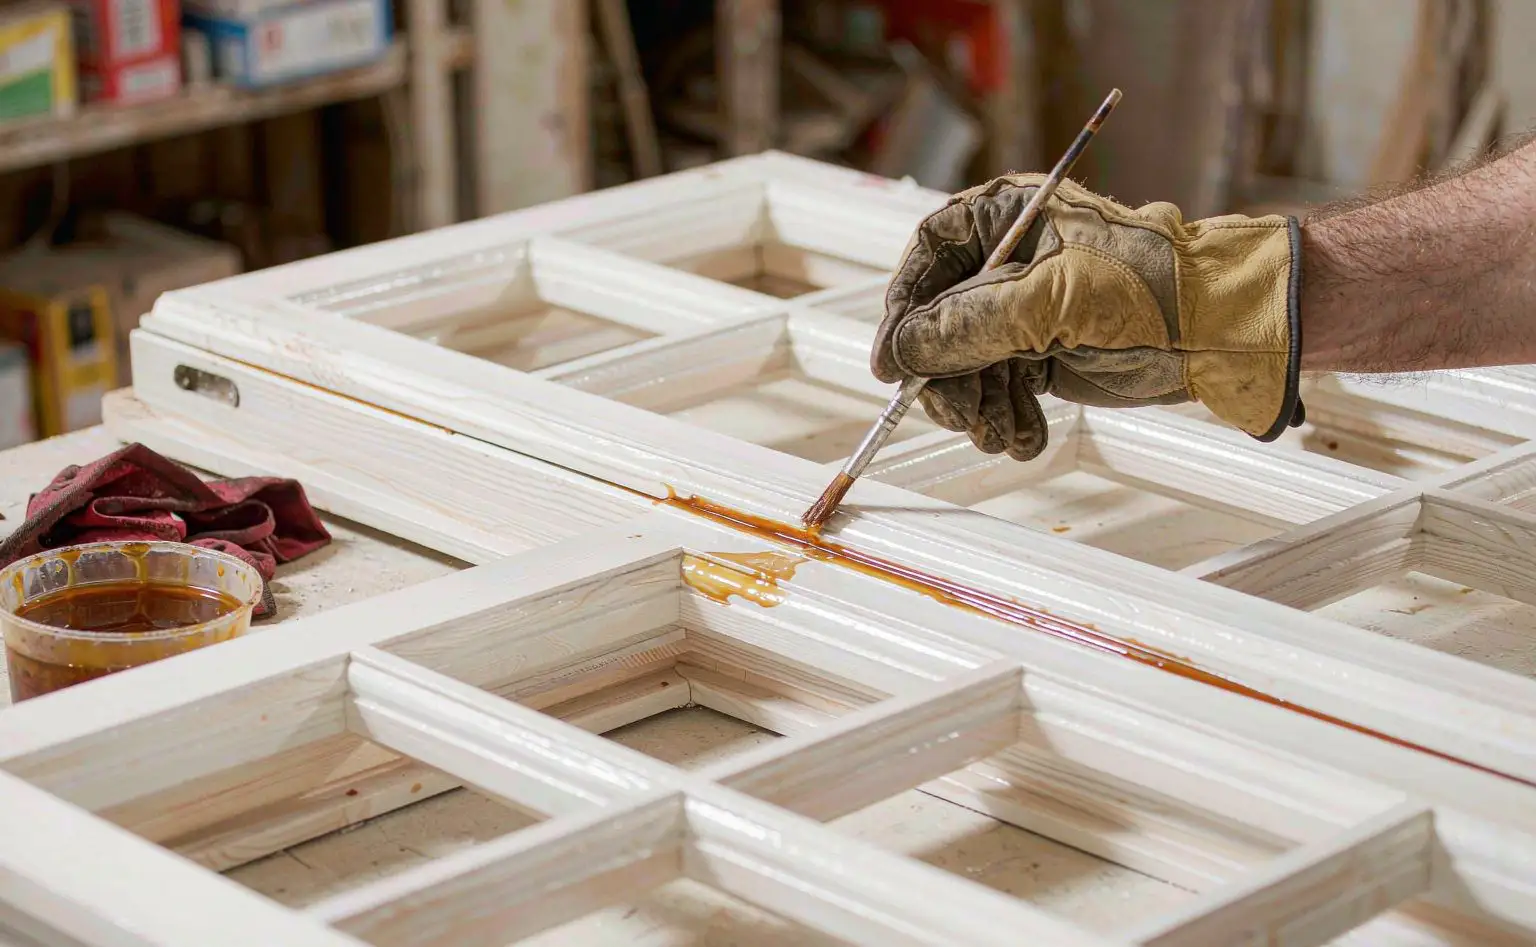
3. Brushing the mitres and cuts: two coats, the first one dry
Whatever the tank cannot reach is where the mould starts: cut ends, tenons, mitre faces, drainage holes.
Use the tank liquor. Do not mix a stronger brew. Too strong and it films over the surface, and glue will not hold; too weak and the coverage is short. Draw it off the dip tank into a small pail.
Two coats on the mitre. Brush the first along and into the seam, let it dry to the touch (30-60 minutes at room temperature), then brush the second. Assemble while the first coat is still wet and the glue seals the liquid in, so the seam stays damp after cure.
Do not miss the drainage holes. Brush the bore after drilling and keep the outlet open; tenons and mortises get the same treatment and a blow-off.
Let it dry before gluing. Glue over wet liquor is diluted and the mitre joint loses strength. Check with a moisture meter on the joint face and stay under 12% before assembly.
4. Assembly and hardware: oil, glue line, metal parts
Degrease the surface. Cutting fluid and hand sweat are ready food, so wipe with a neutral cleaner and dry before gluing. Avoid chlorinated cleaners, which attack hardware.
Fill the mitre with glue. A short glue line leaves a void, and a void is a water trap. Glue has to squeeze out along the seam to prove it is full, and the squeeze-out is scraped while wet rather than chiselled off later.
Keep the sheet off the hardware. The iHeir-D sheet used in the bundle carries 0.1-0.2 g per sheet, and under damp conditions it can corrode poor-quality metal catches. Keep it off hinges, locks and screws: a board between, or bag the hardware.
Drain the bottom rail. Drill the outlets on the outer face and blow them through after assembly. A blocked outlet holds condensate inside the rail, and no soak will save that.
| Part | Material | Product and level | Stage | Control point |
|---|---|---|---|---|
| Profile | Finger-jointed or laminated timber | iHeir-M5 at 1:40 | Full-length soak before cutting | Fully submerged, 15%-20% gain |
| Mitre and cut ends | Same profile | M5 tank liquor | Brushed twice after cutting | First coat dry before the second |
| Tenons and drainage holes | Same profile | M5 tank liquor | Brushed after drilling | Bore open, blown dry |
| Mitre glue line | Assembly adhesive | Full bead, no void | Assembly | Squeeze-out along the seam |
| Bundle | Finished frames | iHeir-D sheet, 0.1-0.2 g each | Packing | Off the hardware, board between |
One boundary. The soak covers the fibre, the brushing covers the mitres and cuts, the sheet covers the air in the bundle. In series, and the last can only partly make up for a missed first.
5. Packing, store and container: sheets, standing frames, rods
Sheets into the bundle first. One or two sheets per bundle, laid between frames rather than against a face, with PE film between sheet and profile.
Corner protectors and film. Wrap each frame and fit protectors on all four corners; do not use recycled board, which is a mould source itself.
Stand them up. Store frames upright on racks, 10 cm off the floor and 20 cm off the wall. Stacked flat, the lower frames carry the weight of the stack on their mitres and the seams get pressed open.
Control the store and the container. Hold the finished store below 60%RH, run a dehumidifier in the wet season and log it at the wall. Before loading, check the container floor and walls, line them with a vapour barrier, put board under the load and hang drying rods inside the doors. Over thirty to forty days at sea, wall condensate settles at the bottom, so the bottom pallet gets another board layer.
Check the mitres on arrival. Write three items into the inspection sheet: spots inside the mitre seam, darkening at the cut ends, rust on the hardware. Comparable practice on aluminium frames with thermal breaks is in aluminium door and window mould.
6. Questions from buyers
Q: Does the soak affect the finish?
A: Not once the profile is dried to equilibrium moisture. Coating a damp profile blisters the film and drops adhesion, so dry to target before the coating line.
Q: The frames are already mitred, can we still treat them?
A: Only by re-mitring them. Brushing the outside of a closed seam puts nothing inside, so run a bead of anti-mould sealant along the seam and mark the lot for extra sampling.
Q: Can M5 be sprayed instead of dipped?
A: Not for a lot that needs protection. A spray covers the surface while the joint faces and end grain stay dry; the value of the tank is that the liquor travels in with the water.
Q: With the sheet kept off the hardware, is the protection still enough?
A: Yes. The vapour works by diffusion and the space inside a bundle is small; a board changes nothing. Where there is a lot of hardware, bag it and put it in the bundle separately.
Soak at 1:40, submerged for five to ten minutes to a 15%-20% gain, drain and dry to 12%-14% moisture; brush cut ends, tenons, mitres and outlets twice, the first coat dry first; fill the mitre glue line; put iHeir-D sheets at 0.1-0.2 g in the bundle, off the hardware, and store upright below 60%RH. Mould resistance can be verified to GB/T 24346 and ASTM G21; lead times are on the iHeir-M5 product page.