




 View Count:15
 Date:2026-10-29
How do you stop wooden comb mould? The tooth gaps and the cut end grain at the spine are where water sits, and a comb dipped and waxed without drying seals that water in the grain, which turns an export lot into a downgrade. The body takes iHeir-M5 at 1:40 to a 15%-20% weight gain in about 5-10 minutes, and the box carries iHeir-D paper at 0.1-0.2 g per sheet. This article covers soak time, teeth drying and the order against waxing.
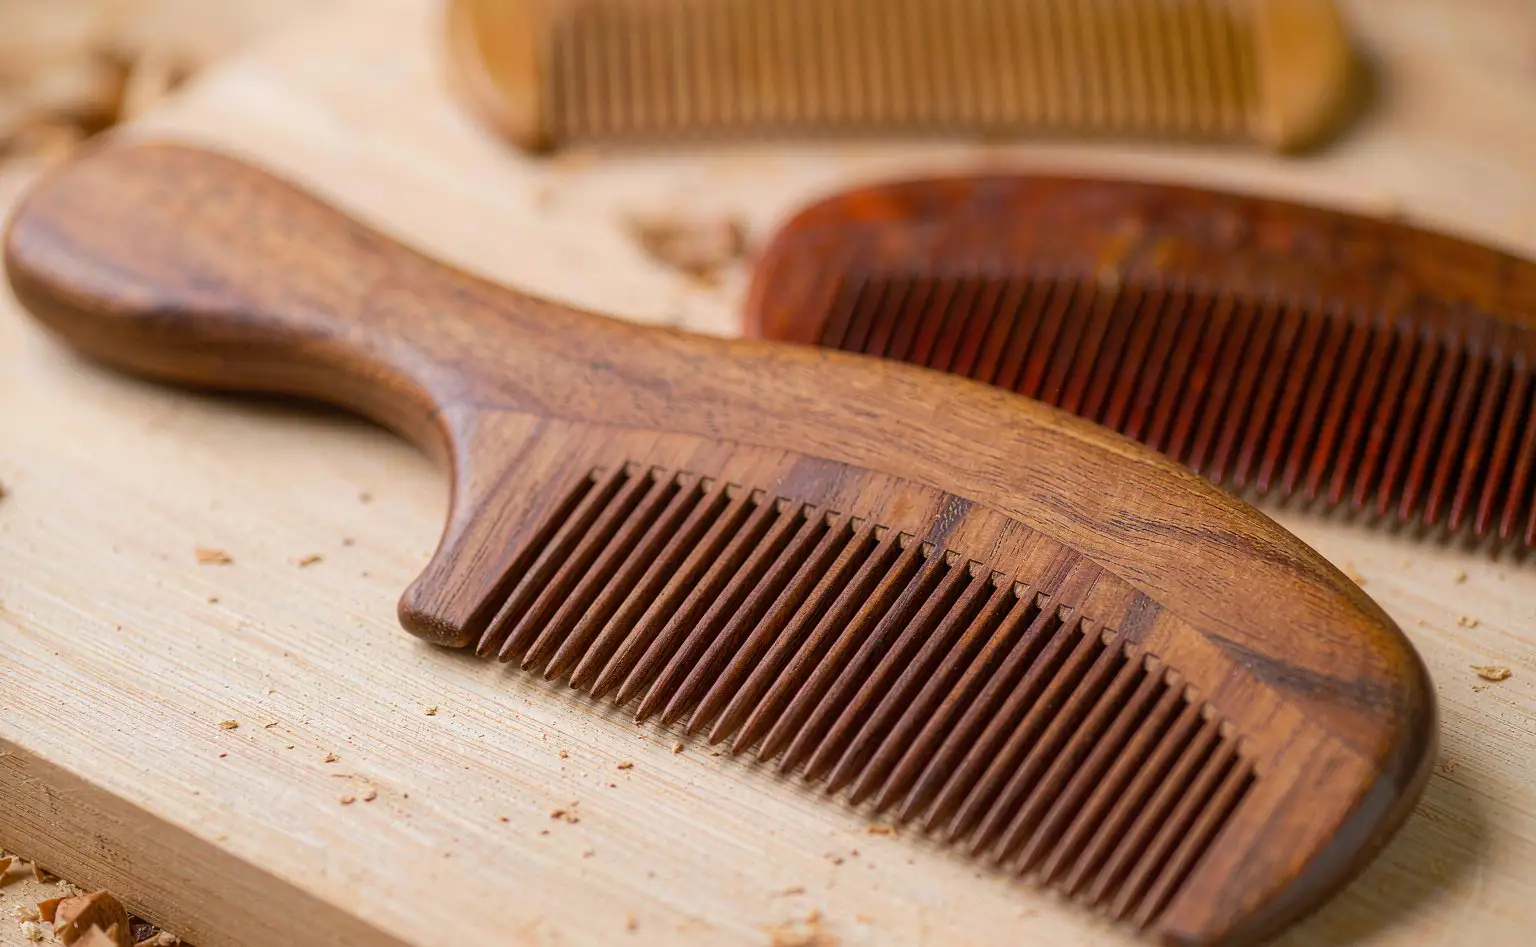
1. Mould starts in the tooth gaps and at the end grain
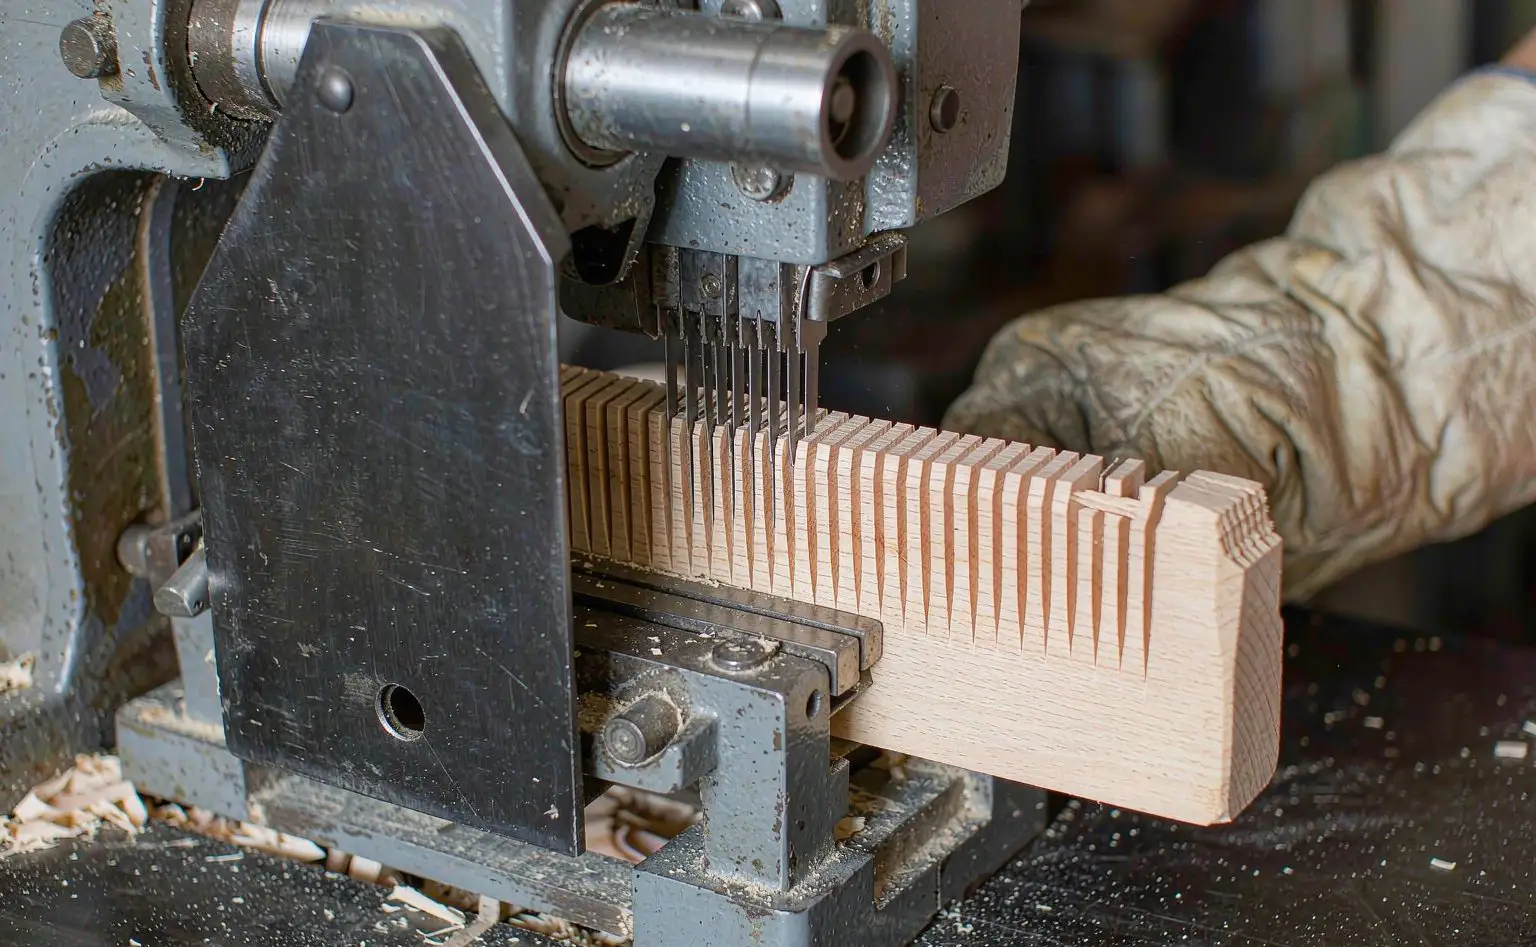
A wooden comb looks simple: a blank, cut teeth, sanding, wax. In practice it has several water traps. The tooth gaps come first — narrow slots cut with fresh sawdust and fresh end grain inside, which take up water fastest and will not give it up to still air. The end grain at the spine comes second — a cross-section is where the pores open, water enters and travels along the grain. The tooth root is the third: the thinnest section, where a crack appears before the mould does.
The second location is the open time between sanding and waxing. A freshly sanded comb is new wood at its wettest; a day or two on a bench in a humid shop and the surface moisture is back. Plenty of plants run a good dip and lose the batch here.
The third is the micro-climate after packing. Combs go into a bag and a box, the space is small and poorly ventilated, and over a sea leg the day-night swing condenses water inside the bag. It lands on the spine and the tooth tips, and one mouldy comb in a box means the box has to be sorted.
So the line has three stages: the dip drives the additive into the grain, the drying stage takes the water out tooth by tooth, and the paper holds the box atmosphere. Dip alone leaves water in the tooth gaps, and the comb still blooms.
2. Body and packing are counted separately
The table sets out the dip, draining, drying and packing. The dip is measured as weight gain, the paper as sheets and active content, and the two are not interchangeable.
| Stage | What is done | Product and level | Control point | Basis |
|---|---|---|---|---|
| Body dip | Basket submerged, never breaking the surface | iHeir-M5 at 1:40 | 15%-20% gain, about 5-10 minutes | Weigh before and after |
| Draining | Lift onto racks, single layer | No additive | No stacking, no bagging wet | Rack capacity |
| Teeth drying | Air-blow each gap, then the drying room | No additive | Below 12% moisture | Meter reading |
| Waxing and packing | Wax, polish, then bag and box | iHeir-D 0.1-0.2 g per sheet | Wax dry before bagging, paper in the box | Box volume, piece count |
Two boundaries. First, the dip does not replace drying: an additive suppresses organisms and does not remove water, and a comb above moisture spec fails at any dose. Second, waxing cannot come before the dip: wax and oil form a film on the surface that keeps the liquor out, so the order is dip first, wax after.
3. Body dip: time, concentration and weight gain
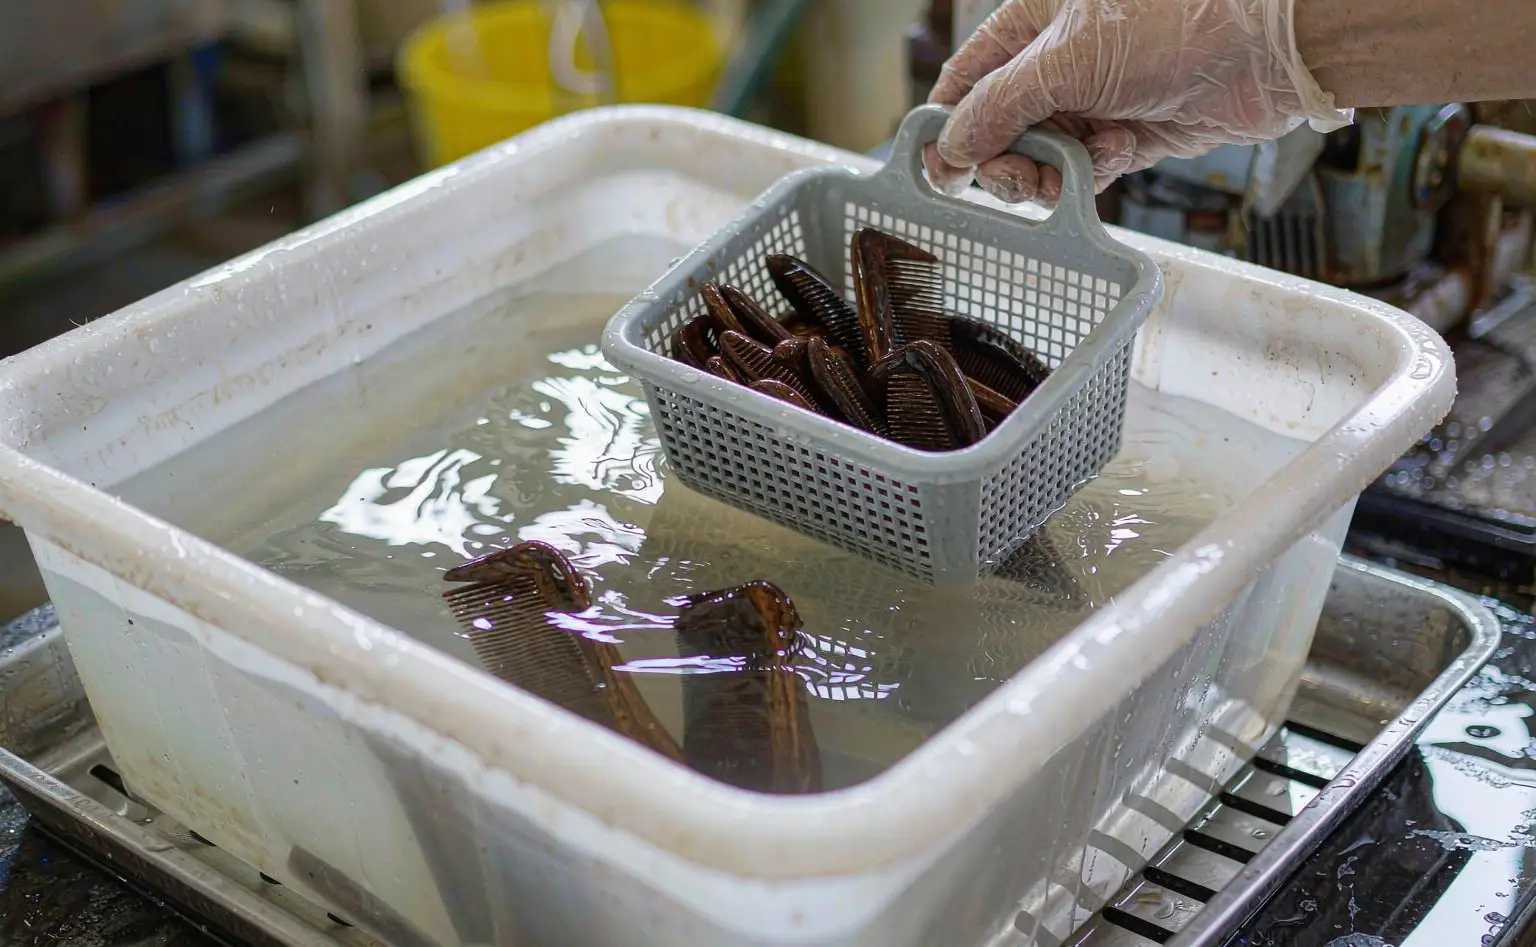
The body takes iHeir-M5 immersion-type bamboo and wood fungicide. Mix at 1:40, that is 5kg of product to 100kg of water; load the combs in a mesh basket, submerge it fully without letting the work break the surface, soak 5-10 minutes, then lift, drain and air or sun dry before sanding and waxing.
Weight is the only firm criterion. A comb is small and thin, so time alone misleads: in five minutes a thick spine and a thin one take up very different amounts. Weigh a few combs before and after and pull the basket at a 15%-20% gain. Below 15% the tooth root is still dry; above 25% the wood holds too much water, dries unevenly, and the teeth lean while the spine cups.
Three operating points. Tank material: M5 is acidic and must not touch metal or be mixed with alkaline material, so use plastic or FRP — an iron tank corrodes and neutralises the bath. Shake before use: a floating layer is normal, and pouring unshaken leaves the active content at the bottom. Top up in proportion: liquor carried out on the combs is replaced at 1:40, because water alone dilutes the bath, and by the third batch it is a plain water dip.
4. Teeth drying and the order against waxing
Do not stack the combs straight out of the tank. Stand them on racks in a single layer; stacked, the contact faces never dry and grow mould first. The tooth gaps are the part everyone misses: blow each gap with an air gun to push the liquor out before the combs go into the drying room, and raise the temperature in stages — pulling it straight above 60℃ dries the skin while the core is wet, and the comb cracks.
Bring the moisture below 12% before sanding and waxing. Check with a meter at two points, the tooth root and the spine end grain. Waxing at 15% or above seals water in the grain, and a comb shipped to a humid market blooms within a month.
Let the wax dry before bagging. Bagged wet, the volatiles cannot escape, the surface goes tacky and the mould starts at the bag mouth. Wax is for feel and appearance, not for protection; the protection is the additive driven into the wood, and the wax is only a cover over it.
5. Packing and export
Packing uses iHeir-D gas-phase anti-mould paper, 0.1-0.2 g of active content per sheet, solids 70%±5, 25kg per drum, one year shelf life. It is a coated paper that releases active content into a closed space, so position and closure decide the result: a sheet lining the box, paper facing the combs, box sealed.
Sheet count follows box volume and piece count: how many combs in a gift box and how much air is left decide how many sheets. The usual pattern is one lining the box, plus one between combs in a multi-piece box, set by a packing trial — 30 days at 30℃/85% RH, then open and check the spine end grain and the tooth gaps. More is not better; an overdose leaves a stronger smell in the box.
Leave an air path in the container: no carton against the wall or under the ceiling, and hold the store below 60% RH with dehumidifiers in the wet season. The mechanism is the one described in condensation in sea freight containers. On choosing the paper itself, see how to choose anti-mould packaging paper.
6. Questions on cracking, leaning teeth and combs that already bloomed
Q: Why do combs crack or the teeth lean after the dip? Check the weight gain first — above 25% is too much water. Then check the drying curve: pulling straight above 60℃ dries the skin while the core is wet, and the stress cracks the comb and leans the teeth. Staged heating with a longer low-temperature stage does more than cutting the dose.
Q: There are white specks in the tooth gaps after waxing — was the dip too short? The specks sit at the tooth root and in the gaps, which means liquid was left in the gaps after the dip and the wax sealed it in. Redo the stage: strip the wax, blow each gap dry, dip again for 5-10 minutes to a twenty percent gain, then dry and wax.
Q: Can a comb that already has mould still ship? Surface bloom can be sanded off and the comb dipped and dried again. Where mould has gone into the tooth gaps and a black line remains after sanding, it is a downgrade or scrap. Any reworked batch needs the dip and the drying again; sanding alone and the mould returns within a month.
Four points to take away: dip the body in iHeir-M5 at 1:40, fully submerged, pulled at a 15%-20% gain in about 5-10 minutes, in a non-metallic tank, shaken before use and topped up at 1:40; drain on racks in a single layer, blow every tooth gap dry and reach 12% moisture before sanding and waxing, and let the wax dry before bagging; line each box with iHeir-D paper at 0.1-0.2 g per sheet, the count set by a packing trial; hold the store below 60% RH and release on 30 days at 30℃/85% RH.