




 View Count:16
 Date:2026-11-20
How do you deal with aluminium extrusion mould? Start by separating it from white rust: half the pale patches are corrosion, not growth. Real mould follows the cutting fluid at sawing, the timber dunnage and moisture under the protective film. The routine is to wipe the cutting fluid off at the saw, dry before anodising, soak dunnage in iHeir-M5 at 1:40 to a 15%-20% weight gain, and put iHeir-D sheets at 0.1-0.2 g into each bundle. A container of profiles rejected on appearance means unbundling, polishing and refilming. This article covers the judgement and each stage.
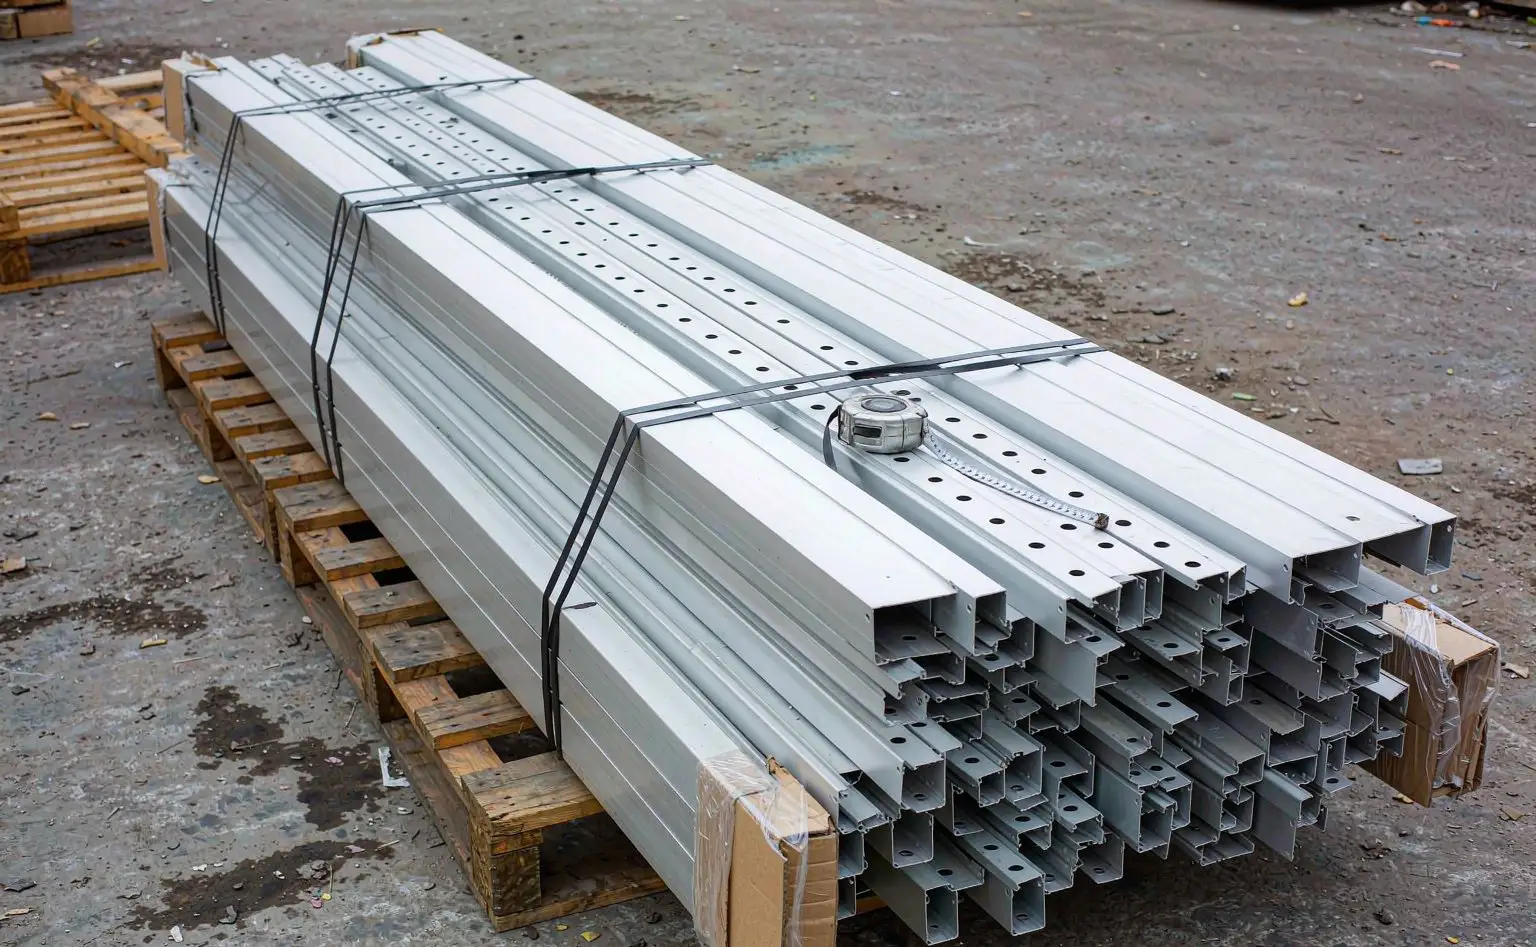
1. Telling mould from white rust
Colour and shape. Mould runs grey-white to grey-green, in patches with soft edges that follow a water line. White rust is milky and powdery, sits at cut ends, saw cuts and under film, and has a crisp edge that scrapes off as powder.
Smell and wipe. Mould smells musty and mostly comes off with a damp cloth, leaving a pale brown stain. White rust has no smell, and wiping reveals a dulled surface with slight pitting.
Position. Mould clusters on the dunnage contact face, under strapping and where two profiles touch. White rust clusters at cuts, threaded holes and places where water pooled under film.
Different remedies. White rust is corrosion: change the packing, control humidity and polish if needed. Mould is biological: cut the water and cut the food, which is cutting fluid, timber and card. Polishing mould as if it were white rust is a common mistake, because the packing is unchanged and the spots are back within a week.
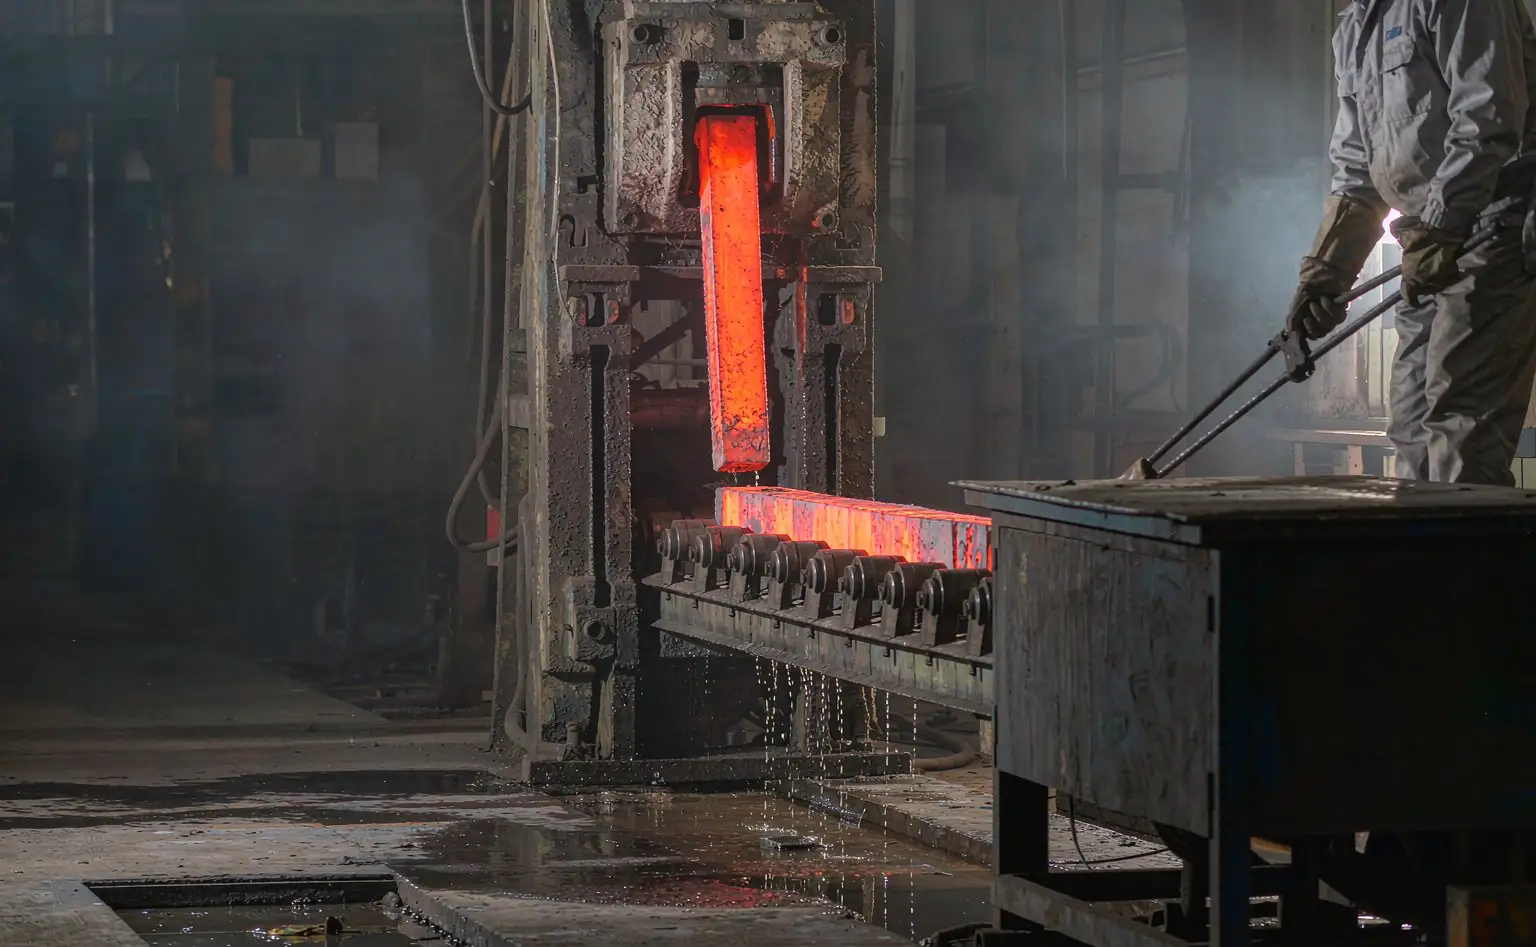
2. Press and saw: get the fluid and swarf off
Wipe at the saw. Blade cooling runs on cutting fluid, so a ring of oil and water sits around every cut. Left to dry, it leaves an oil film loaded with aluminium dust that both holds moisture and feeds growth. Wipe with an absorbent cloth off the saw, then finish with a dry cloth.
Do not blow swarf into the cavity. Many extrusions are hollow, and an air gun drives oily swarf inside where it sits in a closed chamber. Plug the cavity ends before blowing the outside, or vacuum instead.
Hold the fluid concentration. Dilute cutting fluid loses its biocidal strength, the sump blooms first and then carries it onto the profile. Check refractometer readings weekly and dump the sump when it drifts.
Cover during ageing and transfer. Cover profiles through ageing and in transfer baskets, and drain the liquid that collects in basket bottoms daily so the profiles are not standing in it.
3. Drying before anodising: water in the tank fogs the film
Rinse properly after degreasing. Degrease, etch and neutralise each need a rinse, with deionised water on the last one. Carry-over alkali into the anodising tank fogs the film, and mould hides in the pits of the fogged area.
Go in dry. A wet profile entering the tank gives uneven current density and uneven film thickness, and the thin areas are the first to spot after packing. Dry with hot air at 60-80℃ for 20-40 minutes by wall thickness, and check that no water mark remains.
Allow for the jig marks. The contact points carry no film and stay bare aluminium. Touch them up with a sealer or a little rust grease before packing, because jig marks are the first place to spot in most rework.
Do not film straight after sealing. A sealed profile is still warm, and film applied at that point traps vapour underneath into a hazy patch. Cool to near shop temperature and dry the surface first.
| Part | Material | Product and level | Stage | Control point |
|---|---|---|---|---|
| Profile body | 6xxx aluminium | No additive | Press, saw, wipe | No fluid or swarf at the cut |
| Anodic film | Anodised layer | No additive | Degrease, rinse, dry, anodise | Dry on entry, even film thickness |
| Dunnage and pallet | Pine, plywood | iHeir-M5 1:40, 15%-20% gain | Soak 5-10 min, air dry | Dry before use, PE film against the profile |
| Inside the bundle | Protective film, card | iHeir-D 0.1-0.2 g per sheet | Inserted at strapping | Sheet between profiles, not on the film |
| Container export | Container | Rods by container size, liner film inside | Loading | Dry floor, board under the stack |
One boundary. M5 handles the organisms in the dunnage and pallets, drying handles water on the profile, gas-phase sheets handle the air inside the bundle. If the dunnage is untreated, a perfectly clean profile still spots where it touches.
4. Dunnage and pallets: soak M5 at 1:40
Mix the bath. iHeir-M5 is made up at 1:40, five kilograms of agent to 100 kg of water. Add the water first, stir the agent in, and shake the drum before use; a little floating matter is normal.
Soak right through. Immerse the dunnage, pallets and bearers fully for 5-10 minutes to a 15%-20% weight gain, then lift and drip. A lower gain means the core never took the liquid, and a cut through the timber shows untreated wood inside.
Dry before use. M5 is acidic and must not contact metal directly. Air the soaked timber until the surface is dry and moisture is back below 20%, then put a PE layer between timber and profile with the ends left open for air.
Keep it away from alkali. Use a dedicated tank, never one that held detergent or soap, and use plastic or plastic-lined tanks because an acid bath attacks a steel tank. Comparable work on bamboo and wood bearers is in bamboo chopping board blank soak and packing paper.
5. Film and strapping: where the sheets go
Wipe before filming. Vapour under film has nowhere to go, which is exactly how hazy patches form. Wipe dry, use a film with release channels, and apply from one end to push air and water ahead of it.
Sheets between profiles. Each iHeir-D sheet carries 0.1-0.2 g of active. A bundle takes 2-4 sheets, placed between touching faces and at both ends. A sheet stuck on the outside of the film cannot reach the metal.
Test compatibility first. Three times the normal rate, a little water, paper in between, closed for a few days, then check the anodic film for fogging and colour shift. Anodised surfaces are sensitive to foreign chemistry, so this step is not optional.
Pad under the strapping. Strapping pressed straight onto a profile collects dust and water at the contact point. Put a 2 mm card or foam pad under it, 20 mm wider than the strap. For containers, board under the stack, liner film inside, hold below 60% RH and keep pallets 10 cm off the floor. Comparable pallet work is in water pump seals and pallet sheets.
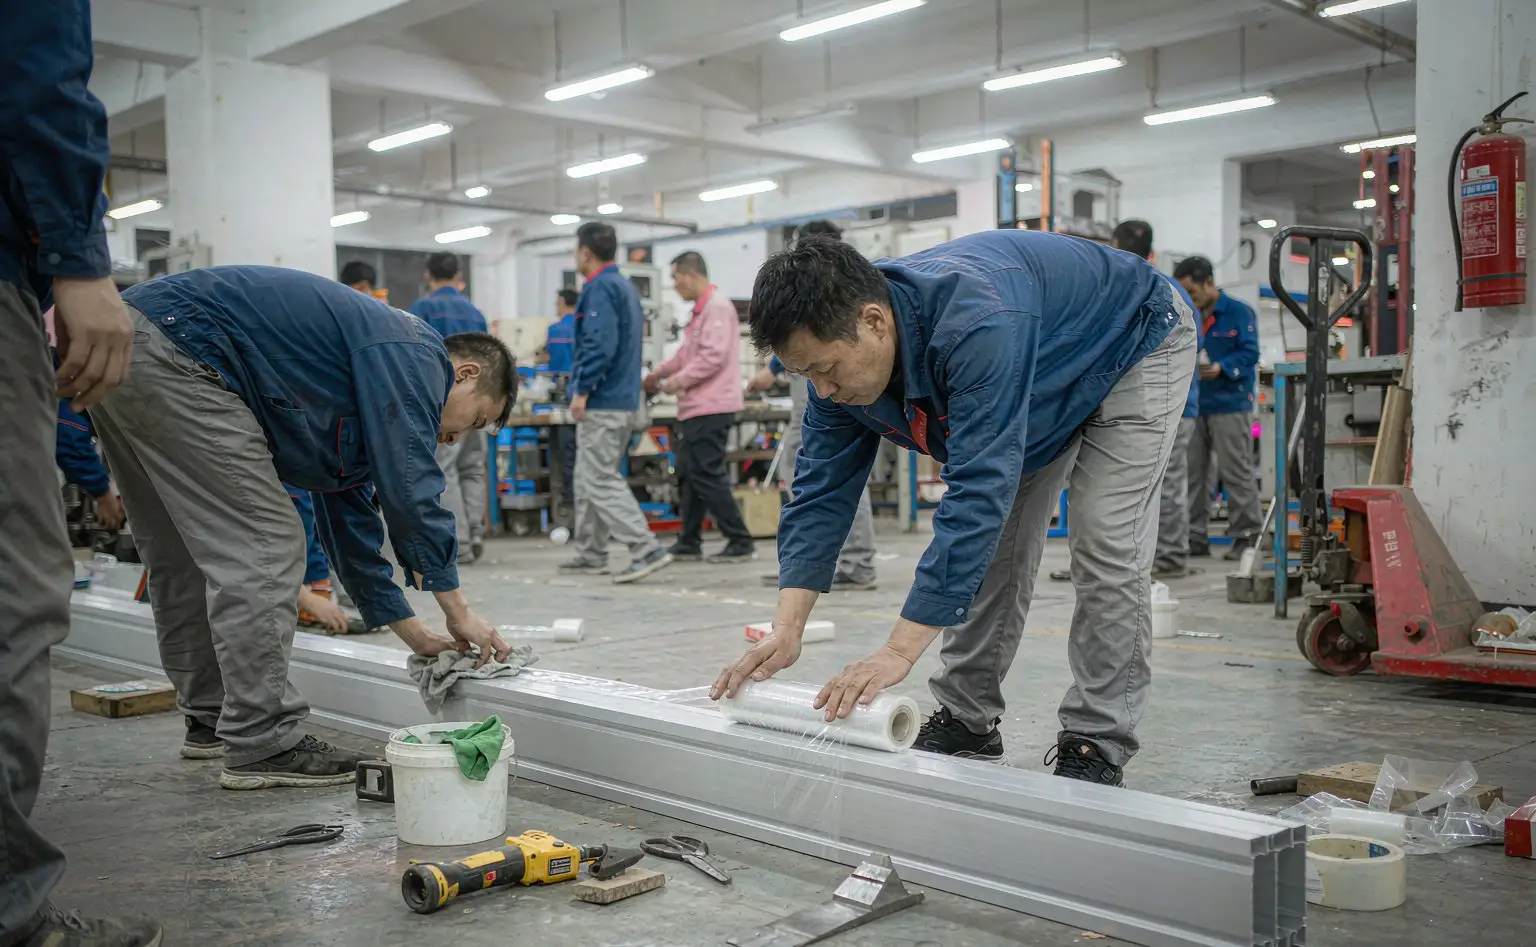
6. Questions from the line
Q: Can anodised profiles still grow mould?
A: Yes. The film itself does not support growth, but mould sits on cutting fluid residue, in vapour under the film and on the dunnage contact face. Anodising buys corrosion resistance, not freedom from food and water.
Q: Can we use plastic blocks instead of soaking timber?
A: Plastic or rubber blocks work, at a different cost and load rating. Plants that stay with timber get the most from a 1:40 soak, provided the timber is dry before it touches aluminium.
Q: Does soaked timber smell?
A: Little after drying, and it does not affect the shop once aired. Keep the acid liquid off metal parts and put a film layer in between.
Q: Are sheets counted by weight?
A: By sheet. A bundle takes 2-4 sheets at 0.1-0.2 g each, adjusted for bundle size and the number of touching faces, not multiplied by profile weight.
Wipe cutting fluid off at the saw, plug cavities before blowing swarf, and check fluid concentration weekly; dry at 60-80℃ to a dry surface before anodising and touch up jig marks; soak dunnage and pallets in iHeir-M5 at 1:40 for 5-10 minutes to a 15%-20% gain, air dry, and keep a PE layer against the aluminium; wipe dry before filming and keep the bundle dosage at 2-4 iHeir-D sheets of 0.1-0.2 g after a compatibility test; load container rods and hold the interior below 60% RH. Mould performance can be verified to GB/T 24346 and ASTM G21, and samples and lead times are on the iHeir-M5 product page.