




 View Count:20
 Date:2026-10-28
Mahjong tile mould: where does it actually start? An export mahjong set that spent two months in store came back with white spots in the engraved tile grooves and a darkened wooden insert, and the whole batch was downgraded. The tiles take iHeir-IPI001 at 0.8%-1.0% of resin weight; the box and its dividers are dipped with iHeir-M5 at 1:40 to 15%-20% weight gain. This article covers injection, tile drying, insert soaking and export packing.
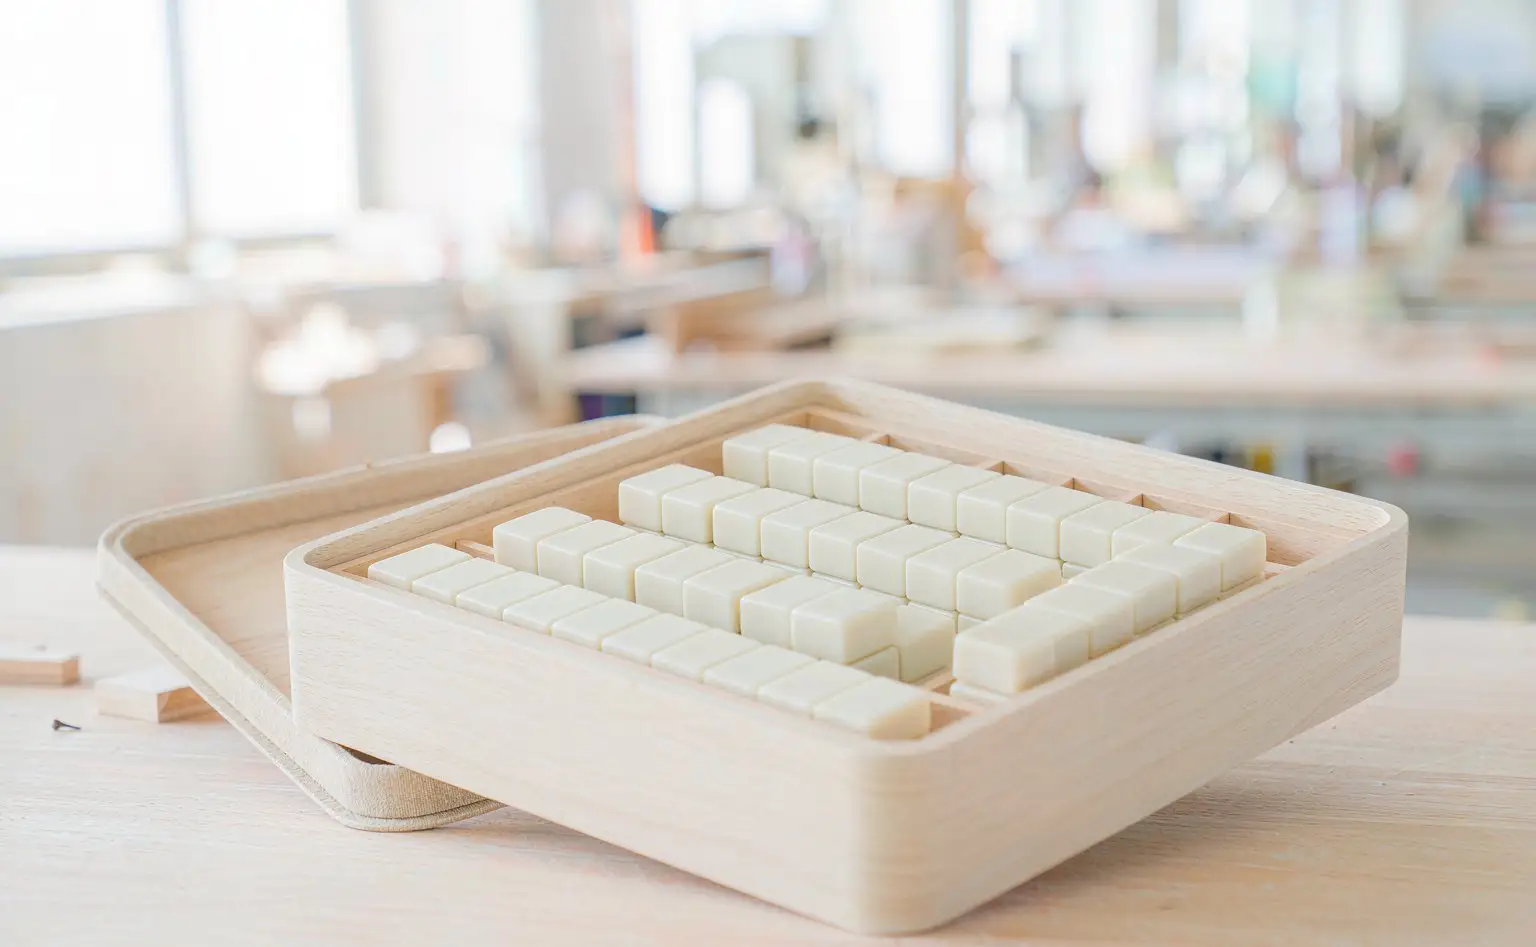
1. Three places where a mahjong set fails
The first is the engraved face grooves and the back pattern. Melamine is dense and a moulded surface takes up very little water, but the engraved characters are small traps: a cloth cannot reach them and an air jet is hard to aim, so damp that gets in stays. Spots start there, and when one tile goes the rest is a matter of time.
The second is the box and its insert. Export sets mostly use MDF or veneered pine bodies with bamboo-wood dividers, flocked cloth or foam inside. Wood absorbs moisture, the laminating adhesive carries water before it cures, and flocked cloth is porous — together a layer that stores water.
The third is the sealed environment of the assembled set. Tiles, box, cloth, manual and sleeve go into one gift carton; once the lid closes, the inside is a small closed space. When warehouse humidity rises, the moisture inside has nowhere to go and the tile faces and the insert both fail.
So the line has to be treated in two stages: the antimicrobial goes into the resin at the moulding stage, and the box and dividers get a dip before assembly. Tiles only, and the insert still darkens; box only, and the organisms in the grooves keep growing.
2. Tile and wooden insert are separate jobs
The table sets out the tile, the post-mould steps, the box and dividers, and packing. The tile is a percentage of resin weight, the box is a weight gain from soaking, and the two bases cannot be swapped.
| Location | Material and stage | Product and level | Addition point | Basis |
|---|---|---|---|---|
| Tile body (honours, flowers) | Melamine resin, injection moulding | iHeir-IPI001 0.8%-1.0% | Mixing stage, dry blend or masterbatch | Total part weight |
| Face grooves, tile back | Blowing off and polishing after demoulding | No additive, compressed air only | Demoulding station | Station cycle |
| Box body, divider insert | Bamboo-wood immersion | iHeir-M5 at 1:40 | Dip tank, before assembly | 15%-20% weight gain |
| Flocked cloth, foam | Cutting and laminating | Not dipped; drying and shop humidity | Dry before laminating | Moisture content |
| Packing and export | Boxing, bagging, container loading | Desiccant plus store humidity control | Packing and loading | Carton volume and container type |
Two boundaries up front. First, flocked cloth and foam do not go into the dip tank: M5 is a red-brown liquid and a pale lining comes out stained for good, so those parts are controlled by drying only. Second, the box is not brushed over: a brushed coat wets one face, the inside and the joints stay dry, and a cut section proves it.
3. Moulding: the antimicrobial goes in with the resin
The tile stage uses iHeir-IPI001 inorganic zinc-ion antimicrobial at 0.8%-1.0% of finished part weight. Active content (zinc ion on its carrier) is 99% or above, whiteness above 90, particle size D90 under 3μm, heat resistance above 380℃, bulk density 1.8-2.4 g/cm³; it contains no arsenic, no tin and no VOCs, and ships in 10kg packs.
The addition point is the mixing stage: dry blend it with the melamine powder before the machine, or compound it into a masterbatch first. Melamine moulds around 165-180℃, well inside the 380℃ limit, so the active content survives the shot; a D90 under 3μm disperses through a thin tile wall without showing as visible specks.
Three mistakes recur. Calculating on saleable tiles: runners, sprues and rejects count toward the base, and counting only good tiles under-doses. Feeding damp, caked powder: it will not disperse and shows as white specks, so keep the bag sealed or sieve it. Not topping up regrind: regrind must be topped up in proportion, or content falls batch by batch.
Keep the division of labour clear: IPI001 handles organisms, while water in the grooves is a drying problem. It cannot remove the water sitting in an engraved character, so the air blow after demoulding stays.
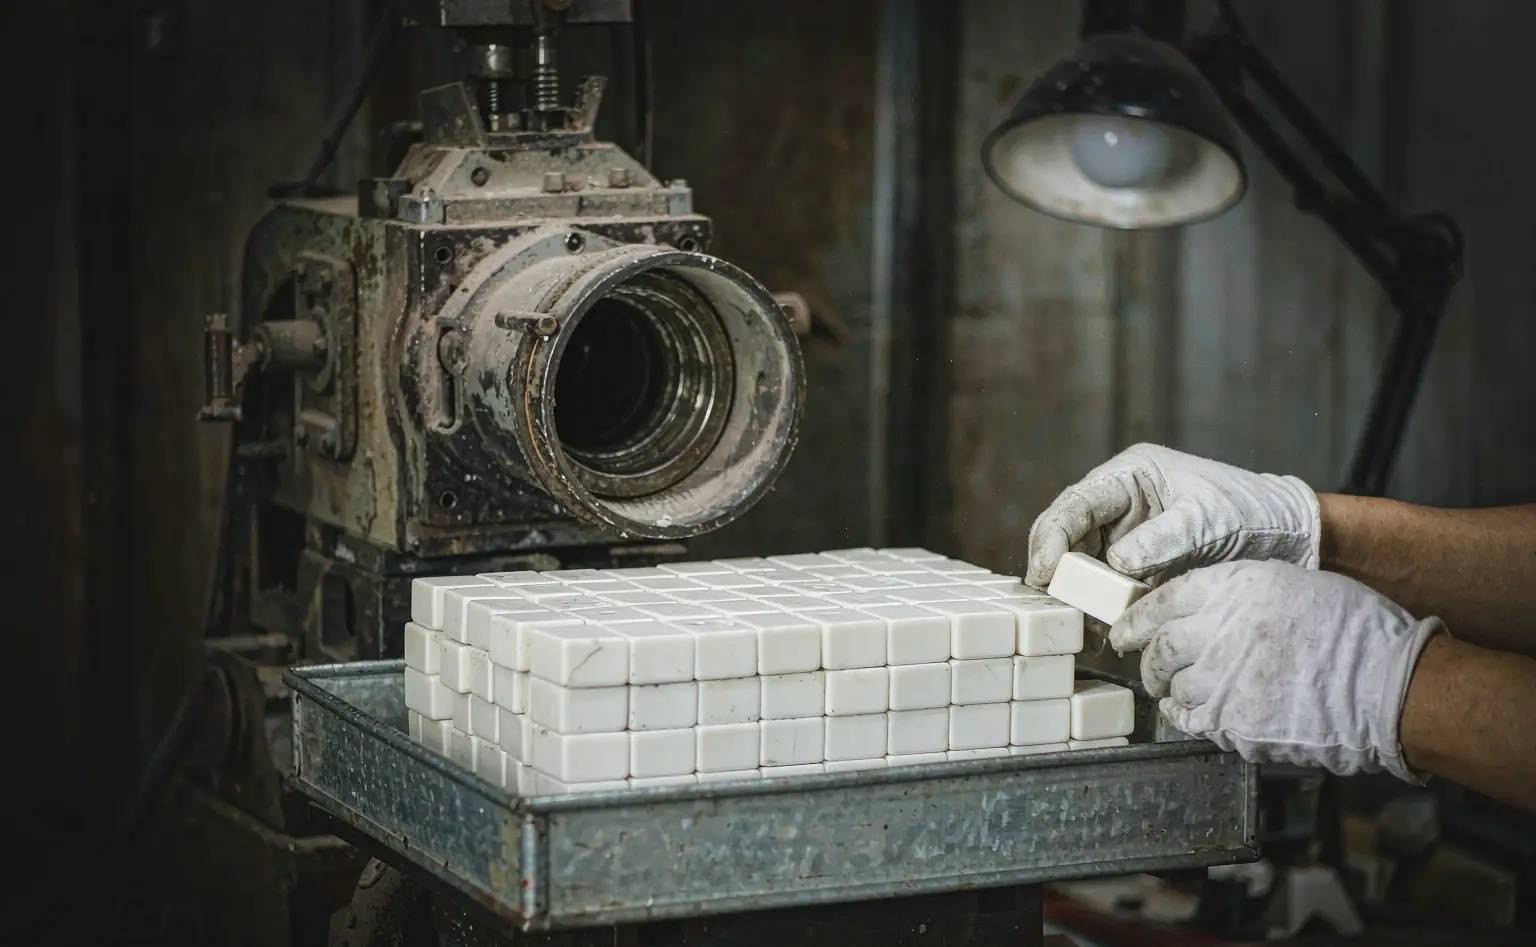
4. Box and insert: soak to a twenty percent gain
The box and its dividers use iHeir-M5 immersion-type bamboo and wood fungicide. Mix the bath at 1:40, that is 5kg of product to 100kg of water; submerge the parts completely, never letting them break the surface, and soak to a 15%-20% weight gain, roughly 5-10 minutes, then lift, drain and air or sun dry before assembly.
Weight gain is the only honest criterion. Time is only a guide: in the same five minutes a thin divider and a thick box body take up very different amounts. Weigh before and after, pull the parts at 15%-20%; below that the timber is not saturated, and a cut section still shows dry wood in the middle.
Two hard rules. First, M5 is acidic and must not touch metal or be mixed with alkaline material: use plastic, FRP or lined concrete tanks, because an iron tank corrodes and neutralises the bath. Second, shake the drum before use — a floating layer is normal, and pouring unshaken leaves the active content at the bottom.
Drying decides the outcome: from the tank straight to assembly seals water inside the gift box. Bring box and dividers below 12% moisture, using a drying room rather than open air in the wet season. The logic is the same as in our note on reworking mouldy bamboo and wood in the warehouse: if the water stays in, no additive holds it back.
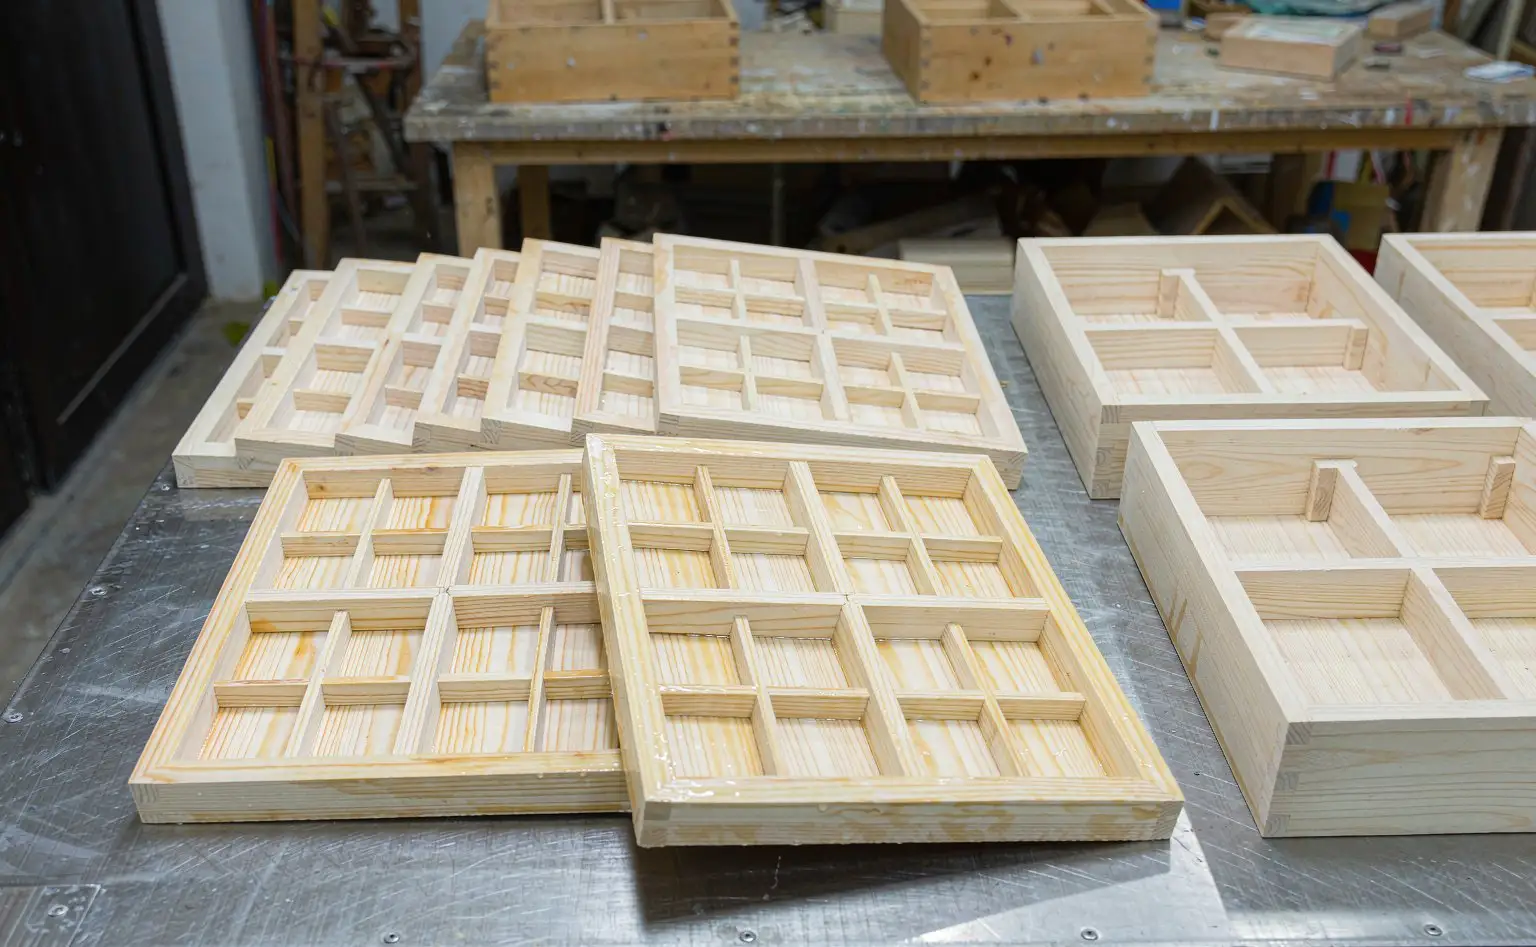
5. Assembly, packing and export
Three things happen at assembly. Blow the tiles dry with compressed air into the engraved grooves and the back pattern, then polish. Dry the box in a drying room to below 12% moisture. Control the shop at 60% RH or lower, with dehumidifiers in the wet season and no benches facing open doors.
Pack desiccant per box in a non-woven bag inside the lid, never pressed on the tile faces. Before the outer carton is bagged, check the gift box for condensation — goods moved from a cold room into a warm one sweat, and bagging then seals the water in.
Leave an air path in the container: no carton against the wall or under the ceiling. The day-night swing condenses water on the ceiling, the cartons at the wall come back damp first, and a rigid gift box hides it until the lid is opened. The mechanism is the one described in condensation in sea freight containers.
Verify at three levels: tiles on a mould resistance test to GB/T 24128 or the customer protocol, sampling honours and flowers separately; box and dividers to GB/T 18261 with moisture content measured after soaking; the assembled set for 30 days at 30℃/85% RH, then open the lid and inspect the grooves and the four corners of the insert.
6. Questions on yellowing, warping and sets that already have spots
Q: Why does the box warp or crack after soaking? Check the weight gain first. 15%-20% is saturated; 30% and above means the timber has swollen and will shrink unevenly as it dries, which opens cracks. The other cause is fast drying: pulling the room straight above 60℃ dries the skin while the core is still wet, and the stress lifts the panel.
Q: Can a set that already has spots be saved? Surface bloom can be wiped off and the tile dried again, and it still plays. Where filaments have gone into the engraved grooves and left staining that will not come out, the tile is a downgrade or scrap. Box inserts that have darkened or carry a musty smell are not worth reworking; replacing the insert is cheaper. Any rescued batch needs a fresh anti-mould treatment, or the spots are back within a month.
Four points to take away: tiles at 0.8%-1.0% iHeir-IPI001 on total weight at mixing, with regrind topped up; box and dividers with iHeir-M5 at 1:40, soaked to a 15%-20% gain in a non-metallic tank; dry below 12% before assembly, cloth and foam out of the bath; desiccant in the box and an air path in the container.