




 View Count:30
 Date:2026-10-26
Wooden photo frame mould: should the frame strip be dipped first or the backing replaced? Most factories wipe the moulding and touch up the lacquer, while the backing keeps taking up water and the mould returns two weeks into the container. The strip is dipped in iHeir-M5 at 1:40 to a 15-20% weight gain, and iHeir-D paper at 0.1-0.2g per sheet goes between the backing and the carton. This article covers the strip, the backing and the packing, with the levels for each.
1. Photo frame mould is mostly in the backing and the groove
A frame is three parts: the moulding, the backing and the glass. The moulding is solid timber or veneered board, the backing is usually MDF or fibreboard, and the glass sits at the front. When spots appear people work on the face of the moulding, but the two worst locations are on the side nobody sees.
The first is the backing. Board is pressed fibre, it takes up water faster than solid timber, and the cut edges are bare, so moisture walks in through the cuts. It is also the largest single piece in the frame, which means it holds the most water. The second is the groove: once the moulding is grooved, the bottom of that groove has no coating, and with the backing pushed in the gap is closed off; add the glass and moisture can get in but not out.
The third is the face of the moulding, mostly its mitred ends and uncoated back, where lacquer or veneer takes up little. So the order is backing first, then the strip, then humidity control in packing, and polishing the face alone achieves nothing.
2. Strip and backing: two locations
The table sets out object, measure, level and acceptance for both, and neither job replaces the other.
| Location | Material | Measure and product | Level | Acceptance |
|---|---|---|---|---|
| Frame strip | Solid timber, veneered board | iHeir-M5 dip | Bath at 1:40, dipped to a 15-20% weight gain | Weight gain checked by scale |
| Mitred ends | Bare end grain | Dipped with the strip | Same, ends down and left longer | Colour taken up through the end |
| Backing cuts | MDF, fibreboard | Edge-banded or coated the same day | Cut fully sealed | No roughness, no damp feel |
| Air in the carton | Between frames and carton | iHeir-D paper | 0.1-0.2g per sheet | Open and check after 30 days |
| Metal fittings | Hangers, struts, screws | Compatibility test with D | Test at three times the dose | No blackening, no white rust |
Two boundaries. A dipped strip does not make the backing safe: it is a different board, often from a different supplier, and it gets no treatment while the strip is in the tank, so the mould still starts at the back. And the paper controls humidity, it does not remove mould: a backing that has already bloomed is replaced, and the paper only keeps the replacement from coming back.
3. Frame strip: iHeir-M5 at 1:40 to a 15-20% weight gain
Mix at 1:40, that is 5kg of the agent to 100kg of water, water in first and the agent poured in after, stirred through. Floating matter on the surface is normal, so stir before use. Use a plastic tank: M5 is acidic and the data sheet rules out contact with metal or alkaline material; a steel tank rusts within two batches and the rust water stains the grain.
Three points on the dip. Full immersion: the whole strip goes below the surface, because any part left out is untreated, and a stainless grid can hold it down as long as the grid stays out of the liquor. Weight gain: bring it to 15-20%, roughly 5-10 minutes, taking the longer time on dense hardwood, and confirm on a scale rather than by eye. Drain, then dry: drain the liquor off, then air-dry or sun-dry in a single layer, because a stack keeps its middle strips wet indefinitely.
The strip must be dry before mitring. Glue a wet end and the water is sealed inside the joint, mould grows on the inside of the mitre where nobody sees it, and the customer finds it on opening. In wet weather extend the drying time or force air through, rather than stacking to catch up. Moisture content after drying follows the factory acceptance limit, and anything above it stays out of the mitring station.
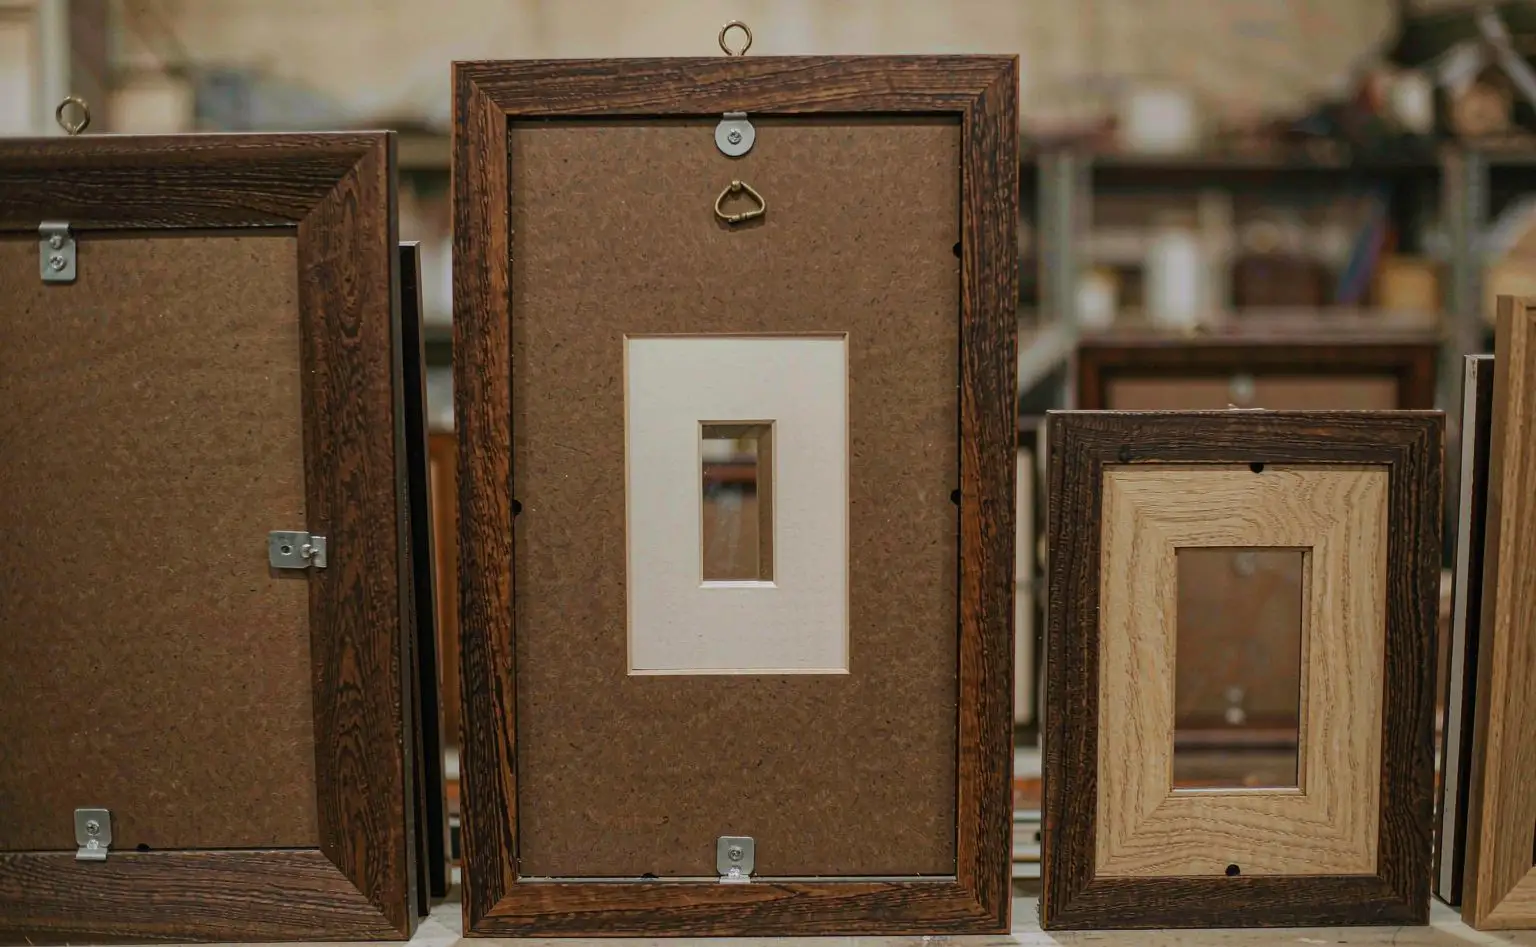
4. Backing and paper: MDF is the real drinker
Two jobs on the backing: seal the cuts, and control the air in the carton. Sealing belongs to the day the board is cut, with edge banding or a coat; leave it overnight and the cut has already drawn moisture.
The air inside is handled by iHeir-D gas-phase inhibitor: 0.1-0.2g per sheet of active content, cut to roughly the carton base, laid on the bottom or between backing and carton wall. D is an anti-mould ink made into antimicrobial paper and sachets, its vapour covering the gaps inside the carton; solids are 70% plus or minus 5, packing is 25kg drums, kept sealed, dry and dark for one year, and used up once opened.
Three points on placing it. Position: against the outside of the backing, the side facing into the carton; not between glass and print, where it does nothing and can press a mark. Timing: bag, box and seal in one movement, because an open sheet vents its vapour. Quantity: one sheet for a single frame in its own box, two for a multi-frame carton by volume, at the upper level for sea freight.
The fittings need their own test. Under damp conditions D can corrode poor-quality metal, so the hangers, struts and screws go through a compatibility test at three times the normal dose: same batch of fittings sealed with 3x D in damp heat, then checked for blackening and white corrosion. If it fails, specify thicker plating or move the paper away from the hardware.
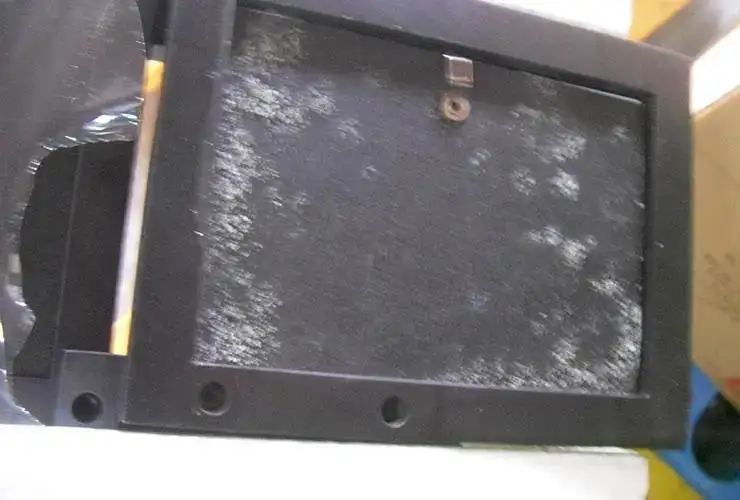
5. Packing: bag, carton and container together
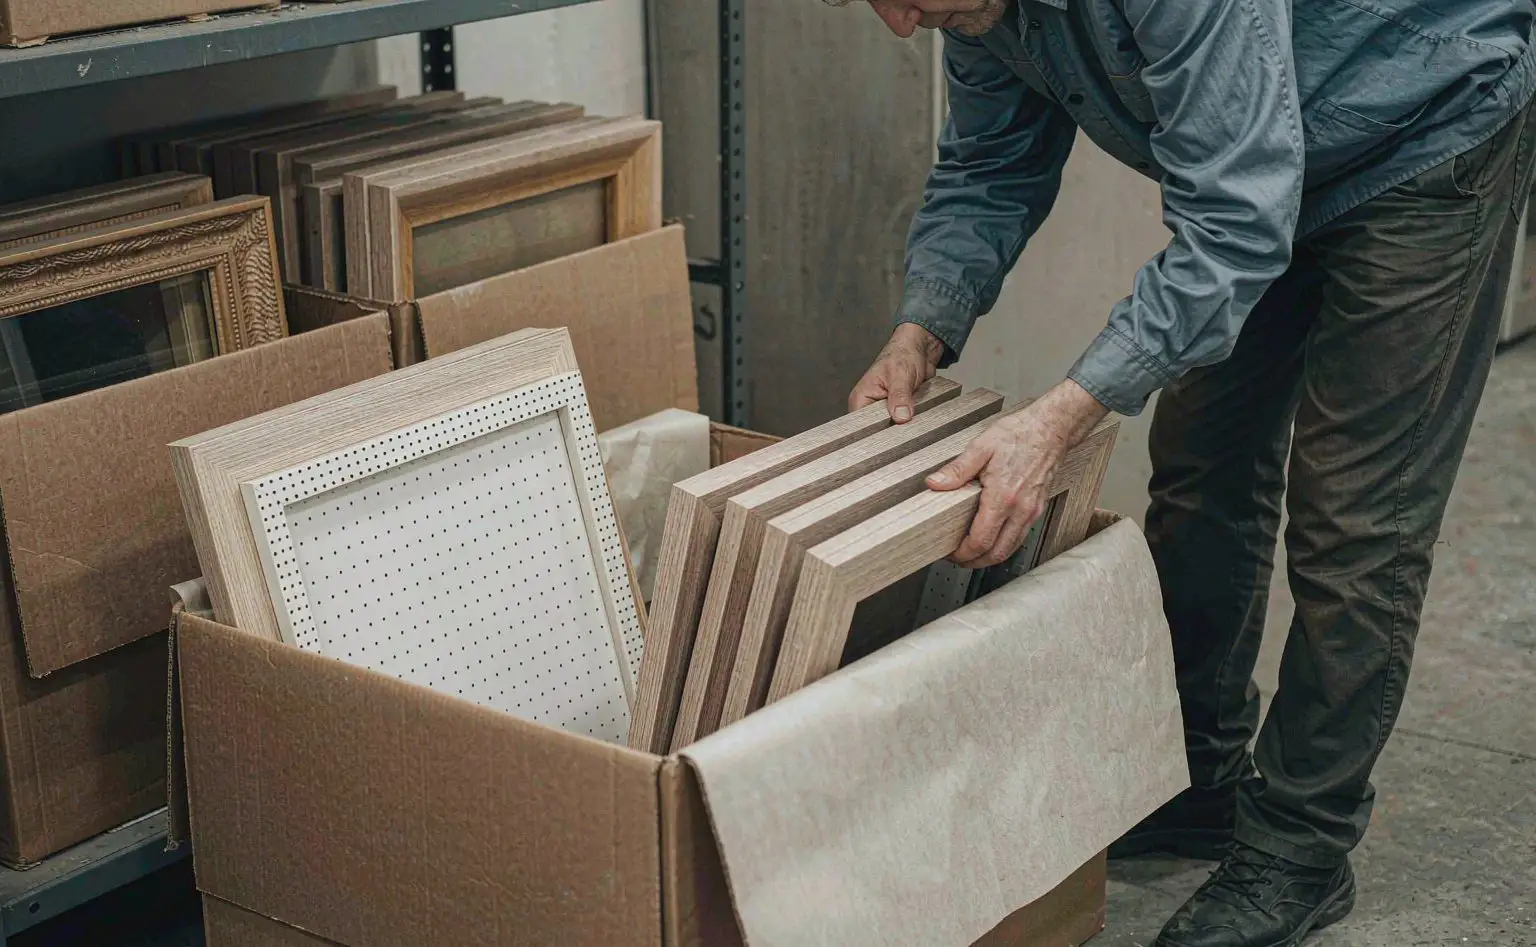
A dry frame is only the first step; three layers follow.Bag: confirm the frame is not damp before it goes into the PE bag, put a sheet of paper inside, and do not vacuum the bag, because a flattened sheet cannot release its vapour.Carton: check moisture content on receipt, since damp corrugated board is itself a mould source; line the carton and keep frames off the base.Container: day and night temperature swings condense water inside a sea container, so hang drying rods or add desiccant and stack clear of the doors. The container side is in container condensation in sea freight, and carton damage in carton and printed box protection for export.
Stacking matters: pallets off the floor, a gap to the container wall, and nothing tight against the doors. The wider practice for crates and pallets is in rework and dosing for mouldy bamboo and wood, and paper grades in choosing anti-mould packaging paper.
6. Questions we get: drying time, sheets per frame, and how to verify
How soon can a dipped strip go to mitring? Judge by dryness, not by the clock. Drain it, air-dry or sun-dry it, and send it to mitring only when the ends are dry and moisture is under the factory limit; in wet weather extend the time or force air through.
How many sheets of paper per frame? One for a frame in its own box, two per multi-frame carton by volume, upper level for sea freight. More is not better: once the carton volume is packed tight the vapour cannot spread, so extra sheets add nothing.
How is the batch verified? The strip is checked on a scale against the 15-20% gain. The finished frame goes through a whole-carton simulation: bagged, boxed and sealed at 30C and 85% humidity for thirty days, then opened to inspect backing, groove and fittings. Timber performance can be run to GB/T 18261 on inoculated specimens.
Four points: look at the backing and the groove before polishing the face; dip the strip in iHeir-M5 at 1:40, fully immersed, to a 15-20% weight gain, then dry it through; seal backing cuts the day they are made, and put 0.1-0.2g of iHeir-D paper per sheet against the outside of the backing, boxing and sealing at once; and test hangers and struts at three times the dose before the run.